Badge - Performance (Remove and Replace)
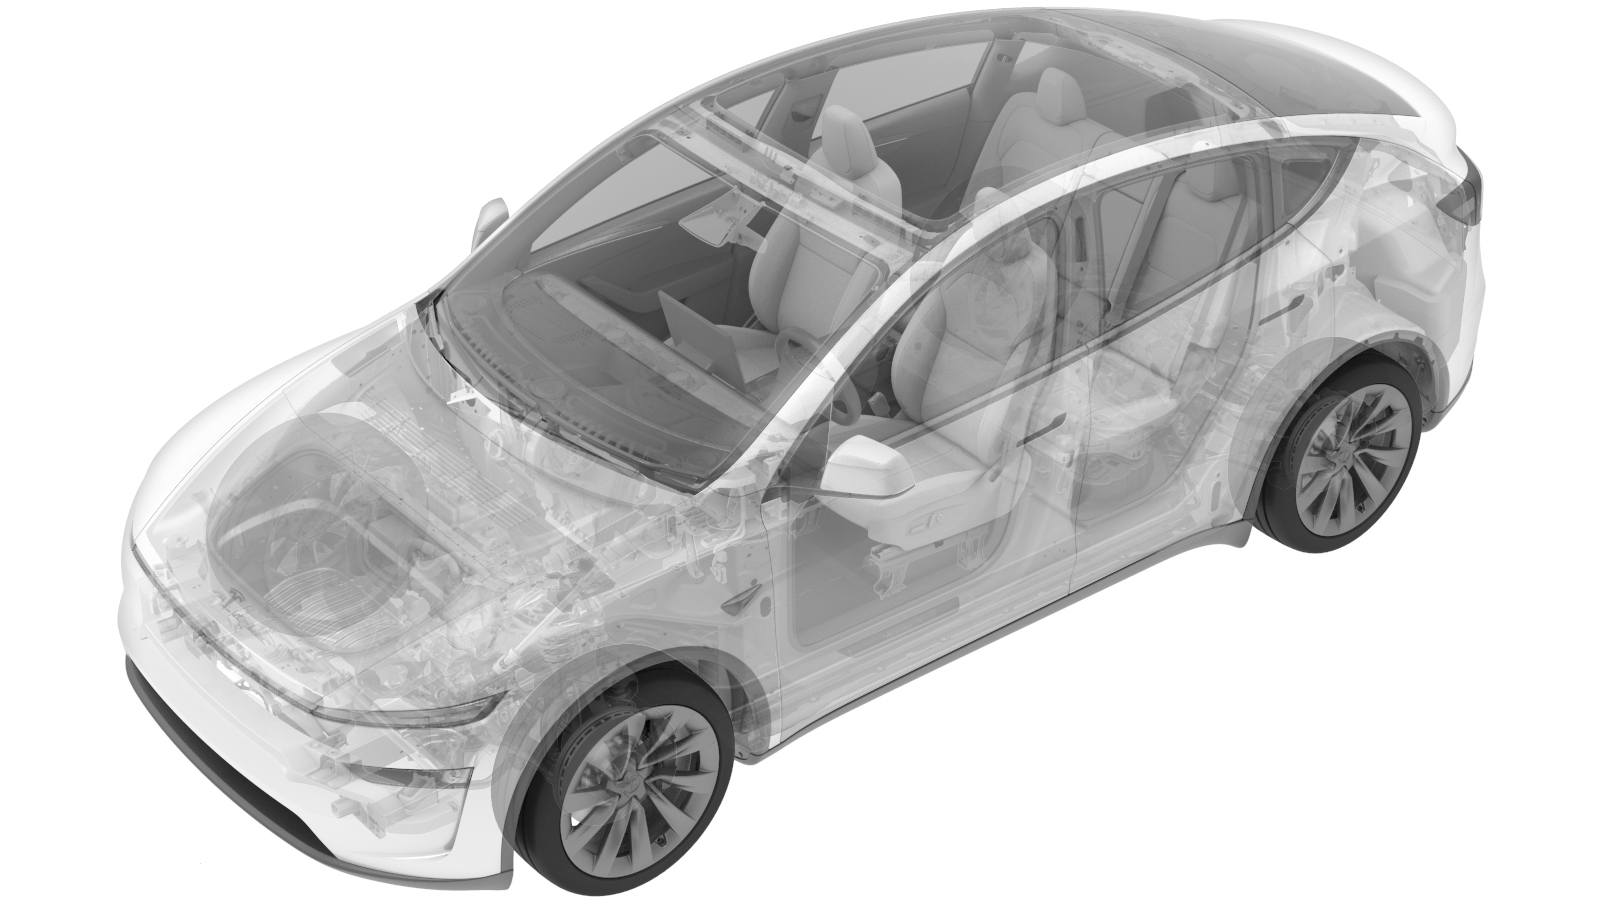 Correction code
1205010202
FRT
0.24
NOTE: Unless
otherwise explicitly stated in the procedure, the correction code and its
associated FRT reflect all of the work required to perform this procedure,
including the linked procedures. Do not stack correction
codes unless explicitly told to do so.
NOTE: See Flat Rate Times to
learn more about FRTs and how they are created.
NOTE: See Personal Protection to make
sure you are wearing proper PPE when performing the procedure below.
NOTE: See Ergonomic Precautions for safe and healthy
working practices.
Correction code
1205010202
FRT
0.24
NOTE: Unless
otherwise explicitly stated in the procedure, the correction code and its
associated FRT reflect all of the work required to perform this procedure,
including the linked procedures. Do not stack correction
codes unless explicitly told to do so.
NOTE: See Flat Rate Times to
learn more about FRTs and how they are created.
NOTE: See Personal Protection to make
sure you are wearing proper PPE when performing the procedure below.
NOTE: See Ergonomic Precautions for safe and healthy
working practices.
Equipment:
- 1453028-00-A KIT, BADGE REMOVAL
- 2091865-00-A REAR GRAPHIC BADGE JIG
Remove
- Prepare the badge removal tool with approximately 60 centimeters of monofilament line.
-
Tie slip knots at both ends
of the monofilament line and attach them each to the center groove of a
handle.
- Insert the monofilament line between the vehicle configuration badge and the liftgate.
-
Move the badge removal tool
in a sawing motion to separate the vehicle configuration badge from the
liftgate.
- Use IPA wipes to clean all adhesive residue and debris from the liftgate surface.
Install
-
Slowly peel the vehicle
configuration badge backing, and then position the badge onto the fixture
alignment pins.
- Open the liftgate partially.
-
Position the badge fixture
onto the RH rear of the liftgate, and make sure the lower and right edges of
the fixture align with the liftgate.
NoteHold the fixture during the installation to prevent it from falling.
- Press the vehicle configuration badge onto the liftgate.
- Remove the protective film from the badge, and then remove the fixture from the liftgate.
- Close the liftgate.
- Replace the protective film over the badge, use a pressure roller to wet-out the badge, and then remove the protective film.
-
Use an IPA wipe to clean the
badge and any remaining debris.
NoteMake sure that all edges of the badge are securely affixed to the liftgate.