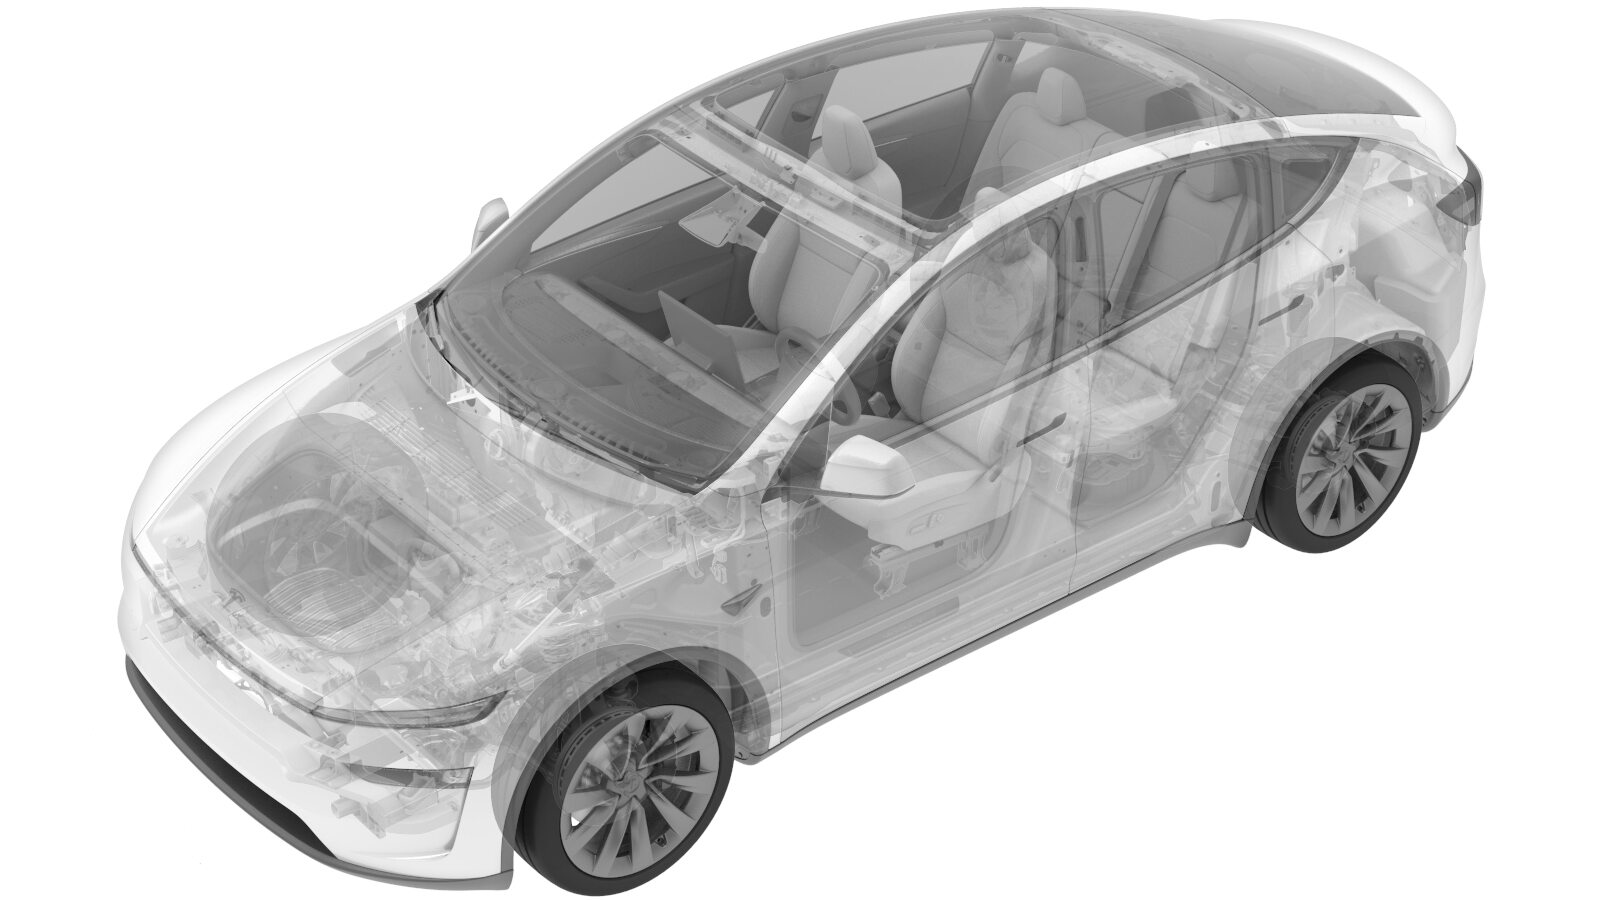
Liftgate (Remove and Install)
 Correction code
1010020401
FRT
0.40
NOTE: Unless
otherwise explicitly stated in the procedure, the above correction code and
FRT reflect all of the work required to perform this procedure, including
the linked procedures. Do
not stack correction codes unless explicitly told to do so.
NOTE: See Flat Rate
Times to learn more about FRTs and how
they are created. To provide feedback on FRT values, email ServiceManualFeedback@tesla.com.
NOTE: See Personal Protection
to make sure wearing proper PPE when performing the below procedure.
NOTE: See Ergonomic Precautions for safe and
healthy working practices.
Torque Specifications
| Description | Torque Value | Recommended Tools | Reuse/Replace | Notes |
|---|---|---|---|---|
| Bolt that attaches the liftgate harness ground bolt to the liftgate |
 10 Nm (7.4 lbs-ft) |
|
Replace | 1128269-00-A |
| Bolts (x4) that attach the liftgate to the vehicle |
 24 Nm (17.7 lbs-ft) |
|
Reuse |
Remove
- Open the liftgate.
- Use a telescoping hood prop to support the liftgate.
- Remove the rear headliner. See Rear Headliner (Remove and Replace).
-
Carefully release the clip
and location pin that attach the RH rear edge of the headliner to the
vehicle.
NoteThis is to gain access to the liftgate harness connectors.
-
Remove and discard the bolt
that attaches the liftgate harness ground bolt to the liftgate.
TIpUse of the following tool(s) is recommended:
- 10 mm socket
-
Disconnect the liftgate harness connectors (x3).
-
Release the RH rear liftgate
grommet from the body.
-
Apply masking tape around the liftgate and liftgate hinge to mark the
installation positioning.
- Place shop towels on the LH and RH side liftgate jambs.
-
Release the spring clips
(x2) that attach the LH and RH power strut upper ball studs to the liftgate,
and then lay the struts down on the door jamb.
Figure 1. LH shown, RH similar - Remove the telescoping hood prop.
-
With assistance, remove the
bolts (x4) that attach the liftgate to the vehicle, and then place the
liftgate on a stand.
TIpUse of the following tool(s) is recommended:
- 13 mm socket
Install
-
With assistance, position
the liftgate onto the vehicle, and then hand-tighten the bolts (x4) that
attach the liftgate to the vehicle.
CAUTIONMake sure that the hinges do not come into contact with the glass to prevent damage.
-
Install the spring clips (x2) that attach the LH and RH power strut upper
ball studs to the liftgate.
NoteMake sure that the spring clip has been reset.
Figure 2. LH shown, RH similar -
Route the liftgate harness
through the access hole, and then install the grommet to the body.
-
Connect the liftgate harness
connectors (x3).
-
Install a new bolt that
attaches the liftgate harness ground bolt to the liftgate.
 10 Nm (7.4 lbs-ft)TIpUse of the following tool(s) is recommended:
- 10 mm socket
-
Install the clip and location pin that attach the RH rear edge of the
headliner to the vehicle.
- Install the rear headliner. See Rear Headliner (Remove and Replace).
-
Close the liftgate to check
gap/flush. With assistance, perform adjustment as necessary to the hinge
bolts and trunk striker.
NoteRefer to CVIS for latest specifications.
- Open the liftgate.
-
Tighten the bolts (x4) that attach the liftgate to the vehicle.
TIpUse of the following tool(s) is recommended:
- 13 mm socket
- Remove the masking tapes from the vehicle.
- Close the liftgate.