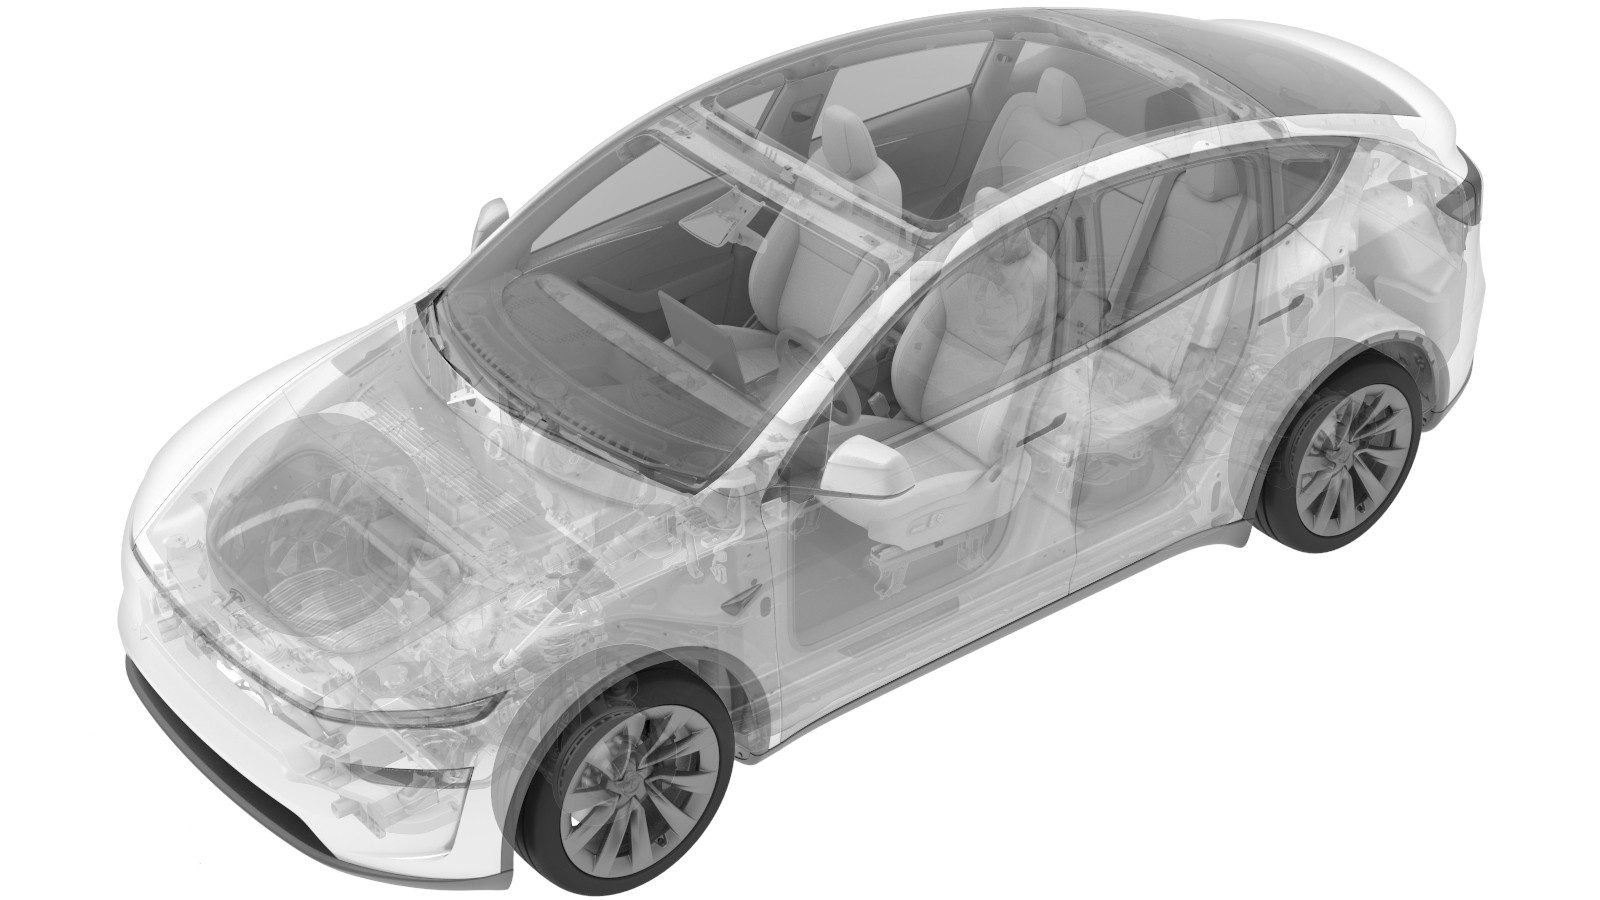
1st Row Seat Cushion Frame Power (Remove and Replace)
 Correction code
1301020402
FRT
0.80
NOTE: Unless
otherwise explicitly stated in the procedure, the above correction code and
FRT reflect all of the work required to perform this procedure, including
the linked procedures. Do
not stack correction codes unless explicitly told to do so.
NOTE: See Flat Rate
Times to learn more about FRTs and how
they are created. To provide feedback on FRT values, email ServiceManualFeedback@tesla.com.
NOTE: See Personal Protection
to make sure wearing proper PPE when performing the below procedure.
NOTE: See Ergonomic Precautions for safe and
healthy working practices.
Torque Specifications
| Description | Torque Value | Recommended Tools | Reuse/Replace | Notes |
|---|---|---|---|---|
| Inboard and outboard bolts (x4) that attach the seatback frame to the seat cushion frame |
 43 Nm (31.7 lbs-ft) |
|
Replace | 1128435-00-C |
Remove
-
Remove the driver seat cushion foam pad assembly. See 1st Row Seat Cushion - Foam Pad (Remove and Replace).
NoteNo need to peel the soft trim. Remove the foam pad as an assembly.
-
Remove the clips (x3) that attach the
track motor harness to the track motor bridge.
-
Disconnect the electrical harness from
the LH front seat track motor connector.
-
Disconnect the tilt motor
connector.
-
Disconnect the height adjustment motor
connector.
-
Release the clip that attaches the LH
front seat harness to the outboard seat track.
-
Release the safety lock, and then
disconnect the driver seat lap pretensioner electrical connector.
-
Release the seat belt pretensioner
harness bracket.
NoteMove the harness bracket forwards (towards the front of the vehicle) and then backwards to remove.
-
Disconnect the seat belt buckle
connector.
-
Remove the seat belt buckle connector
bracket.
NoteMove the bracket forwards (towards the front of the vehicle) and then backwards to remove.
-
Remove the clips (x2) that attach the
seat switch harness to the seat cushion frame.
-
Remove the seat harness bracket from
the seat frame.
NoteUse a 90 degree tip to release the clips (x3) from back of the bracket.
-
Release the seat harness from the seat cushion frame.
NoteRelease the center harness support together with the harness.
-
Remove and discard the inboard and
outboard bolts (x4) that attach the seatback frame to the seat cushion frame.
TIpUse of the following tool(s) is recommended:
- Cordless Ratchet/Impact Driver
- Torx T50 socket
- Flex head ratchet/flex head torque wrench
- Rotate and lift up the seatback frame away from the cushion frame.
- Remove the driver seat belt buckle. See Buckle - 1st Row - LH (Remove and Replace).
- Remove the lap pretensioner. See 1st Row - Seat Belt Lap Pretensioner - LH (Remove and Replace).
- Remove the seat cushion suspension. See 1st Row Cushion Suspension (Remove and Replace).
- Remove the seat cushion blower. See Blower - Cushion - Front Seat - LH (Remove and Replace).
-
Remove the track covers (x4)
from the driver seat cushion frame.
Install
-
Install the track covers (x4) from the driver seat cushion frame.
- Install the seat cushion blower. See Blower - Cushion - Front Seat - LH (Remove and Replace).
- Install the seat cushion suspension. See 1st Row Cushion Suspension (Remove and Replace).
-
Install the lap pretensioner. See 1st Row - Seat Belt Lap Pretensioner - LH (Remove and Replace).
NoteDo not connect the lap pretensioner connector at this time.
-
Install the driver seat belt buckle. See Buckle - 1st Row - LH (Remove and Replace).
NoteDo not connect the belt buckle connector at this time.
-
Place the seatback frame onto the
cushion frame for installation.
NoteBe careful not to damage the harness during installation.
-
Install new inboard and outboard bolts
(x4) (1128435-00-C) to attach the seatback frame to the seat cushion frame.
 43 Nm (31.7 lbs-ft)TIpUse of the following tool(s) is recommended:
- Cordless Ratchet/Impact Driver
- Torx T50 socket
- Flex head ratchet/flex head torque wrench
-
Position the new seat harness for
installation.
NoteWith the wire harness bracket at the center, route the harness under the lift motor and the tilt motor, and place the harness legs in the correct locations. Harness clips will be installed later.
-
Install the seat harness bracket to
the seat base assembly.
-
Install the seat belt buckle connector
bracket.
NoteMove the bracket forwards (towards the front of the vehicle) and then backwards to install.
-
Connect the seat belt buckle
connector.
-
Install the clips (x2) that attach the
seat switch harness to the seat cushion frame.
-
Install the seat belt pretensioner
harness bracket.
NoteMove the harness bracket forwards (towards the front of the vehicle), and then move it backwards to install.
-
Connect the lap pretensioner
electrical connector.
NoteEnsure the connector safety lock is engaged.
-
Install the clip that attaches the LH
front seat harness to the outboard seat track.
-
Connect the LH front seat track motor
connector.
-
Connect the height adjustment motor
connector.
-
Connect the tilt motor
connector.
-
Install the clips (x3) that attach the
track motor harness to the track motor bridge.
- Install the driver seat cushion foam pad assembly. See 1st Row Seat Cushion - Foam Pad (Remove and Replace).