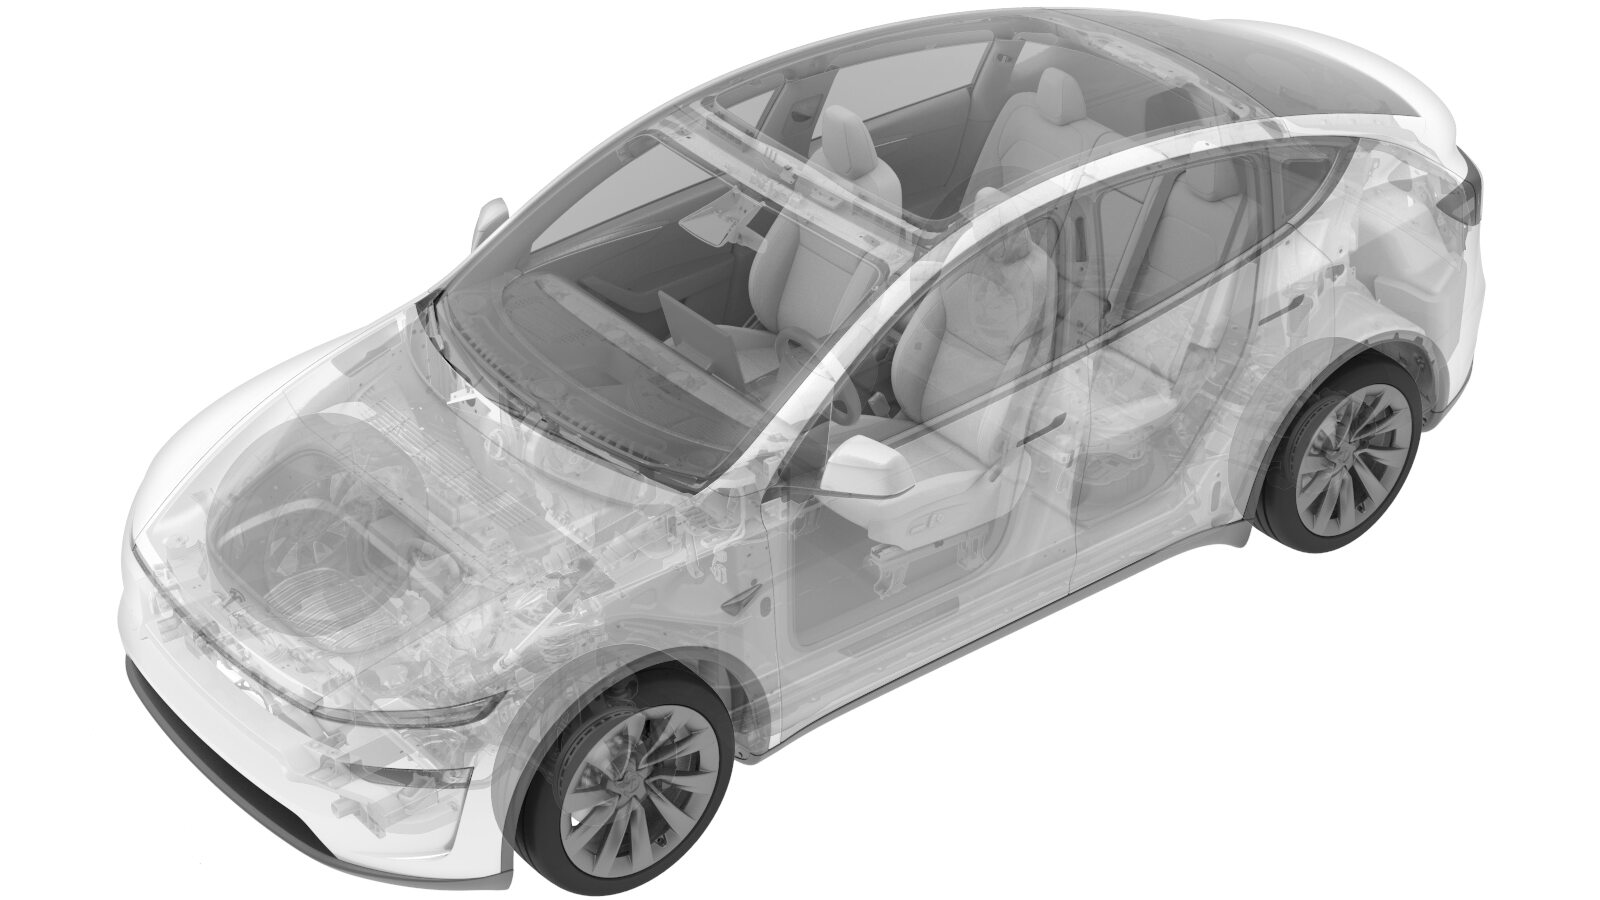
Rear Drive Unit - 3DU - High Current (Remove and Install)
 Correction code
4001020601
FRT
3.54
NOTE: Unless
otherwise explicitly stated in the procedure, the above correction code and
FRT reflect all of the work required to perform this procedure, including
the linked procedures. Do
not stack correction codes unless explicitly told to do so.
NOTE: See Flat Rate
Times to learn more about FRTs and how
they are created. To provide feedback on FRT values, email ServiceManualFeedback@tesla.com.
NOTE: See Personal Protection
to make sure wearing proper PPE when performing the below procedure.
NOTE: See Ergonomic Precautions for safe and
healthy working practices.
Torque Specifications
| Description | Torque Value | Recommended Tools | Reuse/Replace | Notes |
|---|---|---|---|---|
| LH, RH and rear bolts that attach the drive unit to the subframe |
 80 Nm (59.0 lbs-ft) |
|
Reuse |
Remove
- Position subframe lifting tool and remove subframe and rear drive unit assembly away from vehicle. See Rear Subframe (Remove and Replace).
-
Attach the 3 hooks of the drive unit
sling tool to the drive unit.
- Secure the drive unit sling to the gantry, and raise the sling until there is slight tension on the cables.
-
Remove the LH, RH,and rear bolts that
attach the drive unit to the subframe.
TIpUse of the following tool(s) is recommended:
- Ratchet/torque wrench
- Flex head ratchet/flex head torque wrench
- 18 mm socket
Figure 1. LH Shown, RH Similar Figure 2. Rear Bolt -
Carefully raise the sling to lift the
drive unit out of subframe. As the rear drive unit is lifted, maneuver the half shafts
out of the way.
- Move the subframe and lifting tool from underneath the drive unit.
-
Position an empty drive unit crate
below the drive unit.
NoteUse a pallet if no empty crate is available.
- Lower the drive unit into the drive unit crate.
- Remove the drive unit sling from the gantry and the drive unit.
Install
-
Attach drive unit sling tool to drive
unit.
-
Raise rear drive unit and place it
above the subframe at the same time.
- Lower sling to install drive unit into subframe.
-
Carefully lower the rear drive unit
into the rear subframe. As the rear drive unit is lowered, maneuver the half shafts into
the drive unit for later installation.
-
Hand-tighten the LH, RH and rear bolts
that attach the drive unit to subframe.
TIpUse of the following tool(s) is recommended:
- Ratchet/torque wrench
- Flex head ratchet/flex head torque wrench
- 18 mm socket
NoteTorque at a later step.Figure 3. LH Shown, RH Similar Figure 4. Rear Bolt - Lower the sling to release the tension on the cables.
-
Torque the LH, RH and rear bolts that
attach the drive unit to subframe.
 80 Nm (59.0 lbs-ft)TIpUse of the following tool(s) is recommended:
- Ratchet/torque wrench
- Flex head ratchet/flex head torque wrench
- 18 mm socket
- Release the drive unit sling tool from the rear drive unit.
- Install the subframe and rear drive unit assembly away to vehicle. See Rear Subframe (Remove and Replace).