2026-03-18
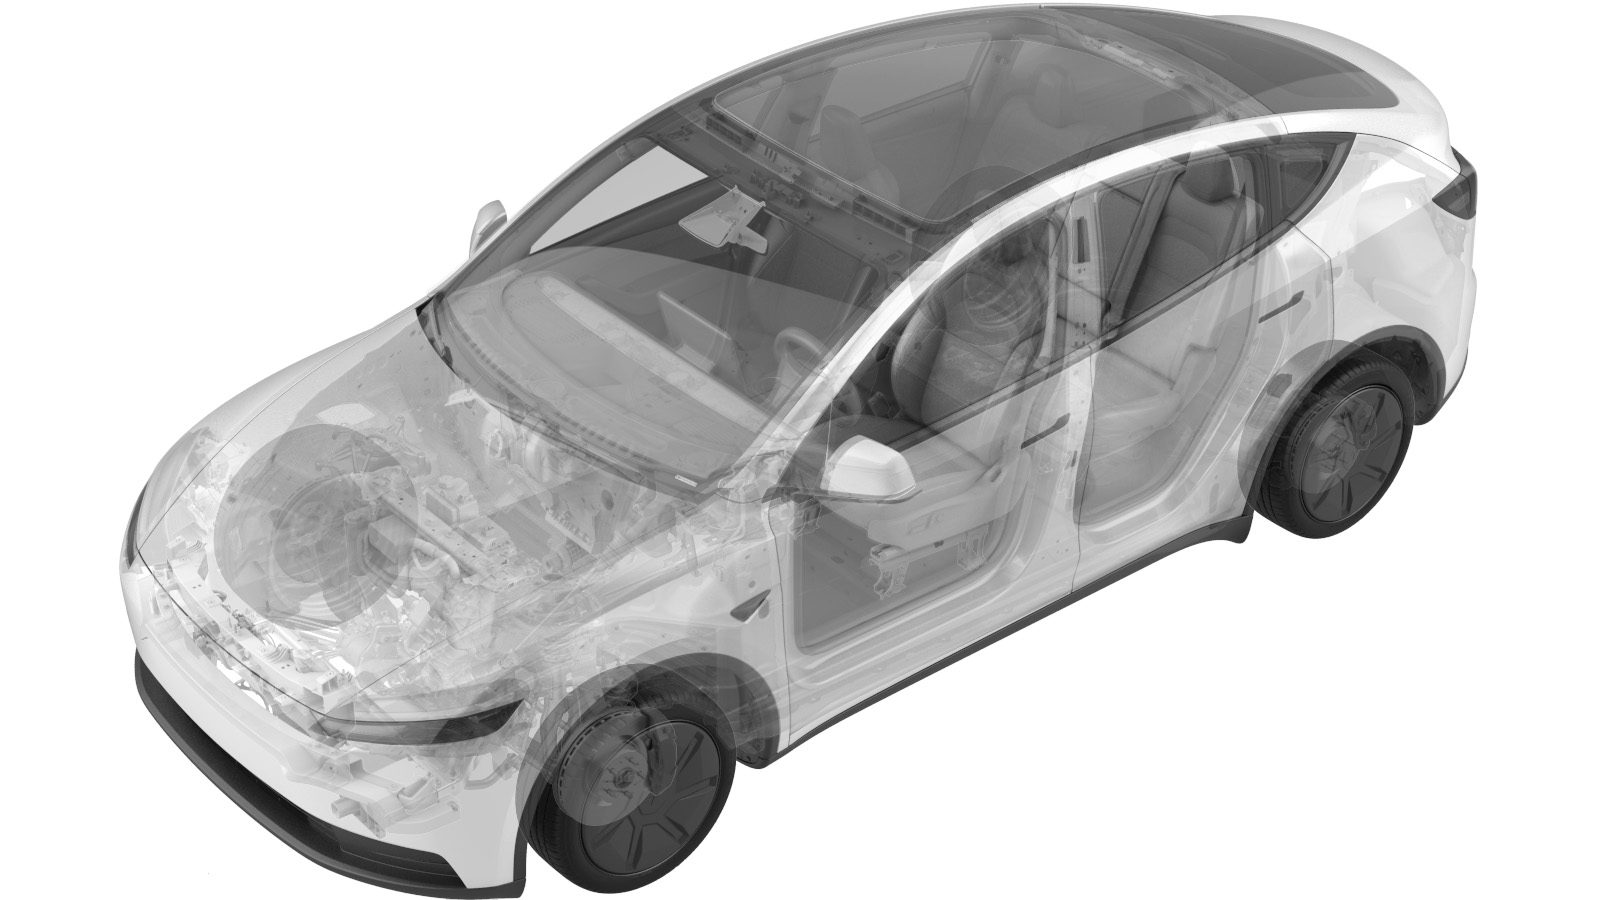
Harness - Headliner (Model Y Standard) (Remove and Install)
 Correction code
17102200001
17102200002
FRT
0.96
NOTE: Unless otherwise explicitly stated in the procedure, the correction code and FRT listed above reflect all of the work required to perform this procedure, including the linked procedures. Do not stack correction codes unless explicitly told to do so.
NOTE: See Flat Rate Times to learn more about FRTs and how they are created.
NOTE: See Personal Protection to make sure you
are wearing proper PPE when performing the procedure below.
NOTE: See Ergonomic Precautions for safe and healthy working practices.
Correction code
17102200001
17102200002
FRT
0.96
NOTE: Unless otherwise explicitly stated in the procedure, the correction code and FRT listed above reflect all of the work required to perform this procedure, including the linked procedures. Do not stack correction codes unless explicitly told to do so.
NOTE: See Flat Rate Times to learn more about FRTs and how they are created.
NOTE: See Personal Protection to make sure you
are wearing proper PPE when performing the procedure below.
NOTE: See Ergonomic Precautions for safe and healthy working practices.
Warning
This procedure is a DRAFT.
Although it has been validated, Warnings and Cautions might be missing. Follow safety
requirements and use extreme caution when working on or near High Voltage systems and
components.
- 2025-10-01: Released new procedure.
Remove
-
Open all four doors
-
Lower all four windows
-
Open liftgate
-
Fold 2nd row 60 seatback down
NoteVia seat switch or manual tether, Protect seat back upholstery if necessary
-
Fold 2nd row 40 seatback down
NoteVia seat switch or manual tether, Protect seat back upholstery if necessary
-
Move LH front seat backward
NoteVia UI > Seat Controls, Use steering wheel scroll wheel as needed
-
Tilt LH front seatback backward
NoteVia UI > Seat Controls, Use steering wheel scroll wheel as needed
-
Move RH front seat backward
NoteVia UI > Seat Controls
-
Tilt RH front seatback backward
NoteVia UI > Seat Controls
-
Remove LH front body primary
seal
NoteStart from the upper corner closest to upper B-pillar, Pull straight down along the length of the seal to fully release from the vehicle
-
Remove LH IP end cap
Note5x clips, 2x guide tabs
-
Remove LH upper A pillar trim
Note5x clips, 2x guide tabs, 1x location pin, 1x tether, Pull inside of the upper portion of upper A pillar, Depress 2x tabs to remove tether from body side, Then pull upper A pillar upward to remove, Tether may very on revision
-
Remove LH sun visor bracket
cover
Note4x clips, Extending the sun visor may allow for extra working room
-
Remove LH sun visor from
headliner
Note1x screw, T25, 3.5 Nm, 1x connector, Fold sun visor to the closed and folded down position but do not latch in place
-
Partially remove LH lower A pillar
trim
Note2x clips, 3x datums, Pull rearwards at upper section of trim to release, Rotate inwards then allow trim to rest on IP trim, Trim does not need to be fully removed, All clips and datums shown in image for clarity
-
Release headliner harness from LH
A-pillar area
Note7x clips, 1x connector, Disengage locking tab
-
Remove LH rear body primary seal
NoteStart near the lower left corner of quarter glass, pull out primary seal by work your way to fully release from vehicle
-
Partially remove LH lower B pillar
trim
Note6x clips, 2x tabs, Spread upper section outwards to release tabs from upper B pillar trim, Release only upper section of trim, All clips and datums shown in image for clarity
-
Release LH upper B pillar trim
Note2x edge clips, 2x clips, 2x locator pins, Pull the bottom of the upper B-pillar toward inside of the car, then pull the top to release the remaining clips
-
Partially remove LH trunk side
trim
Note9x clips, Release only upper section of trim, Use caution to avoid straining 12v socket harness at rear of trim, All clips and datums shown in image for clarity
-
Remove LH upper C-pillar trim
Note7x clips, 5x datums, 2x tabs, 1x release cable, Release chargeport manual release cable from trim, Allow trim to rest on trunk floor
-
Remove RH front body primary
seal
NoteStart from the upper corner closest to upper B-pillar, Pull straight down along the length of the seal to fully release from the vehicle
-
Partially remove RH upper A pillar
trim
Note4x clips, 1x datum, Pull inwards at upper section of trim to release, Trim does not need to be fully removed, Allow trim to hang from tether, All clips and datums shown in image for clarity
-
Remove RH sun visor bracket
cover
Note4x clips, Extending the sun visor may allow for extra working room
-
Remove RH sun visor from
headliner
Note1x screw, T25, 3.5 Nm, 1x connector, Fold sun visor to the closed and folded down position but do not latch in place
-
Remove RH rear body primary seal
NotePull away from body seal to release
-
Partially remove RH lower B pillar
trim
Note6x clips, 2x tabs, Spread upper section outwards to release tabs from upper B pillar trim, Release only upper section of trim, All clips and datums shown in image for clarity
-
Release RH upper B pillar trim
Note2x edge clips, 2x clips, 2x locator pins, Pull the bottom of the upper B-pillar toward inside of the car, then pull the top to release the remaining clips
-
Partially remove RH trunk side
trim
Note9x clips, Release only upper section of trim, Use caution to avoid straining 12v socket harness at rear of trim, All clips and datums shown in image for clarity
-
Remove RH upper C-pillar trim
Note7x clips, 5x datums, 2x tabs, Allow trim to rest on trunk floor
-
Release LH side of headliner
Note4x clips, 3x bolts, T30, 3 Nm, Pull side of headliner down to access fasteners, Center tether fastener will become accessible once front and rear tethers have been released
-
Release RH side of headliner
Note4x clips, 3x bolts, T30, 3 Nm, Pull side of headliner down to access fasteners, Center tether fastener will become accessible once front and rear tethers have been released
-
Remove headliner assembly
Notex clips, 2x magnets, Recommend assistance, Ensure all clips are fully released at front and rear interface, Gently fold headliner at mid point, Fold only enough to provide clearance to remove via liftgate opening, While maneuvering headliner out of vehicle ensure no component become snagged on edges, Place headliner face up on a clean or protected surface
-
Remove headliner harness
Note5x connectors, 2x clips, 20x harness guides, Peel back NVH material as required for access
Install
-
Install headliner harness
Note5x connectors, 2x clips, 20x harness guides, Return any NVH material to original position
-
Position headliner assembly into
vehicle
Notex clips, 2x magnets, Recommend assistance, Gently fold headliner at mid point then maneuver into position, Fold only enough to provide clearance to position into vehicle via liftgate opening, While maneuvering headliner into vehicle ensure no components become snagged on edges
-
Secure RH headliner tethers
Note3x bolts, T30, 3 Nm, Lift headliner upwards as required, Fasten center tether first
-
Secure LH headliner tethers
Note3x bolts, T30, 3 Nm, Lift headliner upwards as required, Fasten center tether first
-
Secure headliner assembly to
vehicle
Note13x clips, 2x magnets, Apply even force along perimeter of headliner, Push upwards in center of headliner to ensure magnets are engaged, Ensure liftgate seal is correctly position over rear of headliner
-
Install RH upper C-pillar trim
Note7x clips, 4x location pins, 2x guide tabs, Insert guide tab to headliner behind quarterglass, Seat trunk seal to edge of trim
-
Secure RH trunk side trim
Note9x clips, Secure upper section of trim, Ensure trim is fully seated, All clips and datums shown in image for clarity
-
Install RH upper B pillar trim
Note2x edge clips, 2x clips, 2x locator pins, Lower the seat belt slider to align it with the B-pillar panel, align the locating pin of the B-pillar upper trim panel with the slot, push in the direction of the arrow to install the clips after aligning them
-
Secure RH lower B pillar trim
Note6x clips, 2x tabs, Spread upper section outwards to secure tabs to upper B pillar trim, All clips and datums shown in image for clarity
-
Install RH rear body primary
seal
NoteAlign primary seal seam with B-pillar upper to lower trim seal, Ensure seal is full seated around perimeter, Ensure seal overlaps interior trim
-
Install RH sun visor to
headliner
Note1x screw, T25, 3.5 Nm, 1x connector, Fold sunvisor to the closed and folded down position but do not latch in place
-
Install RH sun visor bracket
cover
Note4x tabs
-
Secure RH upper A pillar trim
Note4x clips, 1x datum, Push inwards at upper section of trim to secure, All clips and datums shown in image for clarity
-
Install RH front body primary
seal
NoteAlign primary seal seam with A-pillar mid to lower trim seam, Ensure seal is full seated around perimeter, Ensure seal overlaps interior trim
-
Install LH upper C-pillar trim
Note7x clips, 5x datums, 2x tabs, 1x release cable, Secure chargeport manual release cable to trim, Feed seat belt through the trim if removed, Seat trunk seal to edge of trim
-
Secure LH trunk side trim
Note9x clips, Secure upper section of trim, Ensure trim is fully seated, All clips and datums shown in image for clarity
-
Install LH upper B pillar trim
Note2x edge clips, 2x clips, 2x locator pins, Lower the seat belt slider to align it with the B-pillar panel, align the locating pin of the B-pillar upper trim panel with the slot, push in the direction of the arrow to install the clips after aligning them
-
Secure LH lower B pillar trim
Note6x clips, 2x tabs, Spread upper section outwards to secure tabs to upper B pillar trim, All clips and datums shown in image for clarity
-
Install LH rear body primary
seal
NotePlace seam on primary seal is even with B-Pillar top end, and start here follow clockwise to install primary seal to vehicle, Apply pressure to fully seat, Verify seal is seated properly on all trim panels and headliner
-
Install headliner harness to LH
A-pillar area
Note7x clips, 1x connector, Engage locking tab
-
Secure LH lower A pillar trim
Note2x clips, 3x tabs, Rotate upper section of trim into position, Ensure tabs are engaged with body and footwell support
-
Install LH sun visor to
headliner
Note1x screw, T25, 3.5 Nm, 1x connector, Fold sunvisor to the closed and folded down position but do not latch in place
-
Install LH sun visor bracket
cover
Note4x tabs
-
Install LH upper A pillar trim
Note5x clips, 2x guide tabs, 1x datum, 1x tether, Slide lower section of trim into slot on IP, Secure tether to body, Engage clips working bottom to top, Ensure primary seal rests over trim, Tether may vary by revision
-
Install LH IP end cap
Note5x clips, 2x guide tabs
-
Install LH front body primary
seal
NotePlace seam on primary seal is even with IP end cap lower end, and then Start from here along clockwise to install primary seal to body, Apply pressure to fully seat, Verify seal is seated properly on all trim panels and headliner
-
Move RH front seat to original
position
NoteVia UI > Seat Controls
-
Move LH front seat to original
position
NoteVia UI > Seat Controls, Use steering wheel scroll wheel as needed
-
Move 2nd row 40 seatback to vertical
position
NoteVia seat switch or manual tether, Remove seatback protection if necessary
-
Return 2nd row 60 seatback to vertical
position
NoteVia seat switch or manual tether, Remove seatback protection if necessary
-
Close liftgate
-
Raise all four windows
NoteVia LH front door switch
-
Close all four doors
NoteUnlatch doors before closing if necessary