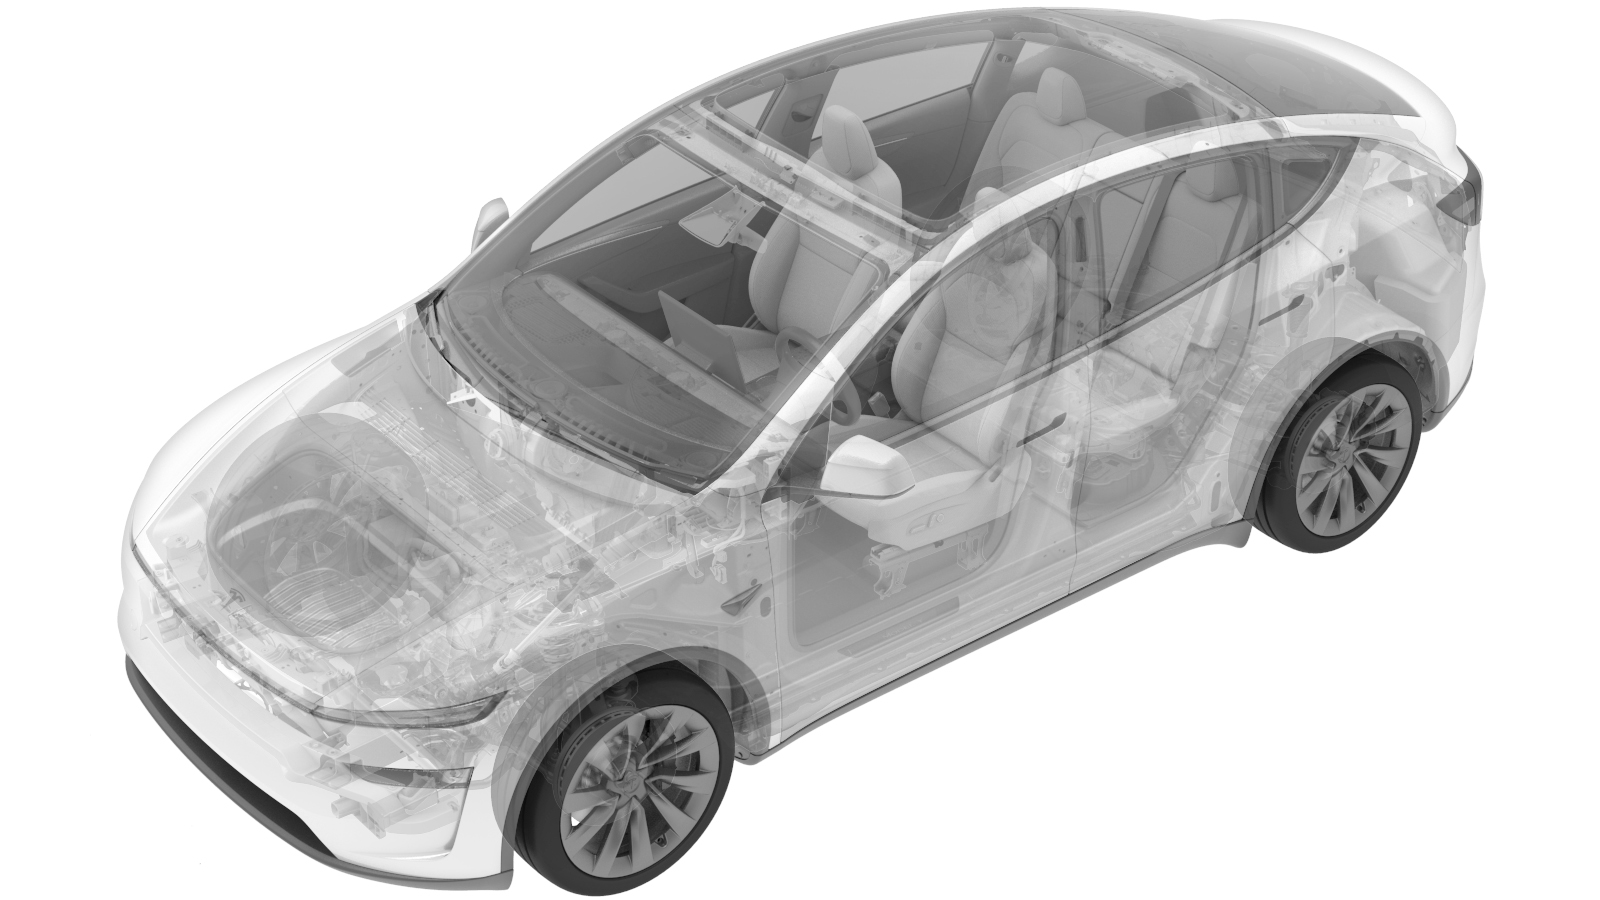
Electric Steering Column - RHD (Remove and Install)
 Correction code
3205010201
FRT
0.65
NOTE: Unless
otherwise explicitly stated in the procedure, the above correction code and
FRT reflect all of the work required to perform this procedure, including
the linked procedures. Do
not stack correction codes unless explicitly told to do so.
NOTE: See Flat Rate
Times to learn more about FRTs and how
they are created. To provide feedback on FRT values, email ServiceManualFeedback@tesla.com.
NOTE: See Personal Protection
to make sure wearing proper PPE when performing the below procedure.
NOTE: See Ergonomic Precautions for safe and
healthy working practices.
Torque Specifications
| Description | Torque Value | Recommended Tools | Reuse/Replace | Notes |
|---|---|---|---|---|
| Nuts (x4) that attach the steering column to the cross car beam |
 15 Nm (11.1 lbs-ft) |
|
Reuse | |
| Bolt that attaches the steering column to the steering gear assembly |
 18 Nm (13.3 lbs-ft) |
|
Replace | 1111523-00-A |
Remove
- Remove the front underhood storage. See Underhood Storage Unit (Remove and Replace).
- Remove the air intake duct. See Duct - Air Intake (Remove and Replace).
-
Remove and discard the bolt that attaches the steering column to the steering gear
assembly.
NoteMay need to turn the steering wheel slightly for better access to the bolt.TIpUse of the following tool(s) is recommended:
- 13 mm socket
- Remove the driver footwell duct. See Instrument Panel - Driver Footwell Duct - RHD (Remove and Replace).
- Remove the lower steering column gap hider. See Gap Hider - Steering Column - Lower (RHD) (Remove and Replace).
-
Slide the electric steering column
upward to remove it from the steering gear assembly.
-
Release the steering column boot from the LH side of the bulkhead.
NoteRelease from one point and work your way around.
- Apply tape to the instrument panel area around the steering column to protect it from damaging.
-
Remove the nuts (x4) that attach the steering column to the cross-car beam.
TIpUse of the following tool(s) is recommended:
- 15 mm socket
-
Remove the steering column upper gap hider from the steering column.
-
Remove the steering column from the vehicle.
NoteTake care to avoid interfering with other parts during removal.
- Rotate and pull the steering column outwards till the connectors are visible.
- Disconnect the connectors (x2).
- Continue to rotate and pull the column outwards till it is completely removed from the vehicle.
Install
-
Install the steering column in the vehicle.
NoteTake care to avoid interfering with other parts during installation.
-
Install the nuts (x4) that attach the steering column to the cross-car beam.
 15 Nm (11.1 lbs-ft)TIpUse of the following tool(s) is recommended:
- 15 mm socket
- Remove the tape from the instrument panel.
-
Install the steering column boot to the LH side of the bulkhead.
NoteApply pressure along seal to verify it is fully seated.
-
Slide the electric steering column
downward to install it to the steering gear assembly.
NoteEnsure the intermediate shaft is aligned and fully seated.
- Install the lower steering column gap hider. See Gap Hider - Steering Column - Lower (RHD) (Remove and Replace).
- Install the driver footwell duct. See Instrument Panel - Driver Footwell Duct - RHD (Remove and Replace).
-
Install a new bolt that attaches the steering column to the steering gear
assembly.
 18 Nm (13.3 lbs-ft)NoteMay need to turn the steering wheel slightly for better access to the bolt.TIpUse of the following tool(s) is recommended:
- 13 mm socket
- Install the air intake duct. See Duct - Air Intake (Remove and Replace).
- Install the front underhood storage. See Underhood Storage Unit (Remove and Replace).