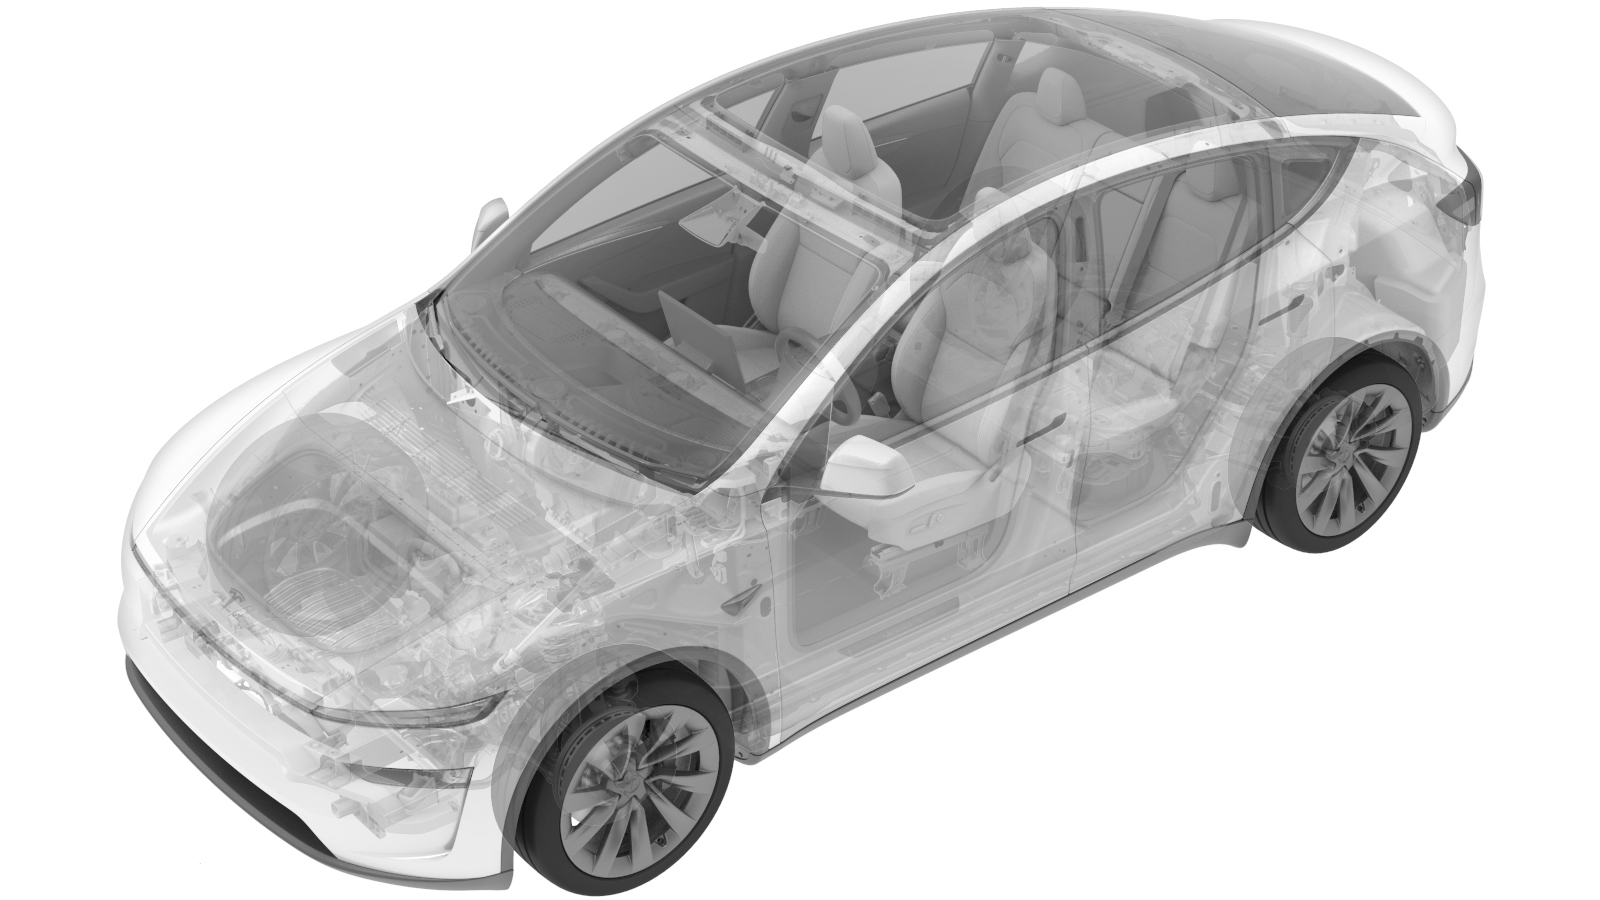
Bracket - Front License Plate - Japan (Install)
 Correction code
1207010301
FRT
0.06
NOTE: Unless
otherwise explicitly stated in the procedure, the above correction code and
FRT reflect all of the work required to perform this procedure, including
the linked procedures. Do
not stack correction codes unless explicitly told to do so.
NOTE: See Flat Rate
Times to learn more about FRTs and how
they are created. To provide feedback on FRT values, email ServiceManualFeedback@tesla.com.
NOTE: See Personal Protection
to make sure wearing proper PPE when performing the below procedure.
NOTE: See Ergonomic Precautions for safe and
healthy working practices.
- 2125013-00-A - Front license plate bracket Japan, 2025+ MY
Torque Specifications
| Description | Torque Value | Recommended Tools | Reuse/Replace | Notes |
|---|---|---|---|---|
| Screws (x4) that secure the front license plate bracket |
 0.8 Nm (7 lbs-in) |
|
Reuse |
Procedure
- Clean the front fascia surface in preparation for installation of the front license plate bracket.
-
Align the locating pins (x2) on the alignment tool to the holes (x2) on the
front license plate bracket.
-
Install the front license plate bracket to the front fascia.
NoteAlign the tool with the fascia grille middle vertical grille bar, and with the first and second horizontal grille bars.
-
Install the screws (x4) that
secure the front license plate bracket, and then remove the alignment
tool.
 0.8 Nm (7 lbs-in)CAUTIONDo not over torque the screws.NoteSelf-drilling screws may require some force to pierce the fascia before they begin to engage.TIpUse of the following tool(s) is recommended:
- DRIVER KIT, 1/4" HEX, M12
- ¼ in hex to ¼ in square 2 in adapter
- 8 mm socket
- Ratchet/torque wrench