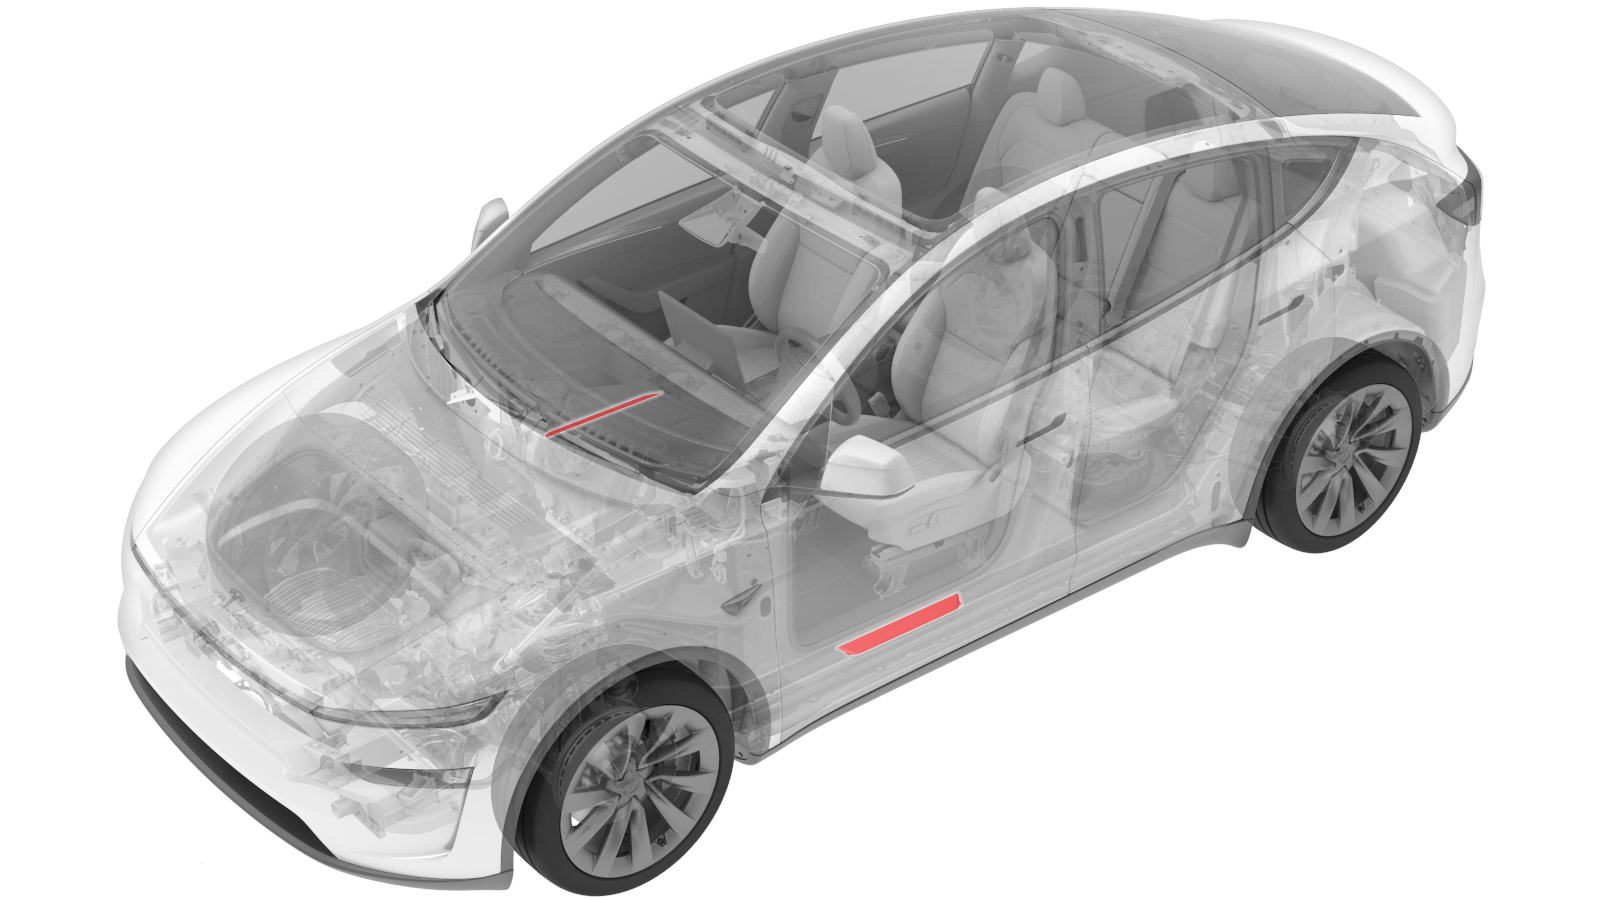
Sill Plate (Remove and Replace)
 Correction code
1205010802
FRT
0.12
NOTE: Unless
otherwise explicitly stated in the procedure, the above correction code and
FRT reflect all of the work required to perform this procedure, including
the linked procedures. Do
not stack correction codes unless explicitly told to do so.
NOTE: See Flat Rate
Times to learn more about FRTs and how
they are created. To provide feedback on FRT values, email ServiceManualFeedback@tesla.com.
NOTE: See Personal Protection
to make sure wearing proper PPE when performing the below procedure.
NOTE: See Ergonomic Precautions for safe and
healthy working practices.
- 1071510-00-A Eraser Wheel
- 1049517-00-A Seam Roller, Silicone, 5"
Remove
- Open the LH front door and lower the LH front window.
- Use IPA wipes to clean around the sill plate.
-
Apply masking tape around
the perimeter of the sill plate to mark the installation positioning.
NotePlace the tape as closely around the sill plate as possible.
-
Use a plastic trim tool to carefully
pry up the sill plate. Pull out the door sill plate when all adhesive is
separated.
CAUTIONBe careful not to damage the vehicle trim or body.
-
Use the eraser wheel and IPA wipes to
clean off any remaining adhesive.
Install
- Remove the adhesive backing from the new sill plate.
- Using the masking tape as a guide, carefully place the new sill plate into place and press down on it to adhere it to the vehicle.
-
Use a seam roller to fully
wet out the adhesive.
- Remove the protective film from the sill plate.
- Remove the masking tape from the door sill.
- Raise the LH front window and close the LH front door.