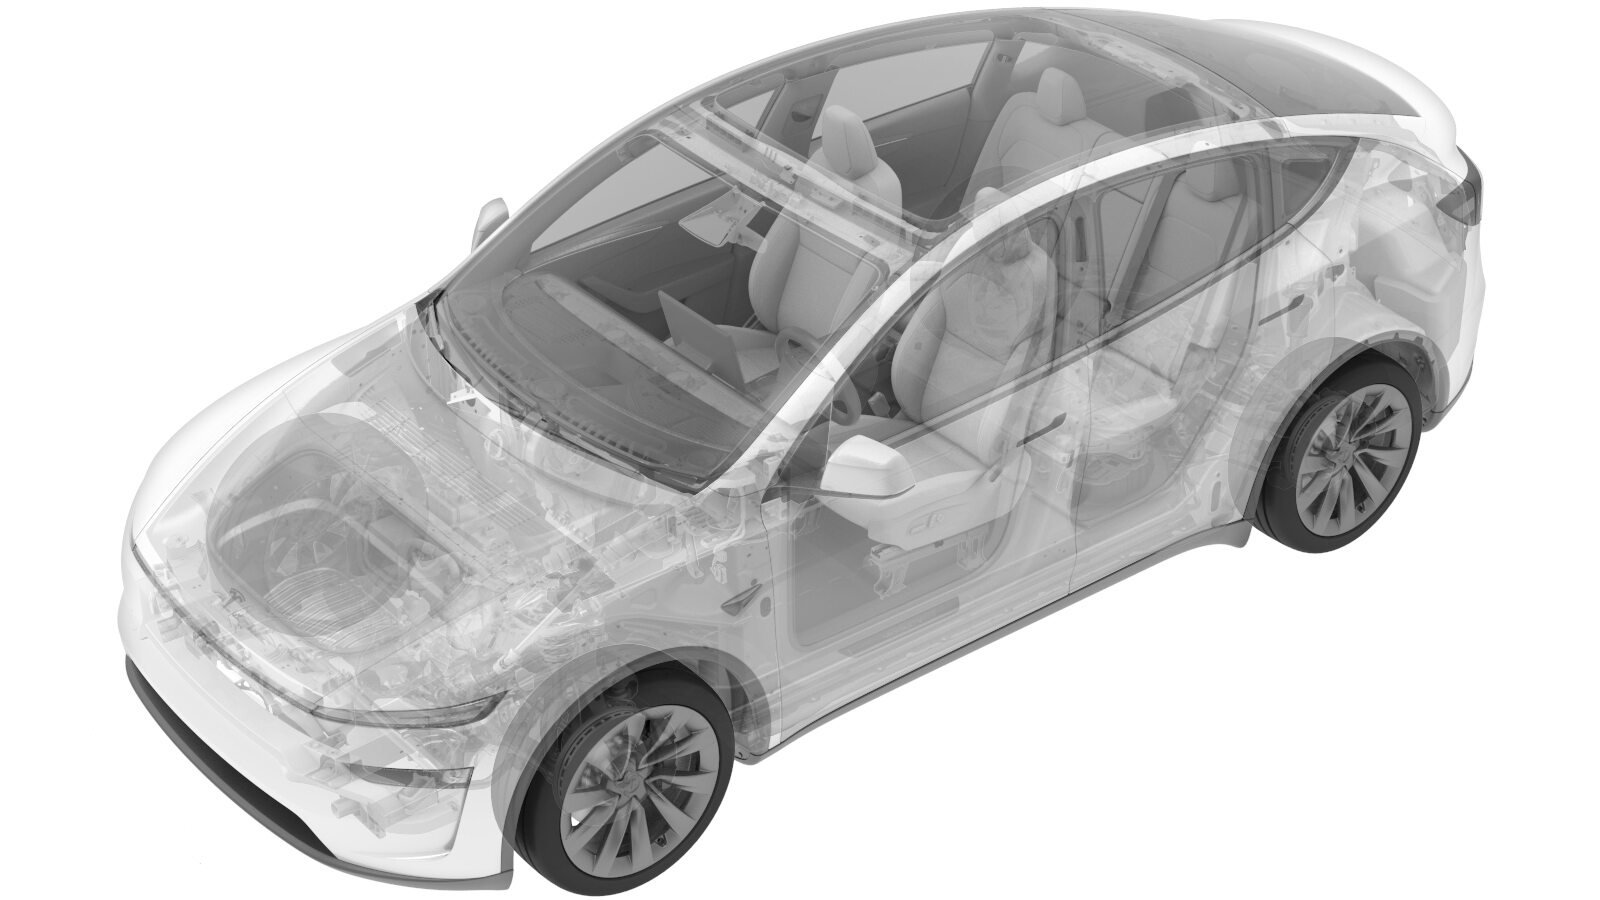
High Voltage Harness - Heat Pump (Remove and Replace)
 Correction code
4450010702
0.72
NOTE: Unless
otherwise explicitly stated in the procedure, the above correction code and
FRT reflect all of the work required to perform this procedure, including
the linked procedures. Do
not stack correction codes unless explicitly told to do so.
NOTE: See Flat Rate
Times to learn more about FRTs and how
they are created. To provide feedback on FRT values, email ServiceManualFeedback@tesla.com.
NOTE: See Personal Protection
to make sure wearing proper PPE when performing the below procedure.
NOTE: See Ergonomic Precautions for safe and
healthy working practices.
Torque Specifications
| Description | Torque Value | Recommended Tools | Reuse/Replace | Notes |
|---|---|---|---|---|
| Bolt securing AC compressor HV harness bracket to AC compressor |
 22 Nm (16.2 lbs-ft) |
|
Reuse |
- 2026-01-09: Reassigned Correction Codes to 4450010701, 4450010702.
Remove
- Perform vehicle HV Disablement Procedure. See Vehicle HV Disablement Procedure.
- Remove the front aero shield panel. See Aero Shield - Front (Remove and Replace).
-
Disconnect AC compressor HV harness connector.
NoteDisengage the red locking tab by pulling it away from the connector, depress yellow tab and pull the connector backward then depress the green tab to release.
-
Release HV connector mount bracket from stud on LH side of firewall.
-
Release retaining clips (X2) securing AC compressor HV harness to studs on RH side of firewall.
- Lower vehicle fully.
-
Remove retaining clips securing AC compressor HV harness to shock tower support brace.
NoteDo not pull on HV cable, Discard damaged clips.
-
Disconnect HVIL connector.
-
Remove retaining clip securing AC compressor logic harness to AC compressor HV harness bracket.
-
Remove fastener securing AC compressor HV harness bracket to AC compressor.
TIpUse of the following tool(s) is recommended:
- Socket 3/8in Dr. 6pt. Std. x 13mm
- Extension 3/8in Dr. x 3in
-
Disconnect HV harness connector from AC compressor.
-
Lift up the AC Compressor Harness, and then remove it from AC compressor.
Install
-
Route AC Compressor HV harness.
NoteVisually inspect the clips and replace them if damaged.
-
Connect HV harness connector to AC compressor.
-
Install fastener securing AC compressor HV harness bracket to AC compressor.
 22 Nm (16.2 lbs-ft)TIpUse of the following tool(s) is recommended:
- Socket 3/8in Dr. 6pt. Std. x 13mm
- Extension 3/8in Dr. x 3in
-
Install retaining clip securing AC compressor logic harness to AC compressor HV harness bracket.
-
Install retaining clips securing AC compressor HV harness to shock tower support brace.
NoteDo not pull on HV cable, Discard damaged clips.
-
Connect HVIL connector.
- Raise vehicle fully and lower lift onto locks.
-
Install retaining clips (X2) securing AC compressor HV harness to studs on RH side of firewall.
-
Install HV connector mount bracket to stud on LH side of firewall.
-
Connect AC compressor HV harness connector.
NoteDisengage the red locking tab by pulling it away from the connector, depress yellow tab and pull the connector backward then depress the green tab to release.
- Install the front aero shield panel. See Aero Shield - Front (Remove and Replace).
- Connect the LV battery. See LV Power (Disconnect and Connect) (Modify).
- Install 2nd row seat cushion.
- Move RH and LH front seat to original position.
- Raise all windows and Close all four doors.
- Remove vehicle from lift.