Rear Fascia Assembly (Model Y Standard) (Remove and Install)
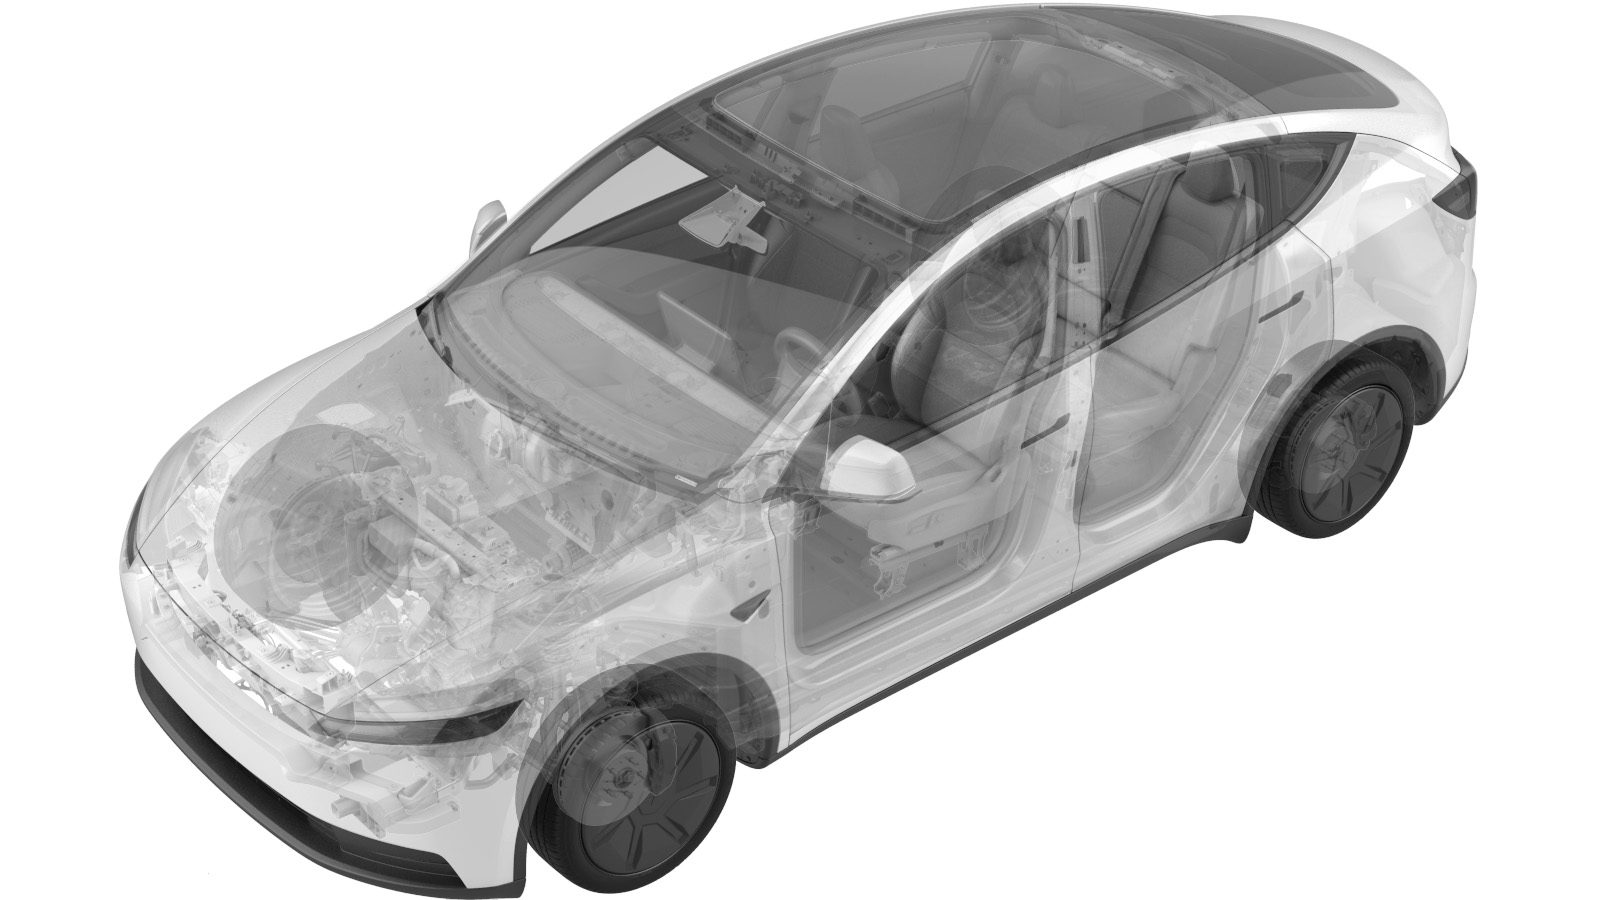 Correction code
10011400501
0.48
NOTE: Unless
otherwise explicitly stated in the procedure, the correction code and its
associated FRT reflect all of the work required to perform this procedure,
including the linked procedures. Do not stack correction
codes unless explicitly told to do so.
NOTE: See Flat Rate Times to
learn more about FRTs and how they are created.
NOTE: See Personal Protection to make
sure you are wearing proper PPE when performing the procedure below.
NOTE: See Ergonomic Precautions for safe and healthy
working practices.
Correction code
10011400501
0.48
NOTE: Unless
otherwise explicitly stated in the procedure, the correction code and its
associated FRT reflect all of the work required to perform this procedure,
including the linked procedures. Do not stack correction
codes unless explicitly told to do so.
NOTE: See Flat Rate Times to
learn more about FRTs and how they are created.
NOTE: See Personal Protection to make
sure you are wearing proper PPE when performing the procedure below.
NOTE: See Ergonomic Precautions for safe and healthy
working practices.
- 2026-03-16: Released new procedure.
Remove
-
Open the LH rear door.
-
Lower the LH rear window.
-
Remove the LH rear fender garnish from
the vehicle.
Note11x clips, 2x tabs, Release from center of garnish and work your way outward towards both ends, Using clip prytool release clips at rear of fascia to avoid damage to garnish
-
Remove the screw that secure the LH
rear fascia to the body.
Note1x screw, 8mm, 2 Nm
- Remove the LH tail lamp. See Tail Lamp - LH (Body Side) (Model Y Standard) (Remove and Replace).
-
Remove the bolt that secures the LH
corner of the rear fascia to the body.
Note1x bolt, 10mm, 3.5 Nm
-
Open the RH rear door.
-
Lower the RH rear window.
-
Remove the RH rear fender garnish from
the vehicle.
Note11x clips, 2x tabs Release from center of garnish and work your way outward towards both ends, Using clip prytool release clips at rear of fascia to avoid damage to garnish
-
Remove the screw securing the RH rear
fascia to the body.
Note1x screw, 8mm, 2 Nm
- Remove the RH tail lamp. See Tail Lamp - LH (Body Side) (Model Y Standard) (Remove and Replace).
-
Remove the bolt that secures the RH
corner of the rear fascia to the body,
Note1x bolt, 10mm, 3.5 Nm
-
Remove the rear fascia diffuser front
bolts (x2)
Note10mm, 5 Nm
-
Release the rear fascia
diffuser.
Note7x bolts, 10mm, The five center bolts 5 Nm, both outside bolts 4 Nm, 6x push clips, 2x fastener covers
-
Release the rear fascia assembly from
the body.
Note1x connector, Disengage locking tab, Recommend assistance, Place rear fascia on padded surface to avoid damage
Install
-
Secure the rear fascia assembly onto
the body.
Note1x connector, Engage locking tab, Recommend assistance
-
Secure the rear fascia diffuser.
Note7x bolts, 10mm, The five center bolts 5 Nm, both outside bolts 4 Nm, 6x push clips, 2x fastener covers, Apply Loctite 222 onto bolts
-
Install the rear fascia diffuser front
bolts.
Note2x bolts, 10mm, 5 Nm, Apply Loctite 222 onto rear aero shield bolts
-
Install the bolt that secures the RH
corner of the rear fascia to the body.
Note1x bolt, 10mm, 3.5 Nm
- Install the RH tail lamp. See Tail Lamp - LH (Body Side) (Model Y Standard) (Remove and Replace).
-
Install the screw that secures the RH
corner of the rear fascia to the body.
Note1x screw, 10mm, 2 Nm
-
Install the RH rear fender
garnish.
Note11x clips, 2x tabs, Install ends of garnish into rocker panel and rear diffuser then work your way from rear towards front of garnish
-
Raise the RH rear window.
-
Close the RH rear door.
-
Install the bolt that secures the LH
corner of the rear fascia to the body.
Note1x bolt, 10mm, 3.5 Nm
- Install the LH tail lamp. See Tail Lamp - LH (Body Side) (Model Y Standard) (Remove and Replace).
-
Install the screw that secures the LH
rear fascia to the body.
Note1x screw, 8mm, 2 Nm
-
Install the LH rear fender garnish to
the vehicle.
Note11x clips, 2x tabs, Install ends of garnish into rocker panel and rear diffuser then work your way from rear towards front of garnish
-
Return the 2nd row 60 seatback to
vertical position.
NoteVia trunk seat switch, Remove seatback protection if necessary
-
Close the liftgate.
-
Raise the LH rear window.
-
Close the LH rear door.