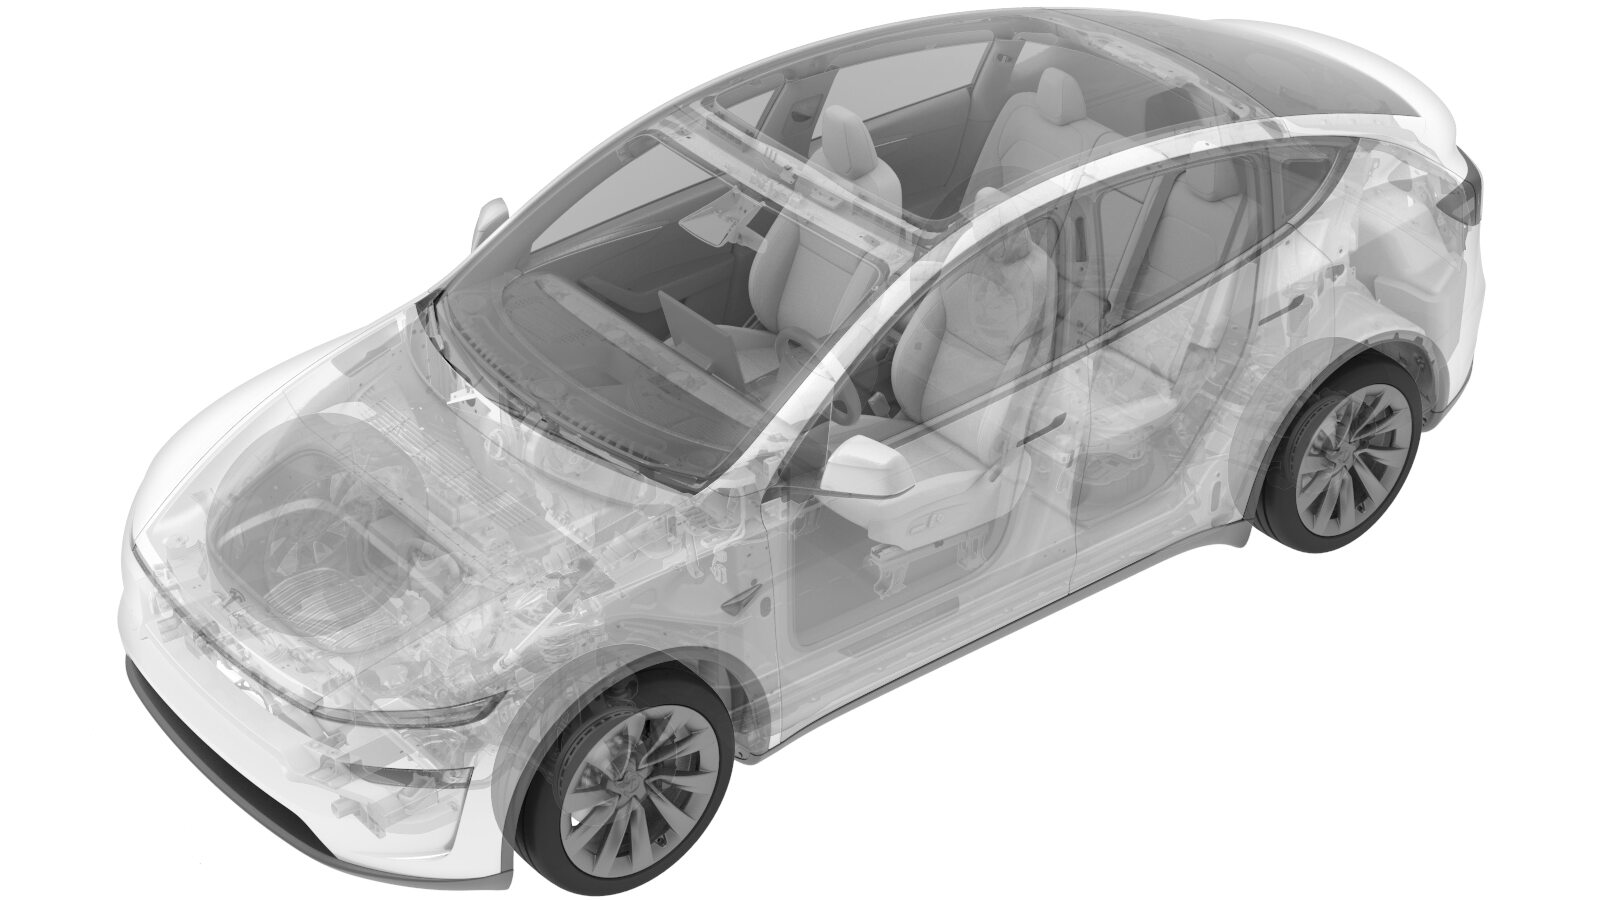
High Voltage Ancillary Harness (Remove and Replace)
 Correction code
4450010202
FRT
1.14
NOTE: Unless
otherwise explicitly stated in the procedure, the above correction code and
FRT reflect all of the work required to perform this procedure, including
the linked procedures. Do
not stack correction codes unless explicitly told to do so.
NOTE: See Flat Rate
Times to learn more about FRTs and how
they are created. To provide feedback on FRT values, email ServiceManualFeedback@tesla.com.
NOTE: See Personal Protection
to make sure wearing proper PPE when performing the below procedure.
NOTE: See Ergonomic Precautions for safe and
healthy working practices.
Torque Specifications
| Description | Torque Value | Recommended Tools | Reuse/Replace | Notes |
|---|---|---|---|---|
| Center ski cover bolts |
 34 Nm (25.1 lbs-ft) |
|
Reuse |
Remove
- Perform the vehicle HV disablement procedure. See Vehicle HV Disablement Procedure.
- Remove the rear HV battery skid plate. See Skid Plate - Rear (Remove and Replace).
- Position a coolant drain container underneath the RH rear of the HV battery.
-
Disconnect the RH coolant hose from the rear of HV battery, and plug the ends of
fittings as soon as possible to avoid coolant loss.
- Remove the coolant drain container from underneath the RH rear of the HV battery.
-
Disconnect the AC HV harness connector from the right rear of HV battery.
NoteRelease the red tab before releasing the black locking lever.
- Remove the front HV battery skid plate. See Skid Plate - HV Battery - Front (Remove and Replace).
-
Disconnect the AC compressor HV harness connector.
NoteDisengage the red locking tab by pulling it away from the connector, then depress the orange tab and pull the connector outward, and then depress the green tab to release the connector.
-
Remove the clips (x2) that attach the ancillary harness bracket to the front of HV
battery.
-
Remove the ancillary harness downwards from below the HV battery and manifold
tube.
-
With assistance, remove the bolts (x6) that attach the center ski cover to the HV
battery.
NoteThe bolts at both ends are short bolts and the bolts in the middle are long.TIpUse of the following tool(s) is recommended:
- External Torx Plus EP14
- Remove the upper cap covers from both FDU and RDU sides of the center ski cover. See Bracket - HV Harness - Ski - Top (Remove and Replace).
-
Remove the HV ancillary harness.
Install
-
Position the ancillary harness onto the HV battery center ski.
NoteEnsure that the installation direction is consistent with the arrow direction on the center ski cover.NoteUse zip ties as the starting point for wiring.
- Install the upper cap covers to both FDU and RDU sides of the center ski cover. See Bracket - HV Harness - Ski - Top (Remove and Replace).
-
With assistance, install the bolts (x6) that attach the center ski cover to the HV
battery.
 34 Nm (25.1 lbs-ft)NoteThe bolts at both ends are short bolts and the bolts in the middle are long.TIpUse of the following tool(s) is recommended:
- External Torx Plus EP14
-
Route the ancillary harness upwards from below the HV battery and manifold
tube.
-
Install the clips (x2) that attach the ancillary harness bracket to the front of HV
battery.
-
Connect the AC compressor HV harness connector.
NoteAfter the connector is seated and there is an audible click, push the red locking tab to double-lock the connector.
- Install the front HV battery skid plate. See Skid Plate - HV Battery - Front (Remove and Replace).
-
Connect the AC HV harness connector to the right rear of HV battery.
NoteHold the connector level with header and secure with even upward force. Rotate the lever arm and secure locking tab. Verify that the latch is fully secured and not damaged.
-
Remove the plugs on the ends of fittings, and then connect the RH coolant hose to the
rear of HV battery.
NotePerform a push-pull-push test to make sure that the hose is fully secured.NoteCoolant loss greater than 1L requires vacuum fill.
- Install the rear HV battery skid plate. See Skid Plate - Rear (Remove and Replace).
- Install the 2nd row seat cushion. See Seat Cushion - 2nd Row (Remove and Replace).
- Connect the LV battery power. See LV Power (Disconnect and Connect) (Modify).
- Refill the cooling system. See Cooling System (Partial Refill And Bleed) (Modify).
- Install the HEPA filter assembly. See HEPA Filter Assembly (Remove and Replace).