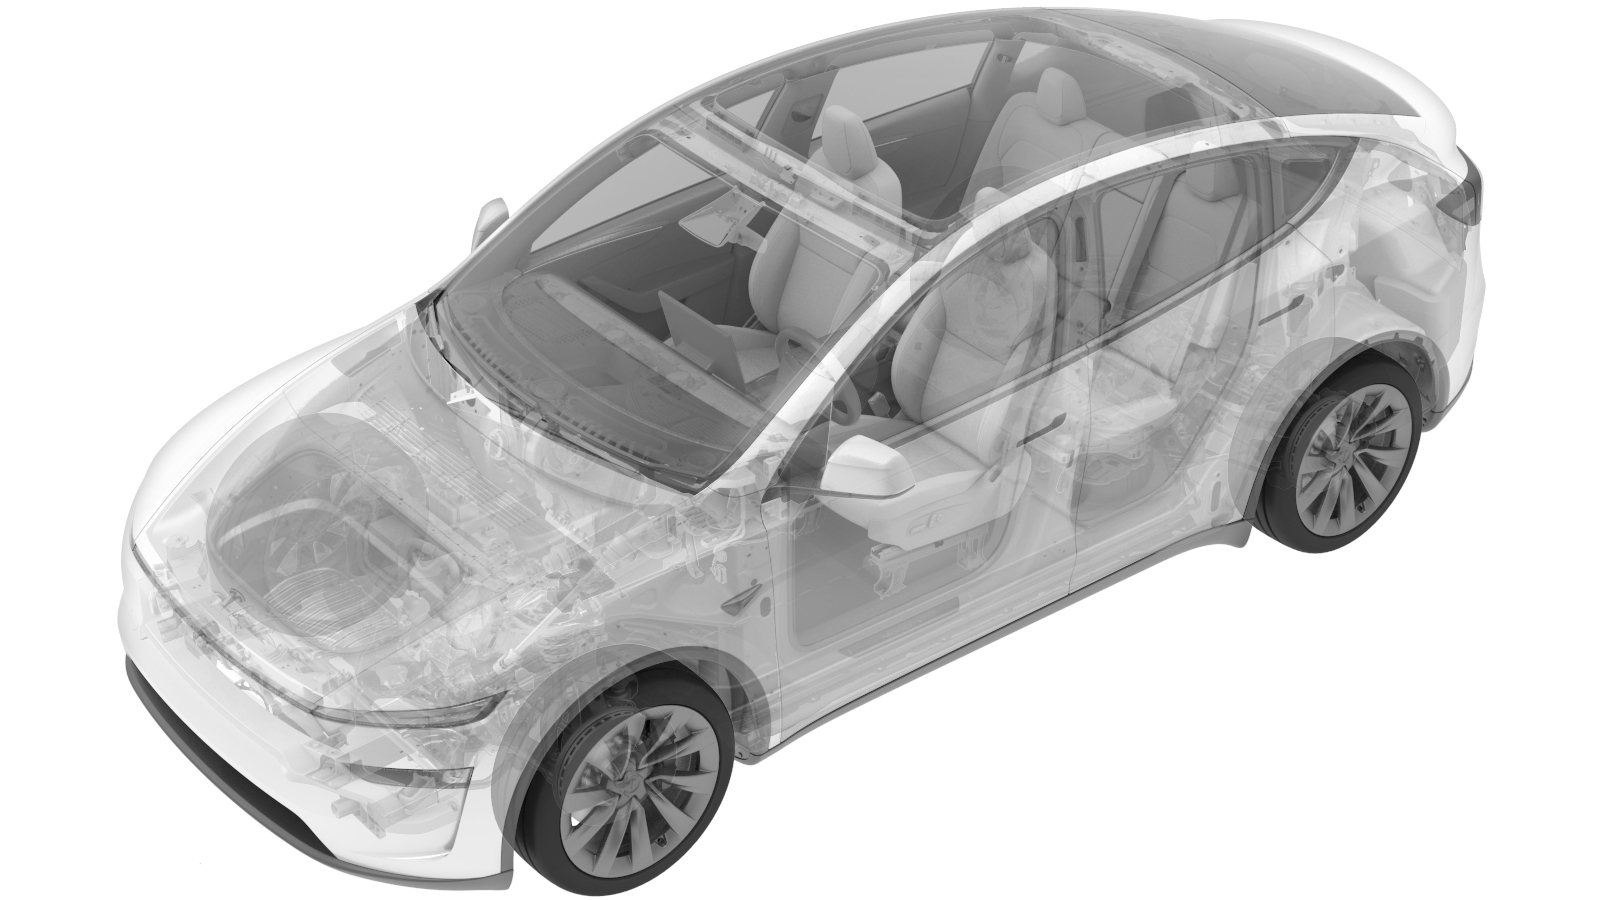
Lamp - Side Repeater Camera - LH (Remove and Install)
 Correction code
1740010301
FRT
0.18
NOTE: Unless
otherwise explicitly stated in the procedure, the above correction code and
FRT reflect all of the work required to perform this procedure, including
the linked procedures. Do
not stack correction codes unless explicitly told to do so.
NOTE: See Flat Rate
Times to learn more about FRTs and how
they are created. To provide feedback on FRT values, email ServiceManualFeedback@tesla.com.
NOTE: See Personal Protection
to make sure wearing proper PPE when performing the below procedure.
NOTE: See Ergonomic Precautions for safe and
healthy working practices.
Remove
- Open the LH front door and lower the LH front window.
- Place the vehicle in Service Mode by using the touchscreen. See Service Mode.
- Press the brake pedal to turn on the drive rail and turn the steering wheel fully to the left.
-
Apply protective tape to the
LH front fender around the LH front side repeater assembly.
- Remove LH front fender garnish. See Fender Garnish - Front - LH (Remove and Replace).
-
Release the clips (x3) to partially
remove the LH front wheel arch liner from the LH front fender.
-
Carefully insert inflatable air bag between the LH front fender and the LH front
wheel arch liner, and then inflate it to gain access to the working area.
-
Release the tabs (x2) that attach the
LH front side repeater assembly to the LH front fender, and then separate the light from
the fender.
NoteRelease the rearmost tab first.CAUTIONIf reinstalling the same side repeater, take care not to damage the mounting tabs.
-
Disconnect the LH front side
repeater assembly connectors (x2), and then remove the assembly from the
vehicle.
CAUTIONWrap the terminals of the camera and wiring harness to prevent them from coming into contact with water or other solutions that could cause damage.
Install
-
Connect the LH front side
repeater assembly connectors (x2).
-
Secure the upper portion of the LH
front side repeater assembly into the LH front fender, and then fasten the tabs (x2)
that attach the assembly to the fender.
CAUTIONIf reinstalling the same side repeater, make sure the mounting tabs are not damaged. If any of the tabs are damaged, replace the repeater.NoteAfter installation, confirm that the tabs are firmly engaged.
- Remove the protective tape from the LH fender around the LH front side repeater assembly.
-
Deflate and remove the inflatable air bag between the LH front fender and the LH
front wheel arch liner.
-
Install the clips (x3) that attach the
LH front wheel arch liner.
- Install LH front fender garnish. See Fender Garnish - Front - LH (Remove and Replace).
- Press the brake pedal to turn on the drive rail and turn the steering wheel to the center position.
- Unlock the vehicle gateway. See Gateway (Unlock).
-
On the touchscreen, tap the Service
Mode "wrench" (at the bottom of the touchscreen UI), and then tap , select
Repeaters
in theCamera Selection
drop list, click Run, and allow the routine to complete. - Exit Service Mode. See Service Mode.
- Raise the LH front window and close the LH front door.