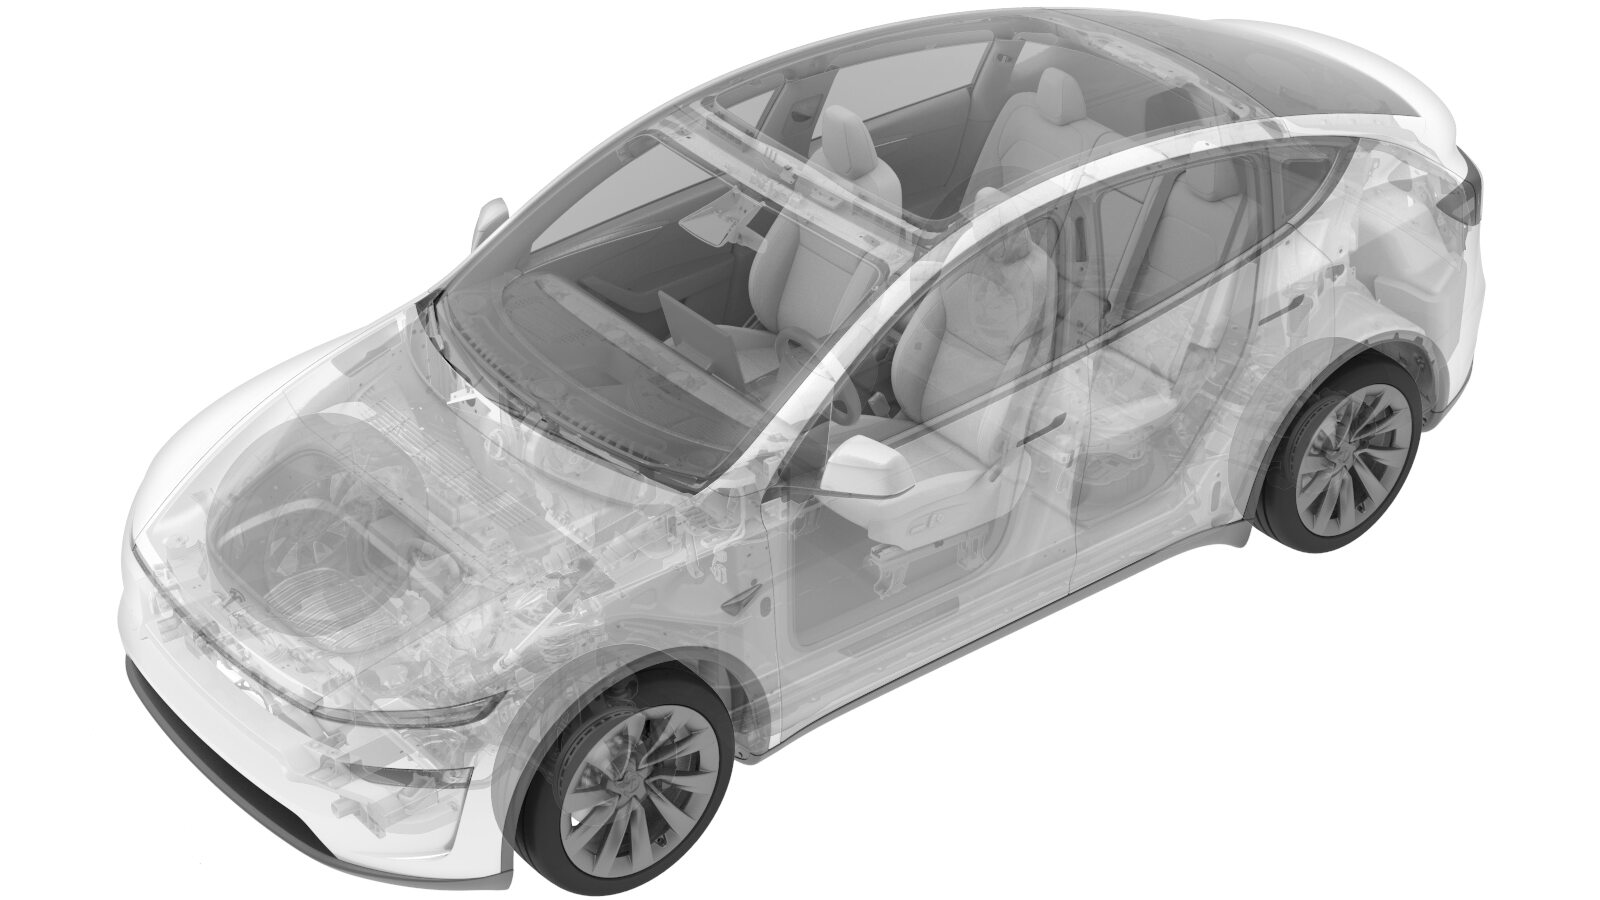
Header - HV - Front Drive Unit (Remove and Replace)
 Correction code
3920010402
FRT
0.6
NOTE: Unless
otherwise explicitly stated in the procedure, the above correction code and
FRT reflect all of the work required to perform this procedure, including
the linked procedures. Do
not stack correction codes unless explicitly told to do so.
NOTE: See Flat Rate
Times to learn more about FRTs and how
they are created. To provide feedback on FRT values, email ServiceManualFeedback@tesla.com.
NOTE: See Personal Protection
to make sure wearing proper PPE when performing the below procedure.
NOTE: See Ergonomic Precautions for safe and
healthy working practices.
Torque Specifications
| Description | Torque Value | Recommended Tools | Reuse/Replace | Notes |
|---|---|---|---|---|
| Bolt that attaches the front drive unit HV harness to the front drive unit |
 10 Nm (7.4 lbs-ft) |
|
Reuse | |
| Bolts (x2) that attach the HV header to the front drive unit |
 6 Nm (4.4 lbs-ft) |
|
Replace | 1496485-00-A |
Remove
- Perform Vehicle HV Disablement Procedure. See Vehicle HV Disablement Procedure.
- Remove the front aero shield. See Aero Shield - Front (Remove and Replace).
-
Disconnect the front drive unit logic connector.
- Put on HV insulating gloves, leather outer gloves, and safety glasses before continuing this procedure.
-
Remove the bolt that attaches the front drive unit HV harness to the front
drive unit.
TIpUse of the following tool(s) is recommended:
- 10 mm socket
-
Slide the red release tab to
unlock the front drive unit HV harness connector, and then slowly unlatch
the release handle on the front drive unit HV harness connector, and then
disconnect the connector from the front drive unit.
CAUTIONDo not force the release lever up.NoteMake sure that the alignment tabs on the front drive unit header are not damaged.
-
Remove the front drive unit
harness from the casting, and then move the harness aside.
- Remove the HV insulating gloves.
-
Remove and discard the bolts
(x2) that attach the HV header to the front drive unit.
TIpUse of the following tool(s) is recommended:
- Torx T30 socket
- Torque wrench with angle measurement
-
Insert the HV header removal tool into the header, push the handle inward
to release the locking tabs, and then gently pull the header to remove
it.
-
Use a 90 degree pick to release the clips (x6) that attach the HV header to
the retainer.
Install
-
Install the new retainer to the front drive unit header.
NotePush the retainer inward till the clips make a clicking sound.
-
Install new bolts (x2) that attach the HV header to the front drive
unit.
 6 Nm (4.4 lbs-ft)TIpUse of the following tool(s) is recommended:
- Torx T30 socket
- Torque wrench with angle measurement
- Perform inverter air leak test. See Inverter Air Leak Test.
- Put on HV insulating gloves, leather outer gloves, and safety glasses before continuing this procedure.
-
Install the HV connector lever lock to the front drive unit HV cable
connector.
-
Install the front drive unit
harness to the casting.
- Align the connector to the front drive unit, and then remove the HV connector lever lock before fully latching the connector.
-
Slowly latch the release
handle while pressing the front drive unit HV harness connector into the
front drive unit.
NoteOnce connected, verify that the locking tab is not damaged and the front drive unit HV connector is fully secured in the latched position.
-
Install the bolt that attaches the front drive unit HV harness to the front
drive unit.
 10 Nm (7.4 lbs-ft)TIpUse of the following tool(s) is recommended:
- 10 mm socket
- Remove the HV insulating gloves.
-
Connect the front drive unit logic connector.
- Install the front aero shield. See Aero Shield - Front (Remove and Replace).
- Connect LV power. See LV Power (Disconnect and Connect) (Modify).
- Install the 2nd row lower seat cushion. See Seat Cushion - 2nd Row (Remove and Replace).