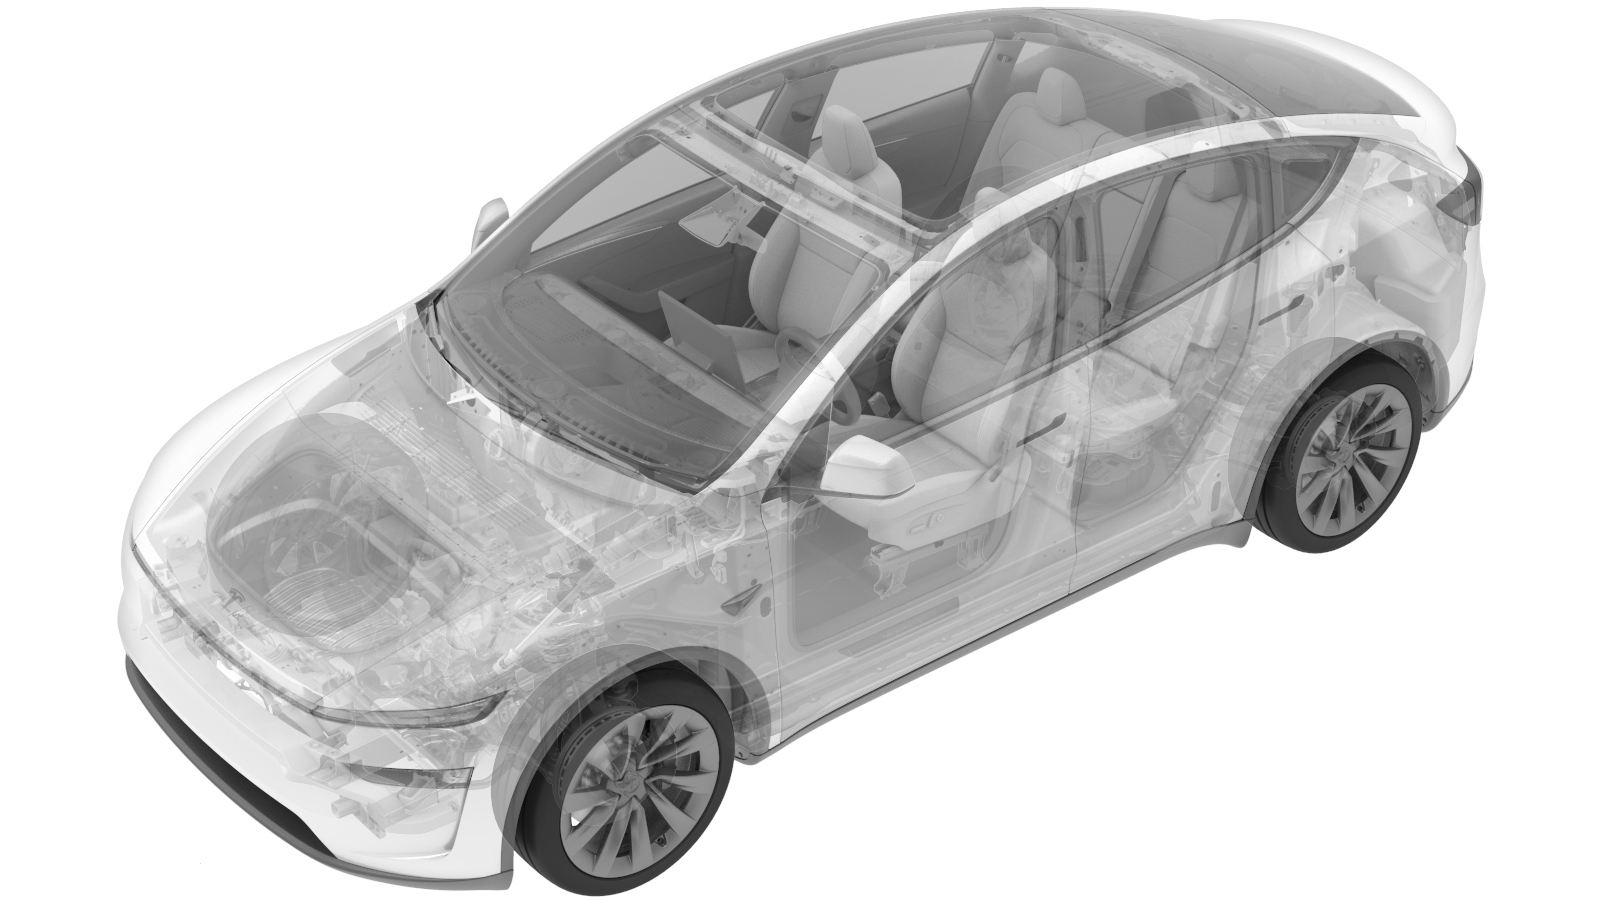
Seat Position Sensor - 5-Seater - RH (Remove and Replace)
 Correction code
1302011102
0.18
NOTE: Unless
otherwise explicitly stated in the procedure, the above correction code and
FRT reflect all of the work required to perform this procedure, including
the linked procedures. Do
not stack correction codes unless explicitly told to do so.
NOTE: See Flat Rate
Times to learn more about FRTs and how
they are created. To provide feedback on FRT values, email ServiceManualFeedback@tesla.com.
NOTE: See Personal Protection
to make sure wearing proper PPE when performing the below procedure.
NOTE: See Ergonomic Precautions for safe and
healthy working practices.
Correction code
Correction code
1302011102
0.18
NOTE: Unless
otherwise explicitly stated in the procedure, the above correction code and
FRT reflect all of the work required to perform this procedure, including
the linked procedures. Do
not stack correction codes unless explicitly told to do so.
NOTE: See Flat Rate
Times to learn more about FRTs and how
they are created. To provide feedback on FRT values, email ServiceManualFeedback@tesla.com.
NOTE: See Personal Protection
to make sure wearing proper PPE when performing the below procedure.
NOTE: See Ergonomic Precautions for safe and
healthy working practices.
Torque Specifications
| Description | Torque Value | Recommended Tools | Reuse/Replace | Notes |
|---|---|---|---|---|
| Screw that attaches the seat position sensor to the seat frame |
 0.8 Nm (7 lbs-in) |
|
Reuse |
Remove
- Remove the RH 2nd row backpanel. See 2nd Row - Backpanel - RH (Remove and Replace).
-
Remove the clip that secures the 2nd
row 40 seat position sensor connector.
-
Disconnect the 2nd row 40 seat
position sensor connector.
-
Remove the screw that attaches the
seat position sensor to the RH 2nd row seat frame.
NoteGently press inward to disengage the sensor, then pull downward to detach it.TIpUse of the following tool(s) is recommended:
- Torx T20 socket
Replace
-
Install the screw that attaches the
seat position sensor to the RH 2nd row seat frame.
 0.8 Nm (7 lbs-in)NoteGently push the sensor upward.TIpUse of the following tool(s) is recommended:
- Torx T20 socket
- Connect the 2nd row 40 seat position sensor connector.
- Install the clip that secures the 2nd row 40 seat position sensor connector.
- Install the RH 2nd row backpanel. See 2nd Row - Backpanel - RH (Remove and Replace).
- Connect a laptop to the diagnostic port of the vehicle, and then use Toolbox 3 to locally connect to the vehicle. See Toolbox (Connect and Disconnect).
- In Toolbox, click the Actions tab, type "Recline" into the search field, click PROC_VCRIGHT_X_2R-SEAT-RECLINE-CALIBRATIONvia Toolbox: (link)via Service Mode: Low Voltage ➜ Second Row Seats ➜ Calibrate, click Run, and allow the routine to complete.
- Exit Service Mode Plus and disconnect the laptop from the vehicle. See Service Mode Plus.