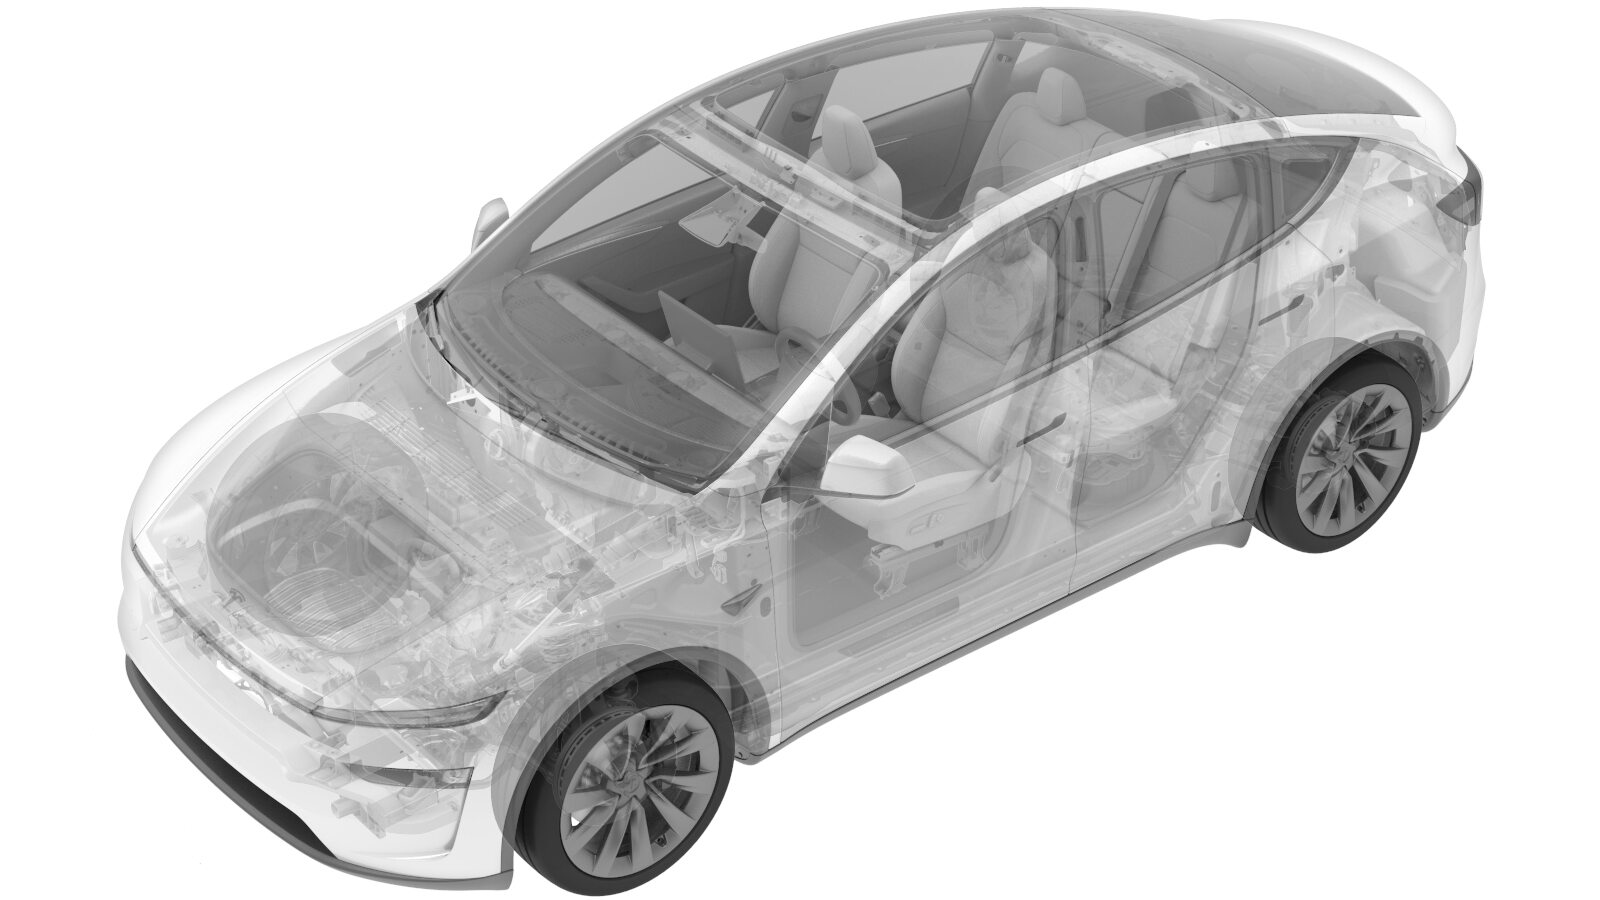
Camera - B-Pillar - LH (Remove and Install)
 Correction code
1722010001
FRT
0.18
NOTE: Unless
otherwise explicitly stated in the procedure, the above correction code and
FRT reflect all of the work required to perform this procedure, including
the linked procedures. Do
not stack correction codes unless explicitly told to do so.
NOTE: See Flat Rate
Times to learn more about FRTs and how
they are created. To provide feedback on FRT values, email ServiceManualFeedback@tesla.com.
NOTE: See Personal Protection
to make sure wearing proper PPE when performing the below procedure.
NOTE: See Ergonomic Precautions for safe and
healthy working practices.
Correction code
1722010001
FRT
0.18
NOTE: Unless
otherwise explicitly stated in the procedure, the above correction code and
FRT reflect all of the work required to perform this procedure, including
the linked procedures. Do
not stack correction codes unless explicitly told to do so.
NOTE: See Flat Rate
Times to learn more about FRTs and how
they are created. To provide feedback on FRT values, email ServiceManualFeedback@tesla.com.
NOTE: See Personal Protection
to make sure wearing proper PPE when performing the below procedure.
NOTE: See Ergonomic Precautions for safe and
healthy working practices.
Torque Specifications
| Description | Torque Value | Recommended Tools | Reuse/Replace | Notes |
|---|---|---|---|---|
| Screws (x2) that attach the LH B-pillar camera to the LH B-pillar |
 0.45 Nm (4 lbs-in) |
|
Reuse |
Remove
- Open both LH doors and lower both LH windows.
-
Partially remove the LH rear primary seal (near the B-pillar area).
-
Remove the double-sided tape underneath the LH B-pillar applique.
-
Pry up the upper part of the LH B-pillar applique, and release the upper clip.
NoteInsert the clip molding remover tool 7.5cm below the left B-pillar camera. Ensure that the tool is located under the B-pillar trim seal.
-
Pry up the lower part of the LH B-pillar applique, and release the lower clip.
NoteInsert the clip molding removal tool 6cm above the bottom of the LH B-pillar applique. Ensure that the tool is located under the B-pillar trim seal.
-
Slightly slide the B-pillar applique down to release the assembly from the
body.
CAUTIONCamera harness is still connected. Do not fully remove the applique.
-
Use a clip prytool to release the LH B-pillar applique seal and remove it from the
body.
NoteThe seal clip is glued to the seal, so make sure that the clip prytool is slid between the clip and the body while releasing.
-
Disconnect the B-pillar NFC connector.
-
Disconnect the LH B-pillar camera connector.
-
Clean the residual adhesive from the LH B-pillar and clean the surface.
NoteAllow 1 minute to dry.TIpUse of the following tool(s) is recommended:
- IPA Wipe(s)
- Eraser Wheel
-
Clean the residual adhesive from the LH B-pillar applique.
TIpUse of the following tool(s) is recommended:
- Eraser Wheel
-
Remove the screws (x2) that attach the LH B-pillar camera to the LH B-pillar.
TIpUse of the following tool(s) is recommended:
- SET, 1/2" CUT BIT. (78 PCS DOUBLE END MINI RATCHET)
- Digital Torque Screwdriver 0.10Nm - 2.0Nm
- Torx T8 bit
-
Remove the LH B-pillar camera from the LH B-pillar.
NoteWiggle the camera to clear the o-ring from the assembly.
Install
-
Install the LH B-pillar camera to the LH B-pillar.
NoteWiggle the camera o-ring through the assembly.
-
Install the screws (x2) that attach the LH B-pillar camera to the LH B-pillar.0.45 Nm (4 lbs-in)TIpUse of the following tool(s) is recommended:
- SET, 1/2" CUT BIT. (78 PCS DOUBLE END MINI RATCHET)
- Digital Torque Screwdriver 0.10Nm - 2.0Nm
- Torx T8 bit
-
Install new double-sided tape to the LH B-pillar applique.
NoteCut the double-sided installation tape to the original size of the tape on the B-pillar trim panel and stick it on.
-
Connect the LH B-pillar camera connector.
-
Connect the B-pillar NFC connector.
-
Slide the B-pillar applique up into position.
NoteEnsure the trim clips are lined up. Gently engage the clips.
-
Install the LH B-pillar applique seal.
-
Secure the lower LH B-pillar applique seal.
- Install the LH rear primary seal (near the B-pillar area).
- Raise the LH rear window and close the LH rear door.
- Place the vehicle in Service Mode by using the touchscreen. See Service Mode.
- Unlock the vehicle gateway. See Gateway (Unlock).
-
On the touchscreen, tap the Service Mode "wrench" (at the bottom of the touchscreen
UI), and then tap , select BPillars in the
Camera Selection
field, click Run, and allow the routine to complete. - Exit Service Mode. See Service Mode.
- Raise the LH front window and close the LH front door.