2026-05-19
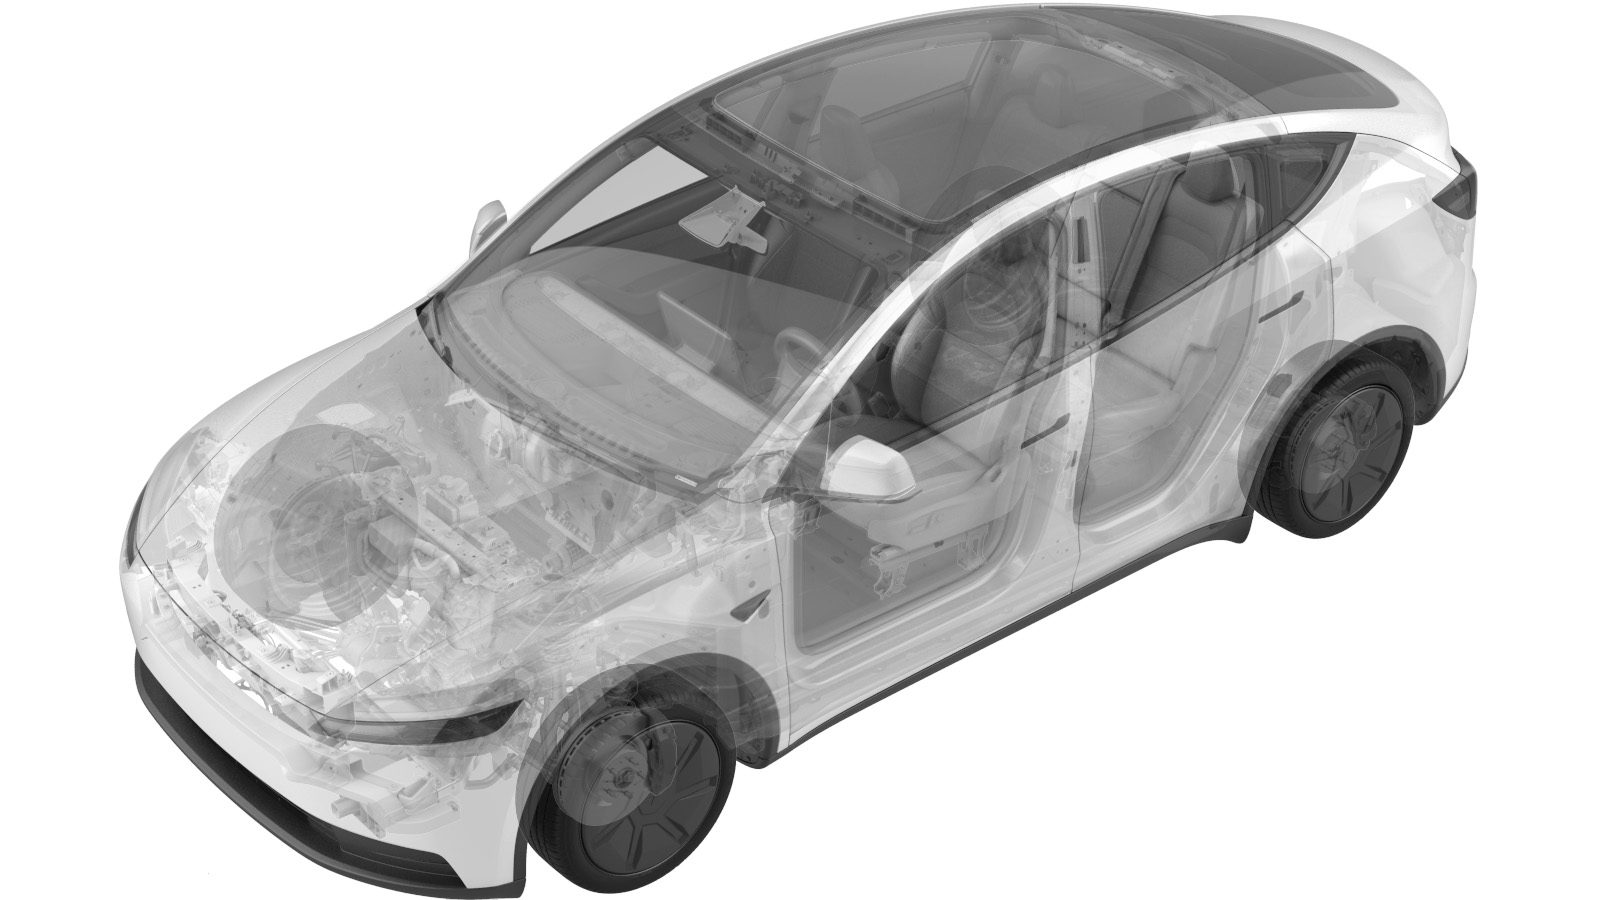
Telematics Control Unit (TCU) (Model Y Standard) (Remove and Replace)
 Correction code
21350100002
FRT
0.36
NOTE: Unless otherwise explicitly stated in the procedure, the correction code and FRT listed above reflect all of the work required to perform this procedure, including the linked procedures. Do not stack correction codes unless explicitly told to do so.
NOTE: See Flat Rate Times to learn more about FRTs and how they are created.
NOTE: See Personal Protection to make sure you
are wearing proper PPE when performing the procedure below.
NOTE: See Ergonomic Precautions for safe and healthy working practices.
Correction code
21350100002
FRT
0.36
NOTE: Unless otherwise explicitly stated in the procedure, the correction code and FRT listed above reflect all of the work required to perform this procedure, including the linked procedures. Do not stack correction codes unless explicitly told to do so.
NOTE: See Flat Rate Times to learn more about FRTs and how they are created.
NOTE: See Personal Protection to make sure you
are wearing proper PPE when performing the procedure below.
NOTE: See Ergonomic Precautions for safe and healthy working practices.
- 2026-05-19: Added steps to reinstall TCU software and run ODIN routine PROC_ICE_X_DUAL-BOOTSTRAP-E-SIM.
- 2026-03-06: Removed unnecessary step to unlock Gateway.
Torque Specifications
| Description | Torque Value | Recommended Tools | Reuse/Replace | Notes |
|---|---|---|---|---|
| Bolts (x2) that attach the TCU to the body |
 14 Nm (10.3 lbs-ft) |
|
Reuse |
Remove
- Remove the LH and RH upper C-pillar trims. See Trim - C-Pillar - Upper - RH (Model Y Standard) (Remove and Install)
-
Release clips (x4) that attach the rear section of the headliner to the body, allow
it to droop, and pull it down as needed to access the TCU.
-
Release the datum and remove the bolts (x2) that attach the TCU to the body, and then
remove the TCU from the vehicle.
TIpUse of the following tool(s) is recommended:
- Socket 1/4in Dr. 6pt. Deep x 13mm
-
Release the hook that attaches the electrical harness to the TCU, and then release
the connector locks, and then disconnect the electrical connectors (x2) from the
TCU.
Install
-
Connect the electrical connectors (x2)
to the TCU, and then install the hook that attaches the electrical harness to the
TCU.
-
Align the datum to position the TCU
onto the vehicle, and then install the bolts (x2) that attach the TCU to the body.14 Nm (10.3 lbs-ft)TIpUse of the following tool(s) is recommended:
- Socket 1/4in Dr. 6pt. Deep x 13mm
-
Secure the clips (x4) that attach the
rear section of the headliner to the body and seat the liftgate seal over the edge of
the headliner.
NoteEnsure all clips are fully seated.
- Install the LH and RH upper C-pillar trims. See Trim - C-Pillar - Upper - RH (Model Y Standard) (Remove and Install)
- Connect a laptop with Toolbox 3 to the vehicle. See Toolbox (Connect and Disconnect).
-
Use the touchscreen to reinstall the TCU software.
NoteTouch , select TCU, and then touch Reinstall.
- Use Toolbox 3 to run ODIN routine PROC_ICE_X_DUAL-BOOTSTRAP-E-SIMvia Toolbox:(link).
- Disconnect the laptop from the vehicle.
- Exit Service Mode.