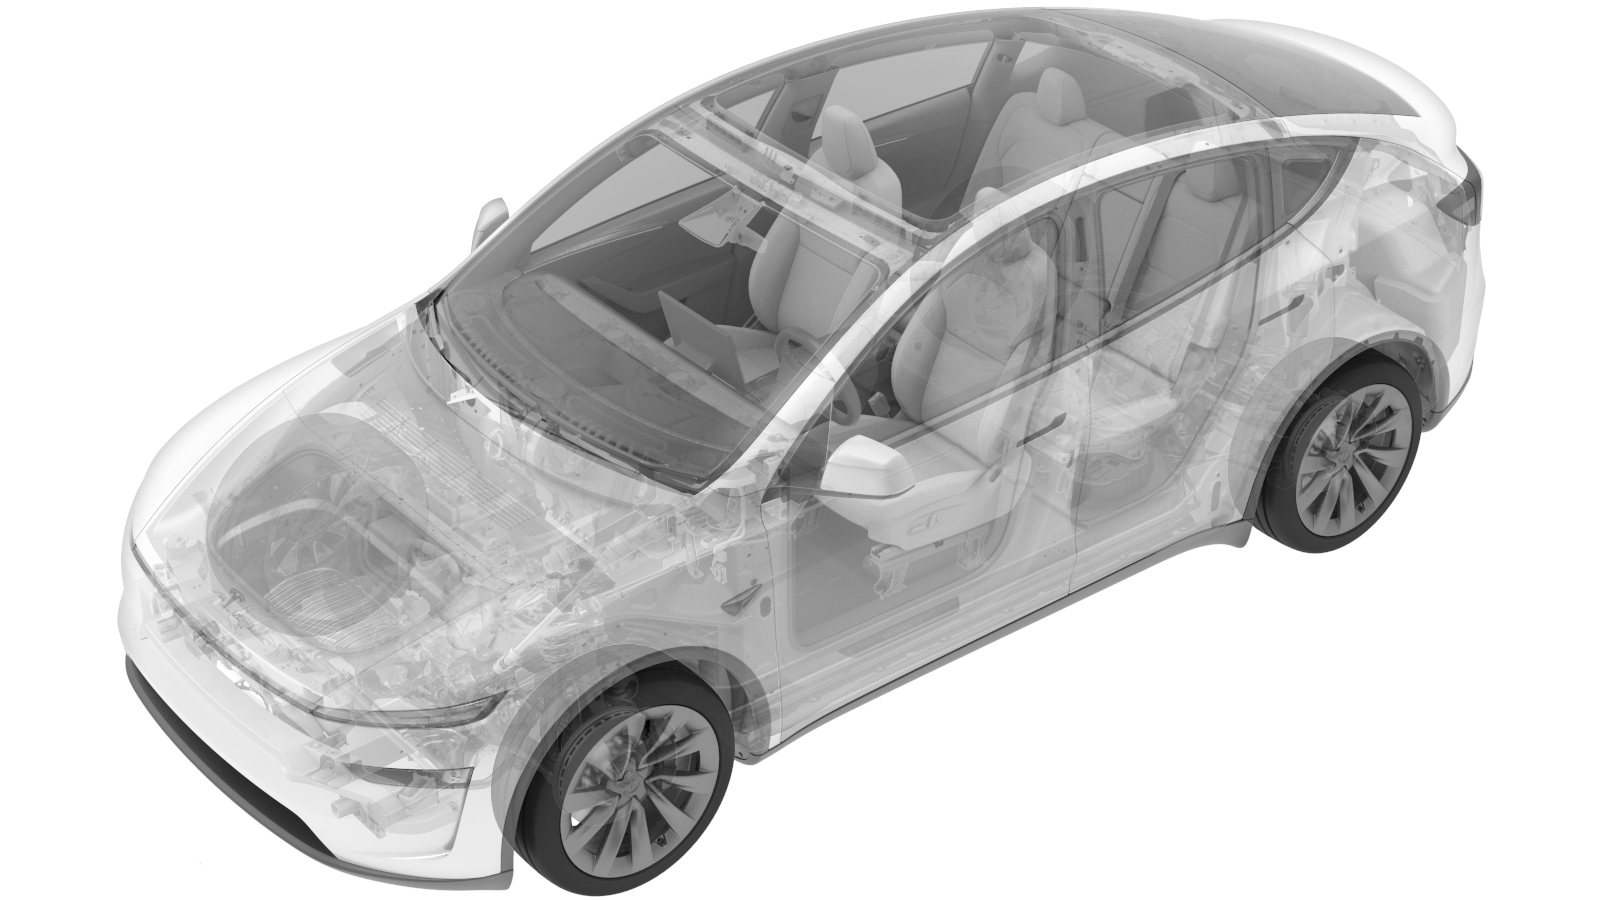
Snap In Vent - Rear - High Voltage Battery (Remove and Replace)
 Correction code
1601011202
FRT
0.54
NOTE: Unless
otherwise explicitly stated in the procedure, the above correction code and
FRT reflect all of the work required to perform this procedure, including
the linked procedures. Do
not stack correction codes unless explicitly told to do so.
NOTE: See Flat Rate
Times to learn more about FRTs and how
they are created. To provide feedback on FRT values, email ServiceManualFeedback@tesla.com.
NOTE: See Personal Protection
to make sure wearing proper PPE when performing the below procedure.
NOTE: See Ergonomic Precautions for safe and
healthy working practices.
Correction code
1601011202
FRT
0.54
NOTE: Unless
otherwise explicitly stated in the procedure, the above correction code and
FRT reflect all of the work required to perform this procedure, including
the linked procedures. Do
not stack correction codes unless explicitly told to do so.
NOTE: See Flat Rate
Times to learn more about FRTs and how
they are created. To provide feedback on FRT values, email ServiceManualFeedback@tesla.com.
NOTE: See Personal Protection
to make sure wearing proper PPE when performing the below procedure.
NOTE: See Ergonomic Precautions for safe and
healthy working practices.
- 1140501-00-A Pack Kit, Enclosure, Leak Test, HV Battery, Complete
- 1813553-00-A 5-Way Air Splitter
Remove
- Perform Vehicle HV Disablement Procedure. See Vehicle HV Disablement Procedure.
-
Raise the vehicle fully and
lower the lift onto locks.
CAUTION
Make sure there is an audible click of the locks on both sides before lowering, otherwise the vehicle may tilt to one side.
Make sure that the doors are clear of surrounding objects.
- Remove the middle aero shield panel. See Aero Shield - Rear (Remove and Replace).
-
Remove LH HV battery snap in vent
assembly from HV battery
Install
- Using IPA to clean snap in vent contact surface, and allow to 1 minute dry time
-
Position the vent assembly to the
battery, and then install the snap in vent to HV battery.
- Install the middle aero shield panel. See Aero Shield - Rear (Remove and Replace).
- Connect LV power. See LV Power (Disconnect and Connect) (Modify).
- Install the 2nd row lower seat cushion. See Seat Cushion - 2nd Row (Remove and Replace).