Rear Drive Unit - 4DU (Remove and Install)
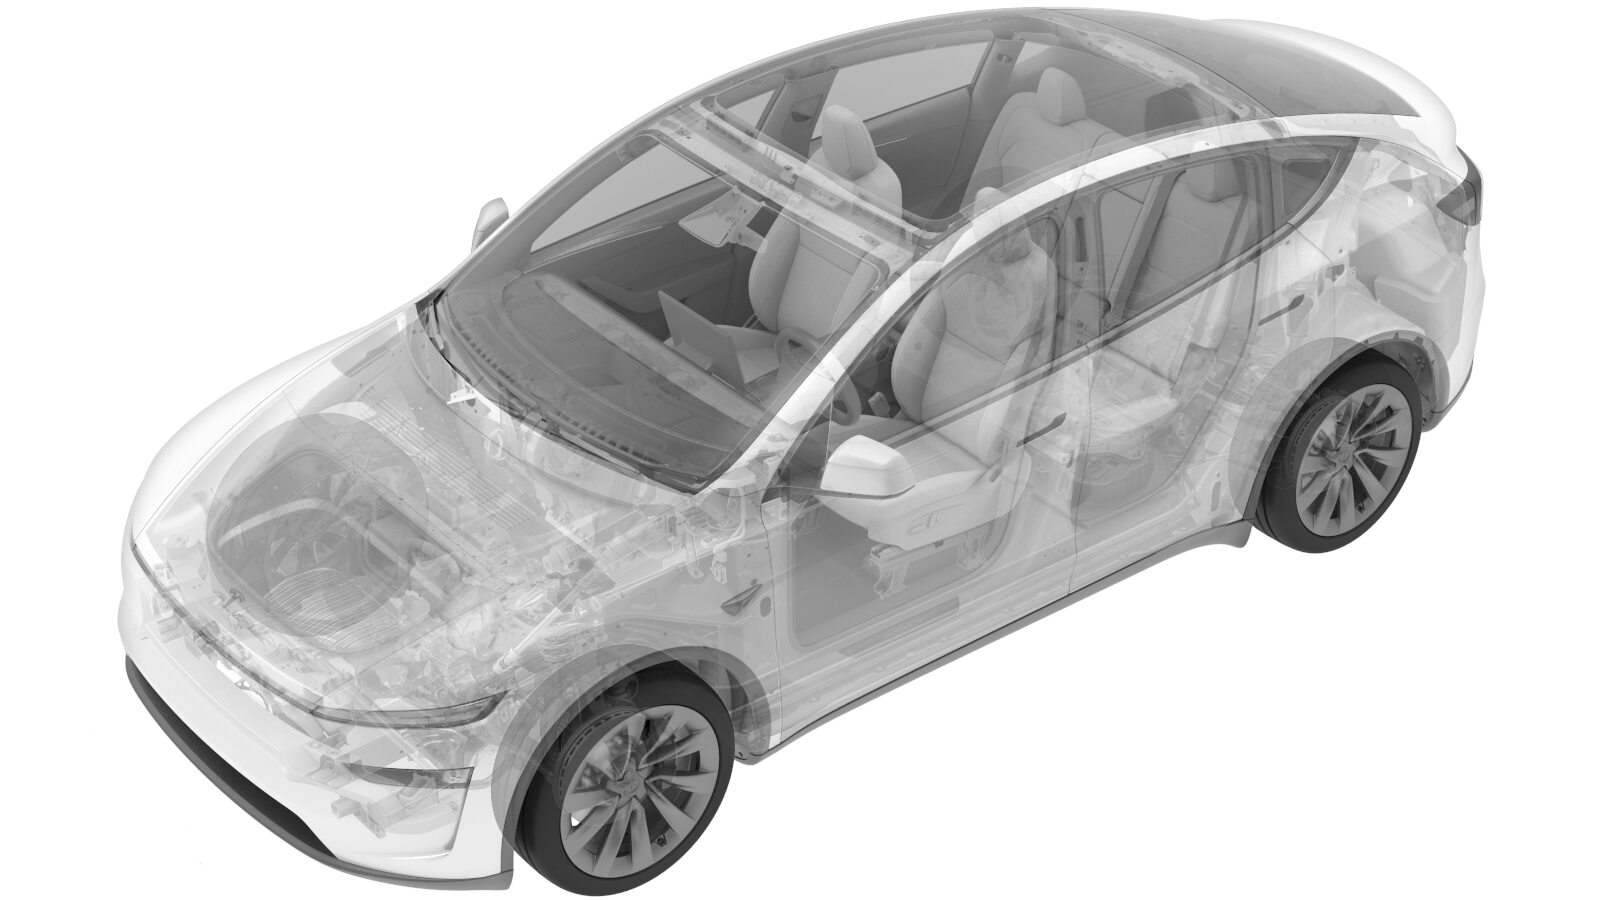 Correction code
4001010701
FRT
3.30
NOTE: Unless
otherwise explicitly stated in the procedure, the correction code and its
associated FRT reflect all of the work required to perform this procedure,
including the linked procedures. Do not stack correction
codes unless explicitly told to do so.
NOTE: See Flat Rate Times to
learn more about FRTs and how they are created.
NOTE: See Personal Protection to make
sure you are wearing proper PPE when performing the procedure below.
NOTE: See Ergonomic Precautions for safe and healthy
working practices.
Correction code
4001010701
FRT
3.30
NOTE: Unless
otherwise explicitly stated in the procedure, the correction code and its
associated FRT reflect all of the work required to perform this procedure,
including the linked procedures. Do not stack correction
codes unless explicitly told to do so.
NOTE: See Flat Rate Times to
learn more about FRTs and how they are created.
NOTE: See Personal Protection to make
sure you are wearing proper PPE when performing the procedure below.
NOTE: See Ergonomic Precautions for safe and healthy
working practices.
- 2026-07-08: Released new procedure.
Remove
- Raise and support the vehicle. See Raise Vehicle - 2-Post Lift.
- Open all four doors and lower all four windows.
-
Move both front seats forward.
NoteAdjust the seat back if needed to avoid contacting headliner.
- Place the vehicle in Service Mode by using the touchscreen. See Service Mode.
- Unlock the vehicle gateway. See Gateway (Unlock).
- On the touchscreen, tap the Service Mode "wrench" (at the bottom of the touchscreen UI), and then tap , click Run, and then allow the routine to complete.
-
While holding the brake pedal, tap the
Service Mode "wrench" at the bottom of the touchscreen UI, and then tap , select BOTH in the
Action target
dropping list, and select START in theAction type
dropping list. Click Run, and allow the routine to complete. - Perform vehicle HV disablement procedure. See Vehicle HV Disablement Procedure.
- Remove the LH and RH rear wheels. See Wheel Assembly (Remove and Install).
- Remove the LH and RH rear suspension aero covers. See Rear Suspension Cover - LH (Remove and Replace).
- Remove the rear fascia diffuser. See Diffuser - Rear Fascia (Remove and Replace).
-
Remove the nut that attaches the RDU
ground strap to the body.
TipUse of the following tool(s) is recommended:
- Socket 1/4in Dr. 12pt. Deep x 10mm
- Remove the rear stabilizer bar. See Rear Stabilizer Bar and Links - Stabar - Rear (Remove and Replace).
-
Release the locking tab, then
disconnect the RH subframe harness connector.
-
Release the RH subframe harness clip
from body.
-
Remove and discard the bolts (x2) that
attach the LH rear caliper to the LH rear knuckle, remove the caliper from the knuckle,
and allow the caliper to hang from an S-hook.
TipUse of the following tool(s) is recommended:
- E18 Torx Low Profile Socket
-
Remove and discard the bolts (x2) that
attach the RH rear caliper to the RH rear knuckle, remove the caliper from the knuckle,
and allow the caliper to hang from an S-hook.
TipUse of the following tool(s) is recommended:
- E18 Torx Low Profile Socket
- Remove the rear skid plate. See Skid Plate - Rear (Remove and Replace).
-
Install the spring compressor onto the
LH and RH rear coil springs.
NoteCompressor plates are installed one way. Top plate has notches, while lower plate does not. Reference photos for clarification.
-
Remove the bolt and nut that attach
the LH rear damper to the LH rear lower aft link.
TipUse of the following tool(s) is recommended:
- 21 mm socket
- Repeat step 20 for the RH side.
-
Position the coolant drain container
under the LH rear of the vehicle.
-
Release the spring clip to disconnect
the RDU inverter inlet hose from the PCS outlet hose coupling.
Note
- The connection is located at the LH rear of the HV battery.
- Install the plugs (x2) once disconnected.
- Coolant loss greater than 1 L will require vacuum fill.
- If the battery is returned to Reman, please remove the special tool plug.
-
Release the push clips (x2) that
attach the RH rear wheel liner to the rocker panel, then move the liner aside for
access.
-
Position the coolant drain container
underneath the RH rear of HV battery.
-
Release the spring clip to disconnect
the coolant outlet hose from the rear return hose.
Note
- Install the plugs (x2) once disconnected.
- Coolant loss greater than 1 L will require vacuum fill.
- Use shop towel to clean any residue coolant inside the RH rocket panel if necessary.
- If the battery is returned to Reman, please remove the special tool plug.
-
Release the clip that attaches the
coolant hoses to the RH shear plate.
-
Remove the coolant drain container
from underneath the vehicle.
-
Remove the nut that attaches the RDU
HV cable bracket to the HV battery.
TipUse of the following tool(s) is recommended:
- SOCKET, 1/4" DR., DEEP, MAGNETIC, 10MM
- Put on HV insulating gloves and leather over gloves.
-
Disconnect the RDU HV cable from the
HV battery.
NoteRelease the locking tab and rotate the release lever up to disengage the connector. Do not force the release lever up. Ensure the alignment tabs on the RDU header are not damaged,
- Remove the leather over gloves and HV insulating gloves.
-
Place the subframe lifting tool into
position underneath the rear subframe.
-
Connect the air supply to the subframe
lifting tool.
-
With assistance, raise the subframe
lifting tool to support the rear subframe.
Note
- Attach the metal hooks at the end of the straps to rings on the subframe lifting tool.
- Lower the vehicle if necessary.
- Remove the LH and RH shear plates. See Shear Plate - Rear Subframe - LH (Remove and Replace).
- Remove the rear subframe brace. See Brace - Rear Subframe (Remove and Replace).
-
With assistance, lower the subframe
lifting tool to remove the subframe and rear drive unit assembly from the vehicle.
NoteUse caution to not damage the components while lowering the subframe.
-
Disconnect the air supply from the
subframe lifting tool.
-
With assistance, position the subframe
lifting tool and subframe away from the vehicle.
-
Disconnect the rear drive unit logic
connector, and move the connector aside.
NotePrevent coolant ingress into the connector.
-
Release the rear drive unit logic
connector clip.
-
Release the clips (x2) and disconnect
the resolver connector from the rear drive unit.
-
Pull the red tab to disengage the
lock, and then pull again to release and disconnect the oil pump connector.
NoteDo not push down on the red tab.
-
Release the clip that attaches the
rear drive unit ground strap cable to the subframe.
-
Remove the grommet that attaches the LH
rear ABS wheel speed sensor cable to the knuckle.
-
Remove the bolt that attaches the LH
front ABS wheel speed sensor to the knuckle, and then set the sensor aside.
TipUse of the following tool(s) is recommended:
- Torx T30 socket
- Cordless Ratchet/Impact Driver
- Flex head ratchet/flex head torque wrench
- 4 in extension
-
Remove the bolt and nut that attach
the LH rear upper aft link to the LH rear knuckle.
TipUse of the following tool(s) is recommended:
- 21 mm socket
- Flex head ratchet/flex head torque wrench
-
Remove the bolt and nut that attach
the LH rear upper fore link to the knuckle.
TipUse of the following tool(s) is recommended:
- 18 mm socket
- 3 in extension
- Cordless Ratchet/Impact Driver
- Flex head ratchet/flex head torque wrench
-
Remove the bolt and nut that attach
the LH rear toe link to knuckle.
TipUse of the following tool(s) is recommended:
- Cordless 3/8in Dr Impact
- 18 mm socket
- Flex head ratchet/flex head torque wrench
-
Loosen the bolt and nut that attach
the LH rear lower fore link to knuckle.
NoteDo not remove the fasteners.TipUse of the following tool(s) is recommended:
- Cordless 3/8in Dr Impact
- 18 mm deep socket
- 3 in extension
- Flex head ratchet/flex head torque wrench
-
Separate the LH halfshaft from the RDU
using the cable removal kit.
- Wrap the cable around the inner joint and secure it hand-tight with the U-bolt.
- Attach the slide hammer to the cable eyelets and pull to release the LH halfshaft from the RDU.
- Remove the cable once complete.
NoteTake care not to damage the halfshaft boots and oil seals. - Repeat from step 46 to step 52 to separate the RH halfshaft from the rear drive unit.
-
Position the rear subframe and rear drive unit assembly under a gantry.
-
Attach the drive unit sling tool to
the rear drive unit using the hooks (x3).
-
Secure the drive unit sling to the
gantry.
-
Raise the sling until the cables have
slight tension to ensure a secure connection.
-
Remove the bolts (x3) that attach the
LH, RH, and rear of the drive unit to the subframe.
TipUse of the following tool(s) is recommended:
- Socket 3/8in Dr. 6pt. Std. x 18mm
-
Carefully raise the sling to lift the
drive unit out of subframe. As the rear drive unit is lifted, maneuver the halfshafts
out of the way.
NoteBe careful not to damage the heat exchanger and coolant hoses.
-
Lower the RDU onto a protected
surface.
NoteUse a pallet if an empty crate is not available.
Install
-
Lift and position the rear drive unit over the rear subframe assembly.
-
Carefully lower the rear drive unit
into the rear subframe. As the rear drive unit is lowered, maneuver the halfshafts into
the drive unit for later installation.
NoteBe careful not to damage the heat exchanger and coolant hoses.
-
Hand-tighten the LH, RH and rear bolts
that attach the drive unit to subframe.
TipUse of the following tool(s) is recommended:
- Ratchet/torque wrench
- Flex head ratchet/flex head torque wrench
- 18 mm socket
NoteTorque at a later step. -
Lower the sling to release the tension
on the cables.
-
Torque the LH, RH and rear bolts that
attach the drive unit to subframe.
 80 Nm (59.0 lbs-ft)TipUse of the following tool(s) is recommended:
- Ratchet/torque wrench
- Flex head ratchet/flex head torque wrench
- 18 mm socket
-
Remove the drive unit sling tool from the rear drive unit.
-
Remove the drive unit sling tool from the gantry.
-
Remove the rear subframe and rear drive unit assembly from under a gantry.
-
With the help of an assistant,
slightly rotate the LH halfshaft so as to align the splines of the halfshaft to those in
the rear drive unit, lift up on the LH rear knuckle to help move the halfshaft into the
drive unit, and then apply force to seat the halfshaft in the drive unit.
CAUTIONDo not force the two assemblies together if they are not aligned correctly. Lift up on the knuckle as needed.NoteIf the halfshaft binds, back the halfshaft out, rotate it slightly, and try again.NoteA snap is heard when the retaining clip seats onto the fully inserted halfshaft.
-
Position the LH rear toe link onto the
knuckle, and then install and hand-tighten the bolt and nut.
TipRecommend assistance when performing this step.
-
Install the LH rear upper fore link to
the knuckle and hand-tighten the nut and bolt.
-
Position the LH rear upper aft link
onto the knuckle, and then install and hand-tighten the bolt and nut.
-
Install the grommet that attaches the LH
rear ABS wheel speed sensor cable to the knuckle.
-
Install the LH rear wheel speed sensor
to the knuckle and then install the bolt that attaches the LH rear ABS wheel speed sensor
to the knuckle.5 Nm (3.7 lbs-ft)TipUse of the following tool(s) is recommended:
- Torx T30 socket
- Flex head ratchet/flex head torque wrench
- 4 in extension
- Repeat from step 9 to step 14 to secure the RH halfshaft onto the rear drive unit.
-
Engage the locking tab, then connect the oil pump connector.
-
Secure the clips (x2) and connect the resolver connector to the rear drive
unit.
-
Secure the clip that attaches the rear drive unit ground strap cable to the
subframe.
-
Secure the rear drive unit logic connector clip.
-
Connect the rear drive unit logic connector.
NotePrevent coolant ingress into the connector.
-
Position the subframe and rear drive unit assembly underneath the vehicle.
-
Connect the air supply to the subframe
lifting tool.
-
With assistance, raise the rear drive
unit and subframe assembly into position.
NoteUse caution to not damage the components while raising the subframe.
- Install the rear subframe brace. See Brace - Rear Subframe (Remove and Replace).
- Install the LH and RH shear plates. See Shear Plate - Rear Subframe - LH (Remove and Replace).
-
Lower the rear subframe lifting tool
from the vehicle, then remove the yellow safety straps (x3) from the subframe.
-
Disconnect the air supply from the
subframe lifting tool.
-
Remove the subframe lifting tool from
underneath the vehicle.
- Position the support stand underneath the LH rear lower aft link.
-
Hand-tighten the bolt and nut that
attach the LH rear damper to the LH rear lower aft link.
- Remove the support stand from the LH rear suspension.
- Repeat from step 29 to step 31 for the RH side.
-
Put on HV insulating gloves and
leather over gloves.
-
Connect the RDU HV cable to the HV
battery.
NoteMake sure the connector lock is 90 degrees from the connector before beginning to secure the connector. Use one hand to support the connector while other latching the locking tab. Once installed, Verify that the latch is not damaged and fully secured in the latched position.
-
Install the nut that attaches the RDU
HV cable bracket to the HV battery.10 Nm (7.4 lbs-ft)TipUse of the following tool(s) is recommended:
- SOCKET, 1/4" DR., DEEP, MAGNETIC, 10MM
- Remove leather over gloves and HV insulating gloves.
-
Position the coolant drain container
underneath the RH rear of the HV battery.
-
Secure the clip that attaches the
coolant hoses to the RH shear plate.
-
Remove the hose plugs (x2) and connect
the coolant outlet hose to the rear return hose.
Note
- Perform a push-pull-push test to make sure the hose is fully seated. Do not wiggle the hose at the connection.
- Use shop towel to clean any coolant residue if necessary.
- Loss of coolant greater than 1 L requires coolant vacuum fill.
-
Secure the push clips (x2) that attach
the RH rear wheel liner to the rocker panel.
-
Position the coolant drain container
underneath the LH rear of the vehicle.
-
Remove the plugs (x2) and connect the
RDU inverter inlet hose to the rear of the HV battery.
Note
- Perform a push-pull-push test to make sure the hose is fully seated. Do not wiggle the hose at the connection.
- Use shop towel to clean any coolant residue if necessary.
- Loss of coolant greater than 1 L requires coolant vacuum fill.
-
Remove the coolant drain container
from underneath the vehicle.
- Install the rear skid plate. See Skid Plate - Rear (Remove and Replace).
- Install the rear stabilizer bar. See Rear Stabilizer Bar and Links - Stabar - Rear (Remove and Replace).
-
Install the RH side subframe harness
clip to the body.
-
Engage the locking tab, then connect
the RH side subframe harness connector.
-
Install the bolt that attaches the RDU
ground strap to the body.10 Nm (7.4 lbs-ft)TipUse of the following tool(s) is recommended:
- Socket 1/4in Dr. 12pt. Deep x 10mm
-
Remove the S-hook, then install new
bolts (x2) that attach the LH rear caliper to the LH rear knuckle.83 Nm (61.2 lbs-ft)TipUse of the following tool(s) is recommended:
- E18 Torx Low Profile Socket
-
Remove the S-hook, then install new
bolts (x2) that attach the RH rear caliper to the RH rear knuckle.83 Nm (61.2 lbs-ft)TipUse of the following tool(s) is recommended:
- E18 Torx Low Profile Socket
-
Remove the bolt that attaches the LH
rear brake rotor to the hub.
NoteThe fastener type may vary on newer vehicles.TipUse of the following tool(s) is recommended:
- SOCKET, 1/4" DR., DEEP, MAGNETIC, 10MM
- SKT, 1/4" DR, HEX BIT, T30 TORX
-
Install the hub jack adapter onto the
LH rear hub and hand-tighten the lug nuts (x5).
-
Use an underhoist stand to support the
hub jack adapter.
-
Choose one of the following methods to
set the rear suspension to ride height:
-
Tighten the bolt and nut that attach
the LH rear damper to the LH rear lower aft link, and then mark the bolt and nut with a
paint pen.115 Nm (84.8 lbs-ft)TipUse of the following tool(s) is recommended:
- 21 mm socket
-
Tighten the bolt and nut that attach
the LH rear upper aft link to the knuckle, and then mark the bolt and nut with a paint
pen.134 Nm (98.8 lbs-ft)TipUse of the following tool(s) is recommended:
- 21 mm socket
- Flex head ratchet/flex head torque wrench
-
Tighten the bolt and nut that attach
the LH rear upper fore link to the knuckle, and then mark the bolt and nut with a paint
pen.84 Nm (61.9 lbs-ft)TipUse of the following tool(s) is recommended:
- 18 mm socket
- 3 in extension
- Cordless Ratchet/Impact Driver
- Flex head ratchet/flex head torque wrench
-
Tighten the bolt and nut that attach
the LH rear toe link to the LH rear suspension knuckle. Mark the bolt with a paint
pen.76 Nm (56.0 lbs-ft)TipUse of the following tool(s) is recommended:
- Cordless 3/8in Dr Impact
- 18 mm socket
- Flex head ratchet/flex head torque wrench
-
Tighten the bolt and nut that attach
the LH rear lower fore link to the LH rear knuckle. Mark the bolt with a paint pen.76 Nm (56.0 lbs-ft)TipUse of the following tool(s) is recommended:
- Cordless 3/8in Dr Impact
- 18 mm deep socket
- 3 in extension
- Flex head ratchet/flex head torque wrench
-
Remove the underhoist stand from
underneath the LH rear suspension.
-
Remove the lug nuts (x5) that attach
the hub jack adapter, and then remove the hub jack adapter from the vehicle.
-
Install the bolt that attaches the LH
rear brake rotor to the hub.5 Nm (3.7 lbs-ft)NoteThe fastener type may vary on newer vehicles.TipUse of the following tool(s) is recommended:
- SOCKET, 1/4" DR., DEEP, MAGNETIC, 10MM
- SKT, 1/4" DR, HEX BIT, T30 TORX
- Repeat from step 51 to step 62 for the RH side.
-
Remove the spring compressor from the
LH and RH rear coil springs.
- Install the LH and RH rear suspension covers. See Rear Suspension Cover - LH (Remove and Replace).
- Install the rear fascia diffuser. See Diffuser - Rear Fascia (Remove and Replace).
- Install the LH and RH rear wheels. See Wheel Assembly (Remove and Install).
- Install the 2nd row seat cushion. See Seat Cushion - 2nd Row (Remove and Replace).
-
Remove the coolant bottle cap.
- Connect the LV power. See LV Power (Disconnect and Connect) (Modify).
- Unlock the vehicle gateway. See Gateway (Unlock).
- On the touchscreen, tap the Service Mode "wrench" (at the bottom of the touchscreen UI), and then tap , select Run to start the routine, and allow the routine to complete.
-
On the touchscreen, tap the Service
Mode "wrench" (at the bottom of the touchscreen UI), and then tap , select Run to
start the routine, and allow the routine to complete.
NoteMake sure vehicle is not in Drive, shifting the vehicle into Drive will stop this routine. The test will last approximately 10 mins. The test will vary speeds from 3500-6500 RPM (idle speed = ~1500 RPM) and actuate the valve between series and parallel. If speed hovers at 7000 RPM, it indicates the pump is air locked, perform the vacuum fill again. Continue to add coolant and purge until the coolant level reaches between the NOM and MAX Lines on the bottle.
-
On the touchscreen, tap the Service
Mode "wrench" (at the bottom of the touchscreen UI), and then tap , select Both in the
EPB Selection
dropping list, and select Stop in theAction Selection
dropping list. Click Run, and allow the routine to complete.NoteTheEPB Selection
field can also be selected as Left/Right as needed - Exit Service Mode. See Service Mode.
-
Inspect coolant level and top off as
necessary.
Note
- Ensure that fluid level is at Max line.
- Coolant loss greater than 1 L will require vacuum fill.
-
Install the coolant bottle cap.
- Install the HEPA filter or cowl assembly. See HEPA Filter Assembly (Remove and Replace) or Cowl Assembly - non-HEPA (Model Y Standard) (Remove and Install).
- Move both LH and RH front seats to their original positions.
- Raise all four window and close all four doors.
- Remove the vehicle from the lift.
- Refer to the Alignment Requirement tables to determine whether an EPAS alignment check (EC) or four wheel alignment check (AC) is necessary. If performed, add the alignment check/adjust as a separate activity. See Alignment Requirement - Suspension.