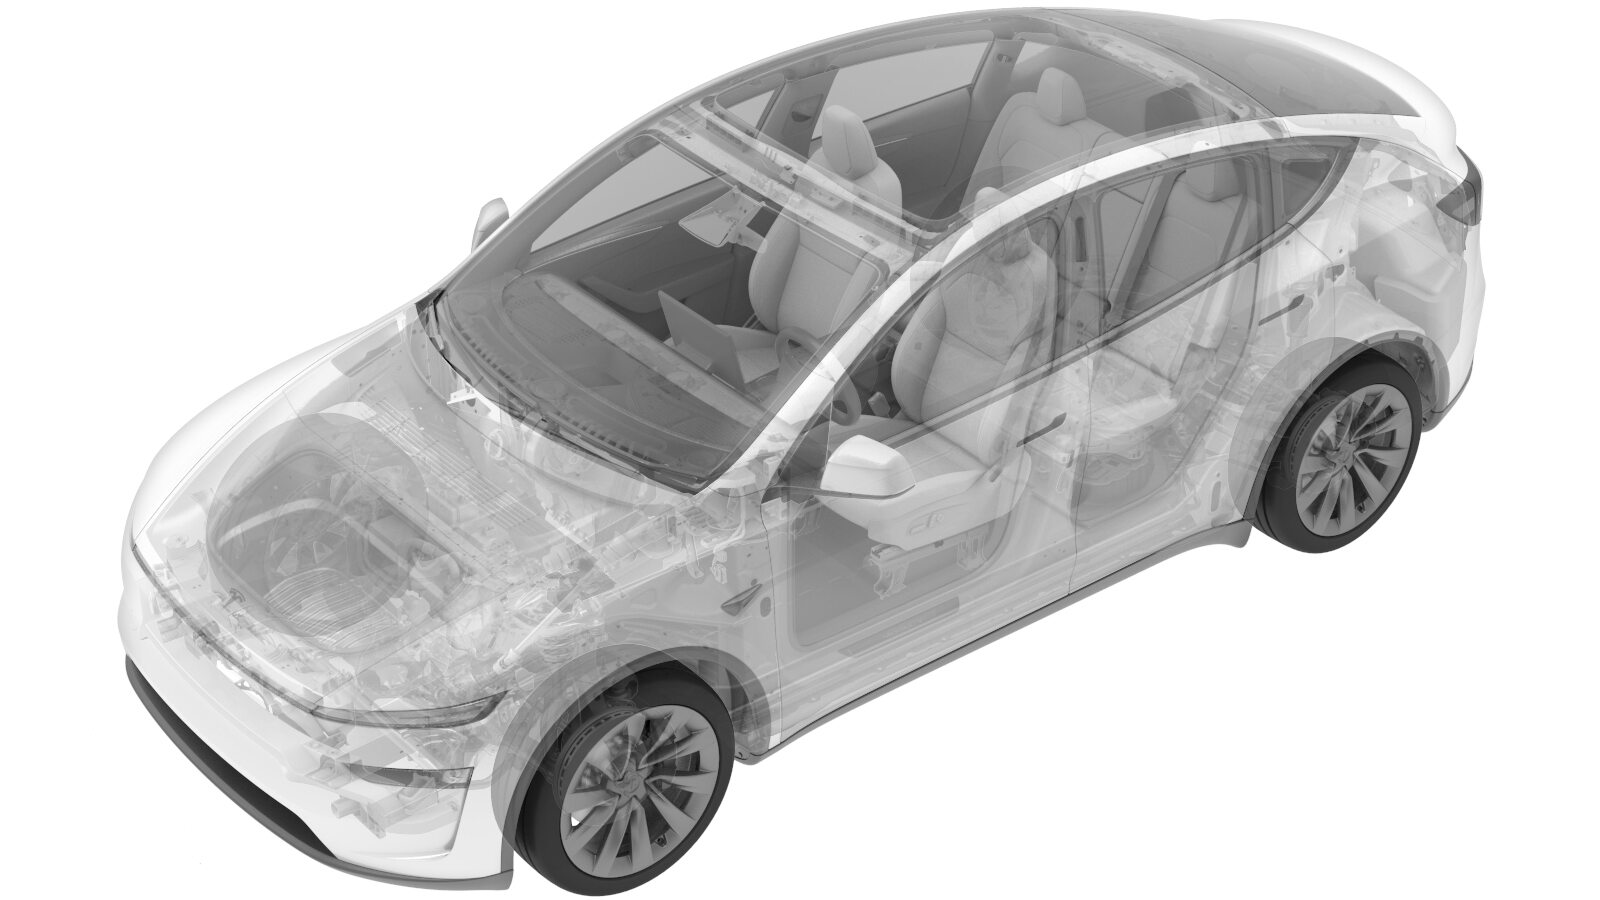
Assembly - Harness - Liftgate - Global (Remove and Replace)
 Correction code
1710030202
FRT
0.25
NOTE: Unless
otherwise explicitly stated in the procedure, the above correction code and
FRT reflect all of the work required to perform this procedure, including
the linked procedures. Do
not stack correction codes unless explicitly told to do so.
NOTE: See Flat Rate
Times to learn more about FRTs and how
they are created. To provide feedback on FRT values, email ServiceManualFeedback@tesla.com.
NOTE: See Personal Protection
to make sure wearing proper PPE when performing the below procedure.
NOTE: See Ergonomic Precautions for safe and
healthy working practices.
Torque Specifications
| Description | Torque Value | Recommended Tools | Reuse/Replace | Notes |
|---|---|---|---|---|
| Liftgate harness ground bolts |
 10 Nm (7.4 lbs-ft) |
|
Replace |
Self-tapping tri-lobular bolt 1128269-00-A |
Remove
- Remove the rear headliner. See Rear Headliner (Remove and Replace).
-
Release the RH rear section of the
headliner assembly to access the connector.
-
Remove the liftgate harness ground
bolt from the body and discard it.
TIpUse of the following tool(s) is recommended:
- Flex head ratchet/flex head torque wrench
- 10 mm deep socket
-
Disconnect the liftgate harness
connectors (x3) from the body harness.
-
Release the RH rear liftgate harness
grommet from the body.
- Remove the liftgate lower trim. See Liftgate Lower Trim (Remove and Replace).
-
Disconnect the backlite glass heater
positive connector.
-
Disconnect the center high mounted
brake light connector.
-
Disconnect the cinch latch
connector.
-
Disconnect the liftgate extend harness
connectors (x2).
-
Remove the liftgate harness ground
bolt from the liftgate assembly and discard it.
TIpUse of the following tool(s) is recommended:
- Flex head ratchet/flex head torque wrench
- 10 mm deep socket
-
Release the clips (x11) that attach
the liftgate harness to the liftgate assembly.
-
Remove the liftgate harness and the
harness grommet from the liftgate assembly.
Install
-
Install the liftgate harness and the
harness grommet to the liftgate assembly.
-
Install the clips (x11) that attach
the liftgate harness to the liftgate assembly.
-
Install a new liftgate harness ground bolt to the liftgate assembly.
 10 Nm (7.4 lbs-ft)TIpUse of the following tool(s) is recommended:
- Flex head ratchet/flex head torque wrench
- 10 mm deep socket
-
Connect the liftgate extend harness
connectors (x2).
-
Connect the cinch latch
connector.
-
Connect the center high mounted brake
light connector.
-
Connect the backlite glass heater
positive connector.
-
Insert the liftgate harness into the
body and install the grommet.
-
Connect the liftgate harness
connectors (x3).
-
Install a new liftgate harness ground bolt to the body.
 10 Nm (7.4 lbs-ft)TIpUse of the following tool(s) is recommended:
- Flex head ratchet/flex head torque wrench
- 10 mm deep socket
-
Install the RH rear portion of the
headliner into position and clip it into place.
NoteSeat the trunk seal to the edge of the trim.
- Install the rear headliner. See Rear Headliner (Remove and Replace).
- Install the liftgate lower trim. See Liftgate Lower Trim (Remove and Replace).