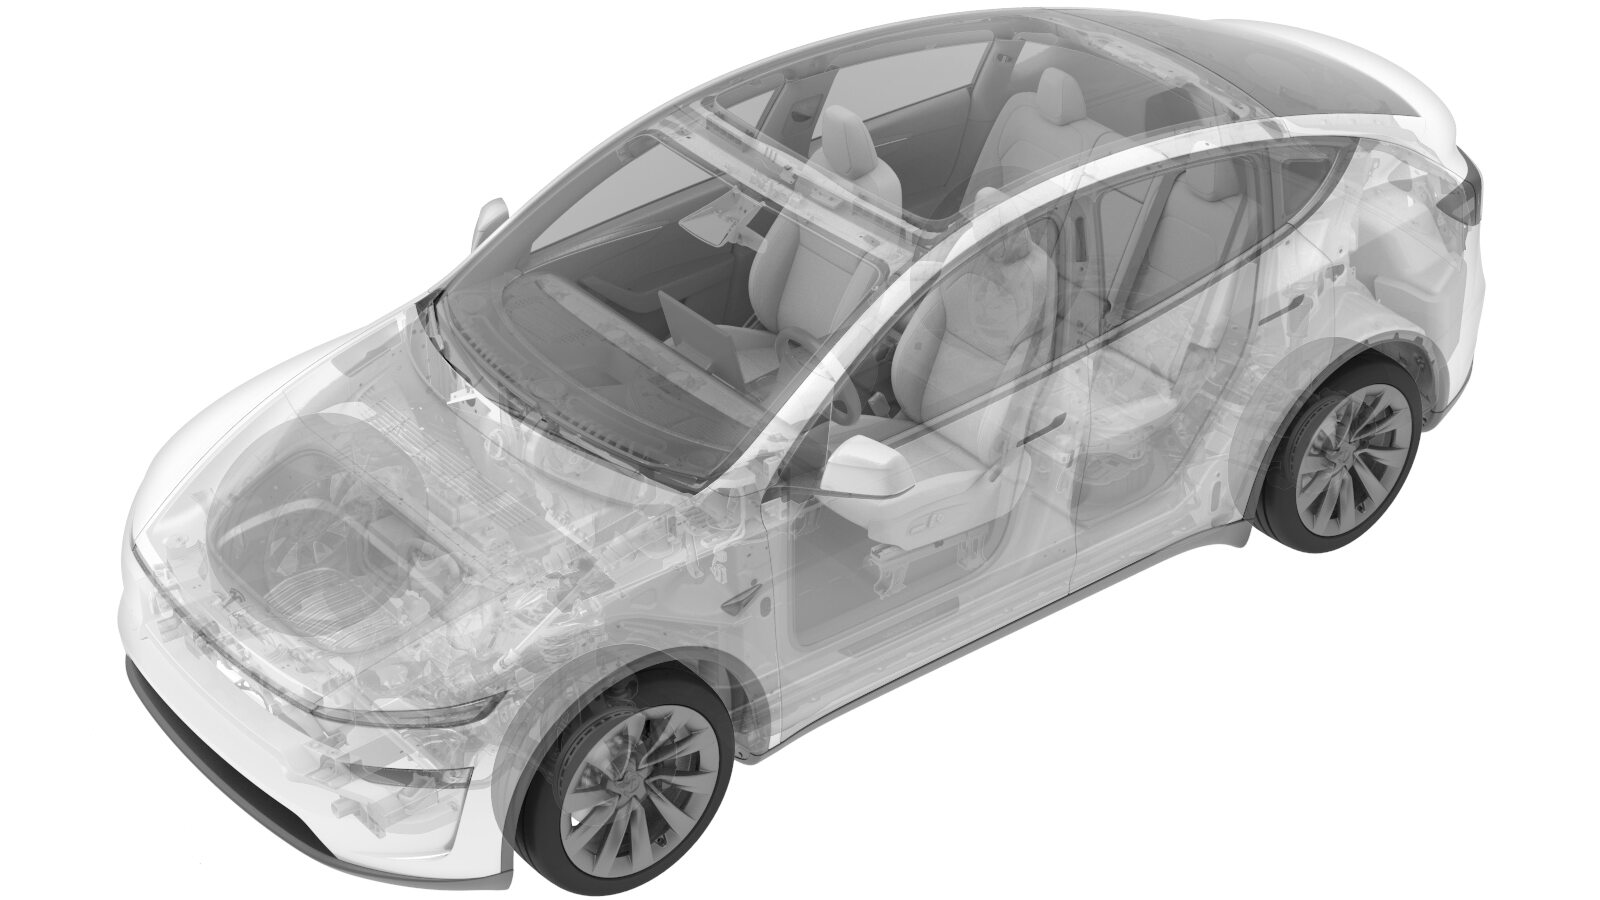
High Voltage Harness Rear Drive Unit (3DU) (Remove and Replace)
 Correction code
4450030302
FRT
0.72
NOTE: Unless
otherwise explicitly stated in the procedure, the above correction code and
FRT reflect all of the work required to perform this procedure, including
the linked procedures. Do
not stack correction codes unless explicitly told to do so.
NOTE: See Flat Rate
Times to learn more about FRTs and how
they are created. To provide feedback on FRT values, email ServiceManualFeedback@tesla.com.
NOTE: See Personal Protection
to make sure wearing proper PPE when performing the below procedure.
NOTE: See Ergonomic Precautions for safe and
healthy working practices.
Torque Specifications
| Description | Torque Value | Recommended Tools | Reuse/Replace | Notes |
|---|---|---|---|---|
| Nut that attaches the RDU HV cable bracket to the HV battery |
 10 Nm (7.4 lbs-ft) |
|
Reuse | |
| Bolt that attaches the RDU HV cable bracket to the RDU |
 10 Nm (7.4 lbs-ft) |
|
Reuse |
Remove
-
Place the vehicle on the 2-post
lift.
TIpEnsure the vehicle is not charging.
- Perform the vehicle HV disablement procedure. See Vehicle HV Disablement Procedure.
- Remove the HV battery rear skid plate. See Skid Plate - Rear (Remove and Replace).
- Inspect the HV insulating gloves.
- Put on the HV insulating gloves and the leather over gloves.
-
Remove the nut that attaches the RDU
(rear drive unit) HV cable bracket to the HV battery.
TIpUse of the following tool(s) is recommended:
- 10 mm deep socket
-
Disconnect the RDU HV cable from the
HV battery.
NoteRelease the locking tab and rotate the release lever up to disengage the connector. Do not force the release lever up. Ensure the alignment tabs on the RDU header are not damaged.
-
Remove the bolt that attaches the RDU
HV cable bracket to the RDU.
TIpUse of the following tool(s) is recommended:
- Insulated 10 mm 12-point deep socket
-
Release the RDU HV harness
connector.
NoteRelease the locking tab and rotate the release lever up to disengage the connector. Do not force the release lever up. Ensure the alignment tabs on the RDU header are not damaged.
-
Remove the RDU HV harness from the RDU
and rear subframe assembly.
NoteRotate and route the cable between the subframe and rear drive unit assembly and the battery. Don't forcefully pull the RDU hose.
Install
-
Route the RDU HV harness between the
subframe and rear drive unit assembly and the battery, and then rotate it into the
connection position.
NoteDon't forcefully pull the RDU hose.
-
Connect the RDU HV cable to the HV
battery.
NoteMake sure the connector lock is 90 degrees from the connector before connecting.NoteUse one hand to support the connector while the other latching the locking tab. Once installed, verify that the latch is not damaged and is fully secured in the latched position.
-
Install the nut that attaches the RDU (rear drive unit) HV cable bracket to the HV
battery.
 10 Nm (7.4 lbs-ft)TIpUse of the following tool(s) is recommended:
- 10 mm deep socket
-
Connect the RDU HV harness to the
RDU.
NoteInstall the HV connector lever lock to the RDU HV cable connector. Align the connector to the RDU, and then remove the HV connector lever lock before fully latching the connector.NoteUse one hand to support the connector while the other latching the locking tab. Once installed, verify that the latch is not damaged and is fully secured in the latched position.
-
Install the bolt that attaches the RDU HV cable bracket to the RDU.
 10 Nm (7.4 lbs-ft)TIpUse of the following tool(s) is recommended:
- Insulated 10 mm 12-point deep socket
- Remove the HV insulating gloves.
- Install the HV battery rear skid plate. See Skid Plate - Rear (Remove and Replace).
- Connect the LV battery power. See LV Power (Disconnect and Connect) (Modify).
- Install the 2nd row seat cushion. See Seat Cushion - 2nd Row (Remove and Replace).
- Remove the vehicle from the lift.