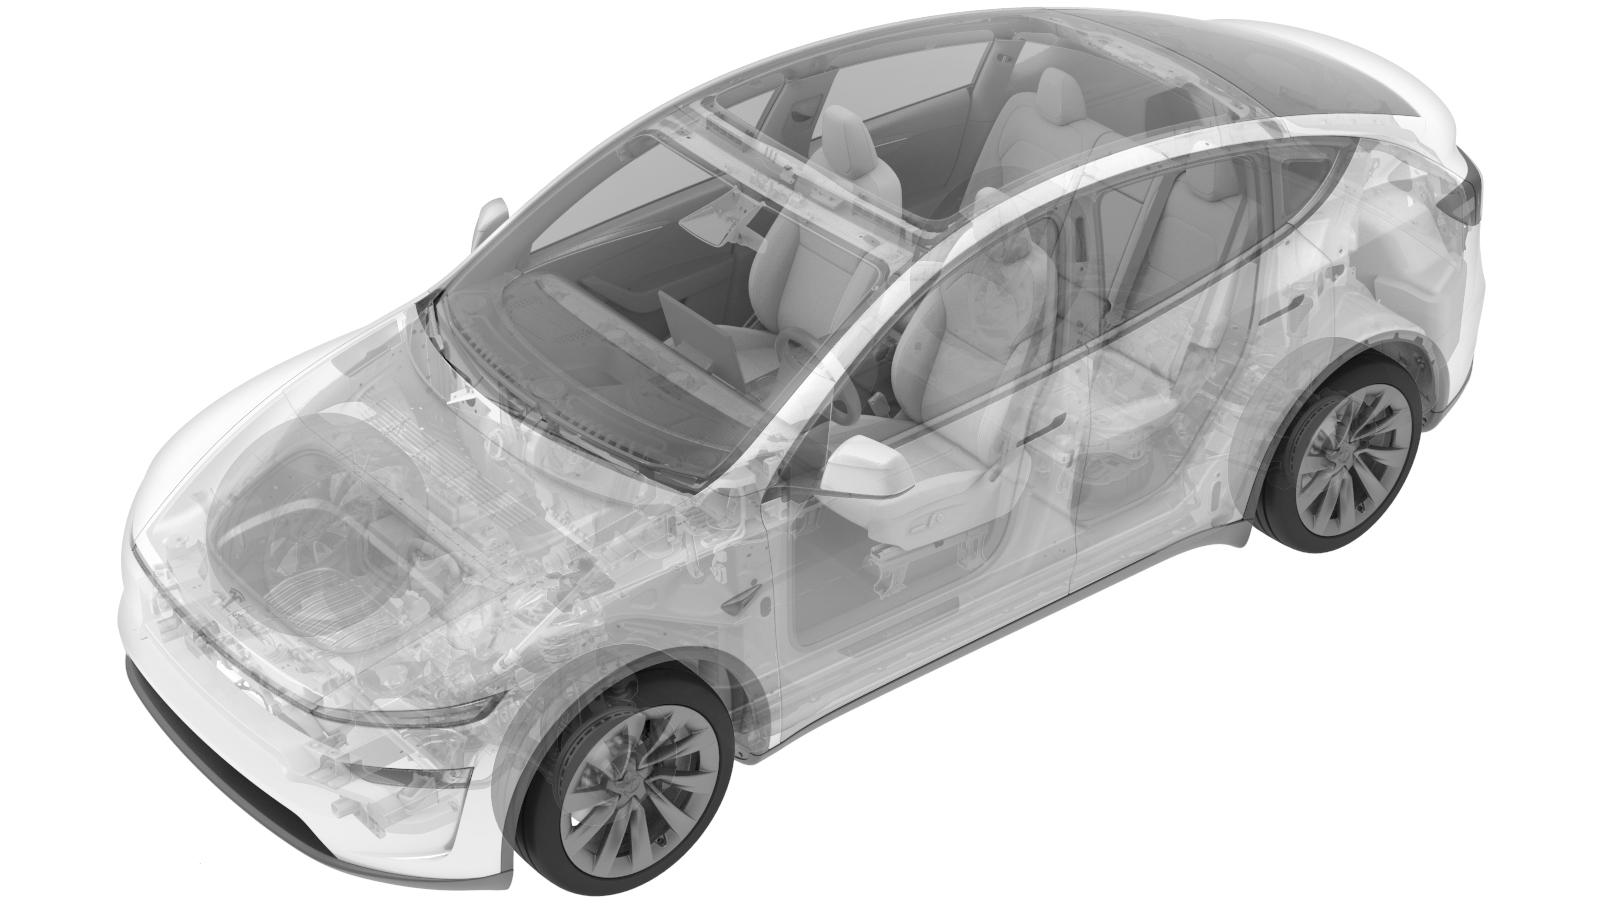
1st Row Seatback Recliner Tube (Remove and Replace)
 Correction code
1301020802
FRT
0.70
NOTE: Unless
otherwise explicitly stated in the procedure, the above correction code and
FRT reflect all of the work required to perform this procedure, including
the linked procedures. Do
not stack correction codes unless explicitly told to do so.
NOTE: See Flat Rate
Times to learn more about FRTs and how
they are created. To provide feedback on FRT values, email ServiceManualFeedback@tesla.com.
NOTE: See Personal Protection
to make sure wearing proper PPE when performing the below procedure.
NOTE: See Ergonomic Precautions for safe and
healthy working practices.
Remove
-
Remove the driver seat assembly. See
1st Row Seat- LH (Remove and Install)
NoteProtect the seat cushion to avoid damage.
- Remove the driver seat lumbar support assembly. See 1st Row Power Lumbar Seatback - LH (Remove and Install).
- Remove the driver seat outboard side shield carrier. See Carrier - Side Shield - Outboard - 1st Row (Remove and Replace).
- Remove the driver seat inboard side shield carrier. See Carrier - Side Shield - Inboard - 1st Row (Remove and Replace).
-
Remove and discard the clip that
attaches the recliner tube to the frame.
NoteWork the clip off of the shaft from different angles. Removal from one angle will not remove the clip fully.
-
Push the driver seat recliner tube
through the seat frame so that a small portion of the tube is visible from the other
side. Pull the recliner tube through and away from the frame.
-
Remove and discard the clip at the other end of the recliner tube.
Install
-
Use a 12mm deep socket and a rubber hammer to gently tap a new clip (1527040-00-A) to
about 6.7mm from one end of the recliner tube.
-
Push the driver seat recliner tube in
from the inboard side of the driver seat assembly, and then push the recliner tube
through the seat frame until about 6.7 mm of the tube is visible from the outboard
side.
NoteMake the metal bumps on the tube engage with the slots of the hole.
-
With assistance holding the outboard
side end of the tube, use a 12mm deep socket and a rubber hammer to tap a new clip
(1527040-00-A) onto the inboard side end of the recliner tube.
- Install the driver seat outboard side shield carrier. See Carrier - Side Shield - Outboard - 1st Row (Remove and Replace).
- Install the driver seat inboard side shield carrier. See Carrier - Side Shield - Inboard - 1st Row (Remove and Replace).
- Install the driver seat lumbar support assembly. See 1st Row Power Lumbar Seatback - LH (Remove and Install).
- Install the driver seat assembly. See 1st Row Seat- LH (Remove and Install)
- Calibrate the seat by using the touchscreen. Tap , then follow the instructions on the touchscreen, and allow the process to complete.
- Move the driver seat to original position.
- Raise the LH windows and close the LH doors.