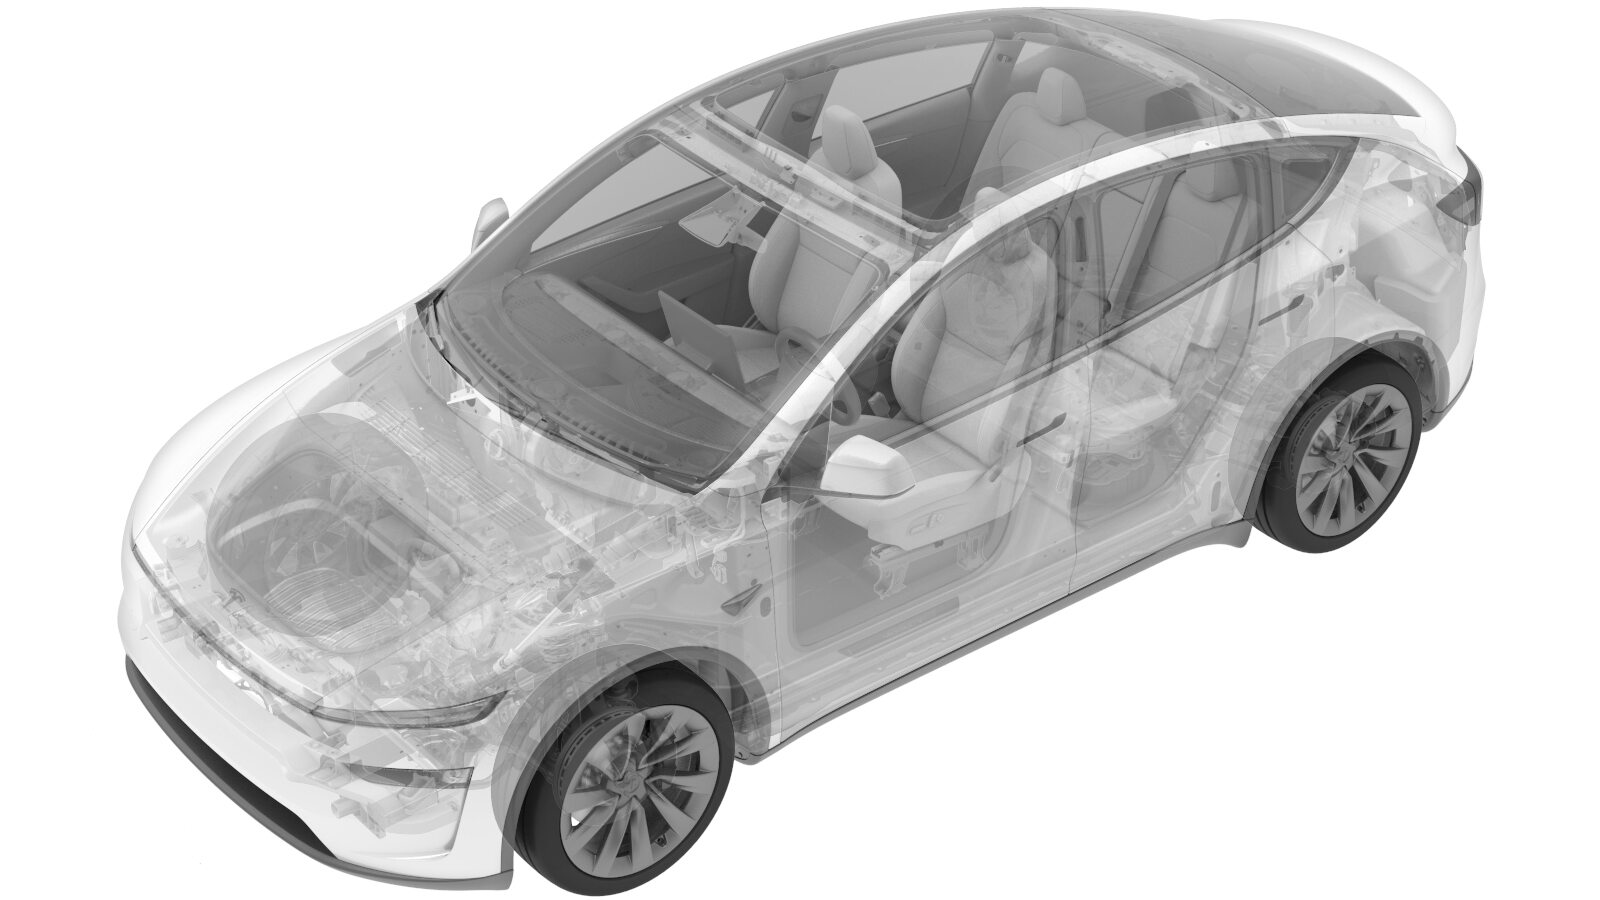
Front Seat Sliders And Controllers -1st Row Recliner Motor. (Remove and Replace)
 Correction code
1301020032
FRT
0.78
NOTE: Unless
otherwise explicitly stated in the procedure, the above correction code and
FRT reflect all of the work required to perform this procedure, including
the linked procedures. Do
not stack correction codes unless explicitly told to do so.
NOTE: See Flat Rate
Times to learn more about FRTs and how
they are created. To provide feedback on FRT values, email ServiceManualFeedback@tesla.com.
NOTE: See Personal Protection
to make sure wearing proper PPE when performing the below procedure.
NOTE: See Ergonomic Precautions for safe and
healthy working practices.
Torque Specifications
| Description | Torque Value | Recommended Tools | Reuse/Replace | Notes |
|---|---|---|---|---|
| Bolt that attaches the recliner motor to the seat back frame |
 5 Nm (3.7 lbs-ft) |
|
Reuse |
Remove
-
Remove the front passenger seat
assembly. See 1st Row Seat- LH (Remove and Install)
NoteProtect the seat cushion to avoid damage.
- Remove the lumbar support assembly. See 1st Row Power Lumbar Seatback - LH (Remove and Install).
- Remove the outboard side shield carrier. See Carrier - Side Shield - Outboard - 1st Row (Remove and Replace).
- Remove the inboard side shield carrier. See Carrier - Side Shield - Inboard - 1st Row (Remove and Replace).
-
Remove and discard the clip that
attaches the recliner tube to the frame.
NoteWork the clip off of the shaft from different angles. Removal from one angle will not remove the clip fully.
Figure 1. LH Shown, RH Similar -
Push the recliner tube through the
seat frame so that a small portion of the tube is visible from the other side. Pull the
recliner tube through and away from the frame.
Figure 2. LH Shown, RH Similar -
Remove the bolt that attaches the
recliner motor to the seat back frame.
NoteEnsure the alignment dowel on the motor is not damaged. Hold the motor in place while removing the fastener so that the dowel is not damaged during removal.TIpUse of the following tool(s) is recommended:
- Ratchet/torque wrench
- 8 mm socket
-
Remove the recliner motor from the
seat back frame.
Install
-
Position the recliner motor onto the
seat back frame.
NoteMake sure the alignment dowel is in the correct position.
-
Hand-tighten the bolt that attaches
the recliner motor to the seat back frame.
-
Push the recliner tube in from the
inboard side of the seat assembly, and then push the recliner tube through the seat
frame until about 6.7 mm of the tube is visible from the outboard side.
NoteMake the metal bumps on the tube engage with the slots of the hole.
Figure 3. LH Shown, RH Similar -
With assistance holding the outboard
side end of the tube, use a 12mm deep socket and a rubber hammer to tap a new clip
(1527040-00-A) onto the inboard side end of the recliner tube.
Figure 4. LH Shown, RH Similar -
Torque the bolt that attaches the
recliner motor to the seat back frame.
 5 Nm (3.7 lbs-ft)TIpUse of the following tool(s) is recommended:
- Ratchet/torque wrench
- 8 mm socket
- Install the outboard side shield carrier. See Carrier - Side Shield - Outboard - 1st Row (Remove and Replace).
- Install the inboard side shield carrier. See Carrier - Side Shield - Inboard - 1st Row (Remove and Replace).
- Install the lumbar support assembly. See 1st Row Power Lumbar Seatback - LH (Remove and Install).
- Install the front passenger seat assembly. See 1st Row Seat- LH (Remove and Install)
- Locally connect a laptop with Toolbox 3 to the vehicle. See Toolbox (Connect and Disconnect).
- On the laptop, click the Actions tab, type "Seat Calibration" into the search field, click PROC_VCRIGHT_SEAT-CALIBRATEvia Toolbox: (link)via Service Mode Plus: Low Voltage ➜ Seats ➜ Calibrate, click Run, and allow the routine to complete.
- Disconnect the laptop.
- On the touchscreen, press and hold the Exit Service Mode button to exit Service Mode Plus.
- Move the front passenger seat to original position.
- Raise the RH windows and close the RH doors.