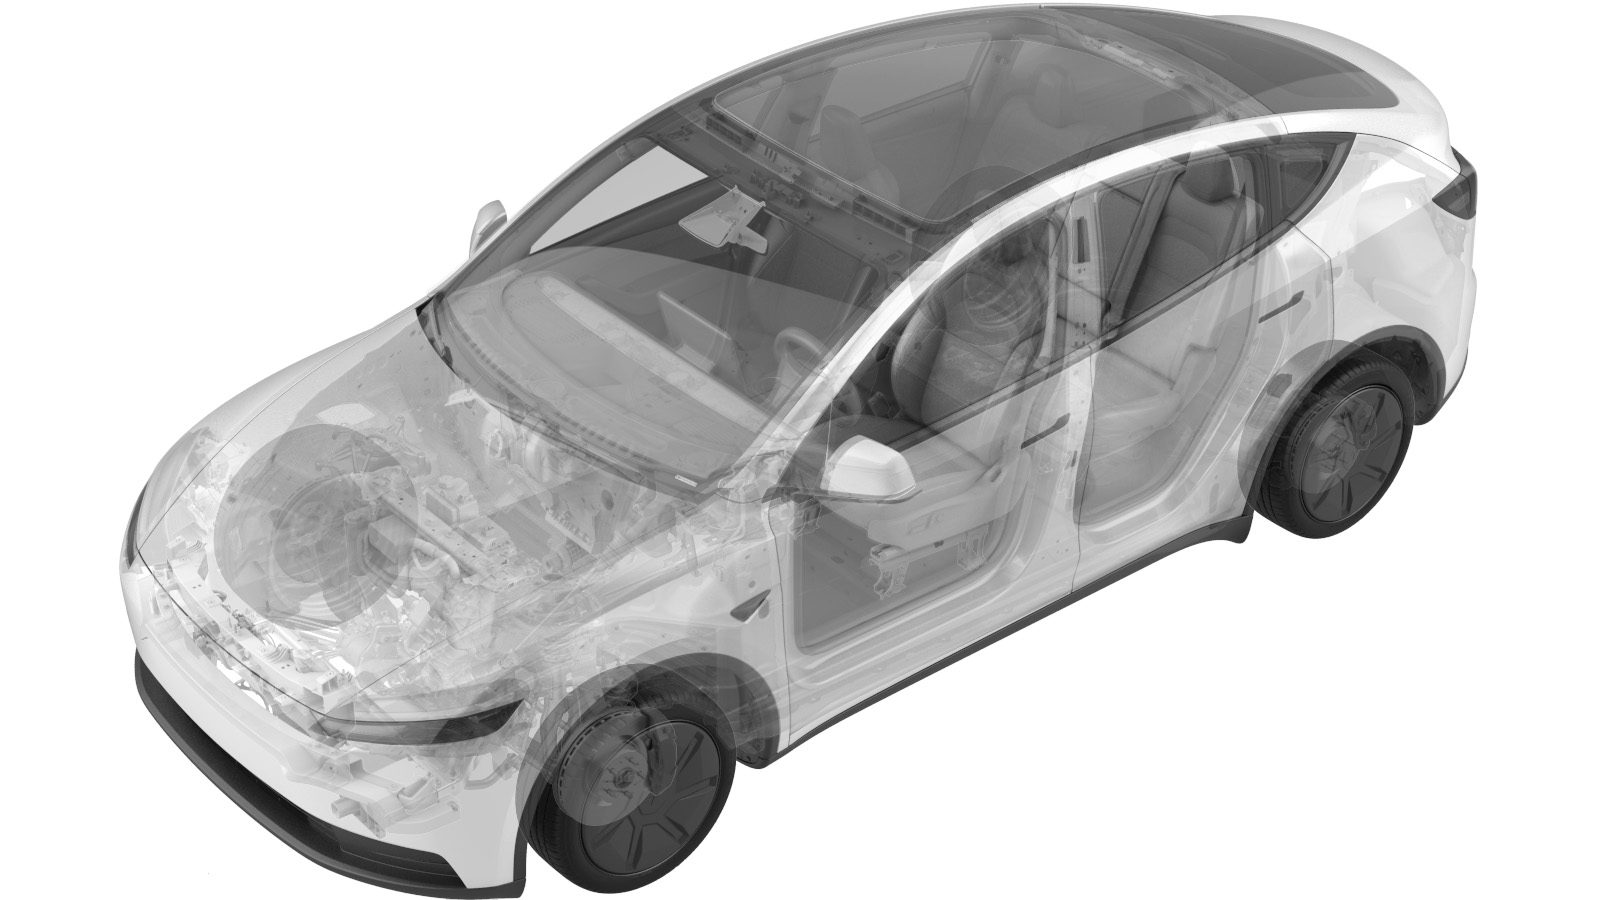
Headliner Assembly (Model Y Standard) (Remove and Install)
 Correction code
15200201701
15200201702
FRT
0.90
NOTE: Unless
otherwise explicitly stated in the procedure, the above correction code and
FRT reflect all of the work required to perform this procedure, including
the linked procedures. Do
not stack correction codes unless explicitly told to do so.
NOTE: See Flat Rate
Times to learn more about FRTs and how
they are created. To provide feedback on FRT values, email ServiceManualFeedback@tesla.com.
NOTE: See Personal Protection
to make sure wearing proper PPE when performing the below procedure.
NOTE: See Ergonomic Precautions for safe and
healthy working practices.
Torque Specifications
| Description | Torque Value | Recommended Tools | Reuse/Replace | Notes |
|---|---|---|---|---|
| Bolts (x6) that attach the side headliner |
 3 Nm (2.2 lbs-ft) |
|
Reuse |
Remove
- Open all four doors and lower all four doors windows.
- Open liftgate.
-
Fold 2nd row LH and RH seatback down.
NoteProtect seat back upholstery if necessary.
-
Move the LH and RH front seat
backward.
NoteIf needed, on the touchscreen, touch , use the scroll wheel to move the seat forward.
- Remove the LH front body primary seal. See Primary Body Seal - Front - LH (Remove and Replace).
- Remove LH upper A pillar trim. See Trim - A-Pillar - Upper - LH (Remove and Replace).
- Remove LH sun visor from headliner. See Sun Visor - LH (Remove and Replace).
- Partially remove LH lower A pillar trim. See A Pillar Lower Trim - LH (Remove and Replace).
-
Disengage locking tab to release
headliner harness from LH A-pillar area.
- Remove the LH rear body primary seal. See Primary Body Seal - Rear - LH (Remove and Replace).
- Remove LH lower B pillar trim. See Trim - B-Pillar - Lower - LH (Remove and Replace).
- Remove LH upper B pillar trim. See Trim - B-Pillar - Upper - LH (Remove and Replace).
- Partially remove LH trunk side trim. See Trunk Side Trim LH - Rear Under Body (Remove and Replace).
- Remove LH upper C pillar trim. See Trim - C-Pillar - Upper - LH (Remove and Replace).
- Repeat the step 5 through step 14 for the RH side of vehicle.
-
Release LH and RH side of
headliner.
NoteUse of the following tool(s) is recommended:
- Torx T30 socket
- Cordless 1/4in Dr Ratchet
- Installation only: wrench, Torque+Angle, 1/4" Dr.
NotePull side of headliner down to access fasteners, Center tether fastener will become accessible once front and rear tethers have been released.Figure 1. LH shown, RH similar -
Recommend assistance to remove headliner assembly.
NoteEnsure all clips are fully released at front and rear interface and gently fold headliner at mid point.NoteFold only enough to provide clearance to remove via liftgate opening, and while maneuvering headliner out of vehicle ensure no component become snagged on edges.NotePlace headliner face up on a clean or protected surface.
Install
-
Position headliner assembly into
vehicle.
NoteGently fold headliner at mid point then maneuver into position, and fold only enough to provide clearance to position into vehicle via liftgate opening, while maneuvering headliner into vehicle ensure no components become snagged on edges.
-
Secure RH headliner tethers.
 3 Nm (2.2 lbs-ft)NoteUse of the following tool(s) is recommended:
- Torx T30 socket
- Cordless 1/4in Dr Ratchet
- Installation only: wrench, Torque+Angle, 1/4" Dr.
NoteLift headliner upwards as required, and fasten center tether first.Figure 2. LH shown, RH similar -
Secure headliner assembly to
vehicle.
NoteApply even force along perimeter of headliner, push upwards in center of headliner to ensure magnets are engaged, and ensure liftgate seal is correctly position over rear of headliner.
- Install RH upper C pillar trim. See Trim - C-Pillar - Upper - LH (Remove and Replace).
- Secure RH trunk side trim. See Trunk Side Trim LH - Rear Under Body (Remove and Replace).
- Install RH upper B pillar trim. See Trim - B-Pillar - Upper - LH (Remove and Replace).
- Secure RH lower B pillar trim. See Trim - B-Pillar - Lower - LH (Remove and Replace).
- Install RH rear body primary seal. See Primary Body Seal - Rear - LH (Remove and Replace).
- Install RH sun visor to headliner. See Sun Visor - LH (Remove and Replace).
- Secure RH upper A pillar trim. See Trim - A-Pillar - Upper - LH (Remove and Replace).
- Install RH front body primary seal. See Primary Body Seal - Front - LH (Remove and Replace).
- Repeat the step 4 through step 11 for the LH side of vehicle.
-
Return the LH and RH front seat back
to its original position.
NoteIf needed, on the touchscreen, touch , use the scroll wheel to move the seat.
- Close liftgate.
- Raise the all windows and close the all doors.