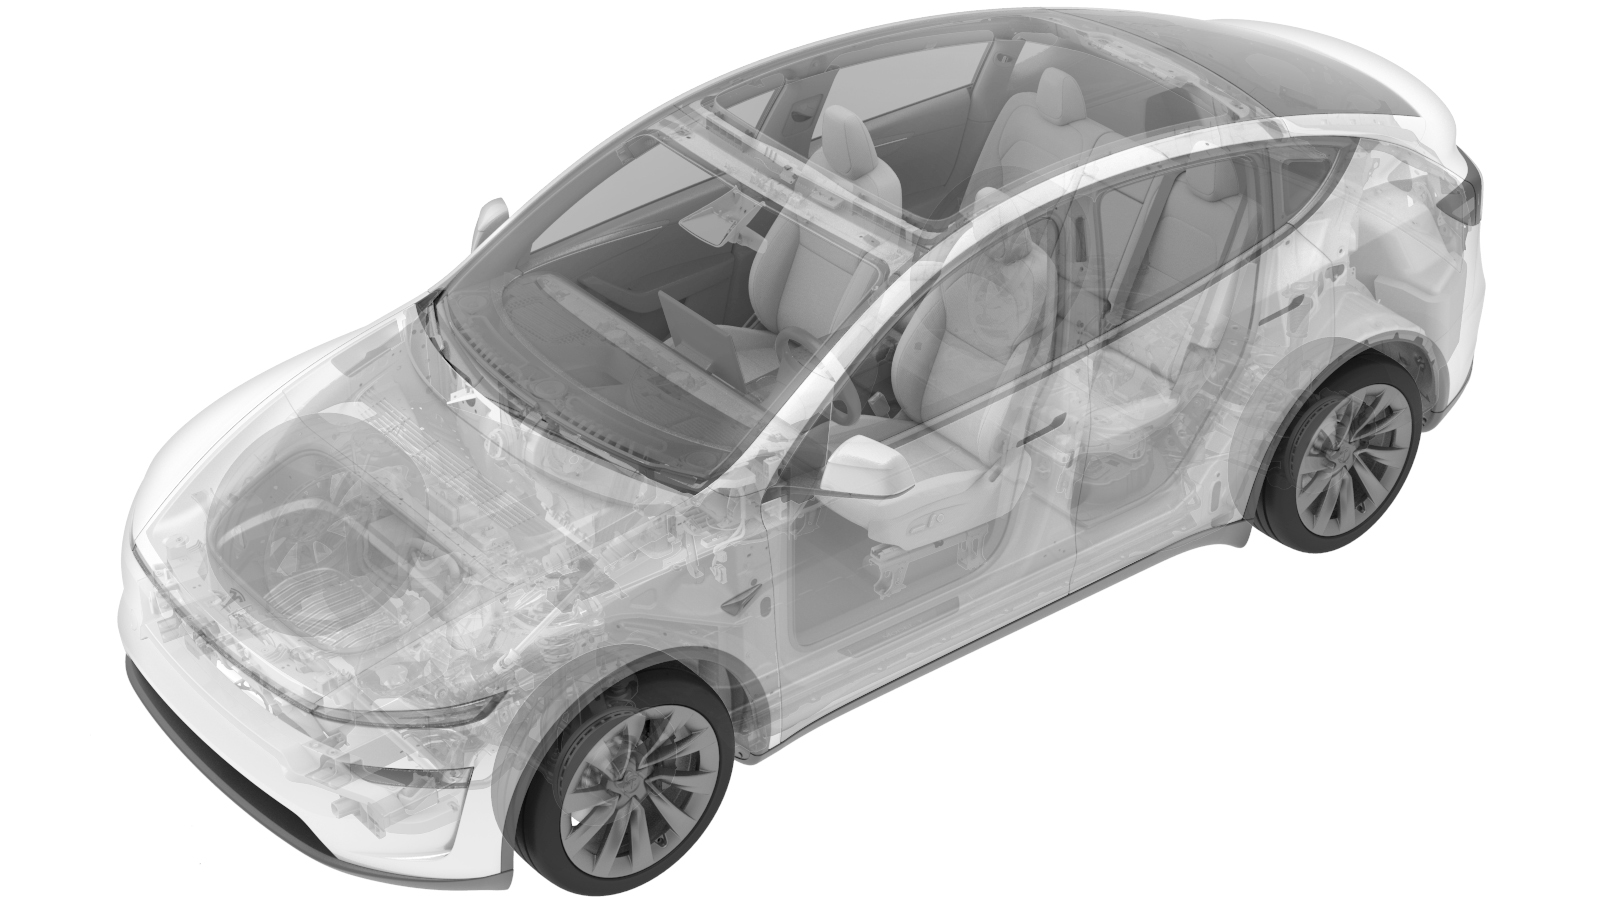
Reservoir - Windshield Washer (Remove and Replace)
 Correction code
1750010402
FRT
0.25
NOTE: Unless
otherwise explicitly stated in the procedure, the above correction code and
FRT reflect all of the work required to perform this procedure, including
the linked procedures. Do
not stack correction codes unless explicitly told to do so.
NOTE: See Flat Rate
Times to learn more about FRTs and how
they are created. To provide feedback on FRT values, email ServiceManualFeedback@tesla.com.
NOTE: See Personal Protection
to make sure wearing proper PPE when performing the below procedure.
NOTE: See Ergonomic Precautions for safe and
healthy working practices.
Remove
- Remove the underhood storage unit. See Underhood Storage Unit (Remove and Replace).
-
Disconnect the front camera
washer hose.
-
Release the clip that
attaches the front camera hose to the washer reservoir.
-
Remove the bolts (x3) that
attach the washer reservoir to the front end carrier, and then move the
reservoir aside.
NoteBe careful not to spill washer fluid from the reservoir.TIpUse of the following tool(s) is recommended:
- 10 mm socket
-
Place an empty container
into the front storage area.
NoteMake sure the container is clean and not contaminated.
- Open the washer reservoir cap.
-
Pour the washer fluid out of
the washer reservoir.
NoteBe careful not to spill the washer fluid.NoteRemove as much fluid as possible from the reservoir.
- Remove the container from the vehicle.
-
Release the clips (x5) that attach the harness to the washer
reservoir.
-
Release the clips (x6) that attach the hose to the washer reservoir.
-
Use a plastic trim tool to gently pry the washer level sensor from the
washer reservoir.
-
Pull the pump outwards to
release the guide clip, and then carefully remove the pump upwards to remove
the washer pump from the windshield washer reservoir.
NoteTaking care not to damage the pump during this process.
-
Remove the washer reservoir from the vehicle.
-
Remove the washer pump grommet from the washer reservoir.
-
Remove the washer level sensor grommet from the washer reservoir.
-
Remove the washer reservoir cap from the washer reservoir.
Install
-
Install the washer reservoir cap to the washer reservoir.
NoteAlign the locating tab on the washer reservoir neck.NoteMake sure that the cap is fully seated.
-
Install the washer level sensor grommet to the washer reservoir.
NoteInspect the grommet for damage and replace as necessary.
-
Install the washer pump grommet to the washer reservoir.
NoteInspect the grommet for damage and replace as necessary.
-
Install the washer reservoir to the vehicle.
-
Insert the tip of the washer
pump into the grommet in the washer reservoir, and then install the washer
pump to the washer reservoir.
-
Install the washer level sensor to the washer reservoir.
NoteMake sure that the flat edge of the sensor housing is facing upwards.
-
Install the clips (x6) that attach the hose to the washer reservoir.
-
Install the clips (x5) that attach the harness to the washer
reservoir.
-
Install the washer reservoir
to the front end carrier, and then install the bolts (x3) that attach the
washer reservoir to the front end carrier.
 4 Nm (2.9 lbs-ft)TIpUse of the following tool(s) is recommended:
- 10 mm socket
-
Fasten the clip that
attaches the front camera hose to the washer reservoir.
-
Connect the front camera
washer hose.
- Fill the windshield washer reservoir with washer fluid.
- Close the washer reservoir cap.
- Install the underhood storage unit. See Underhood Storage Unit (Remove and Replace).
- Verify operation of the windshield wipers and washer.