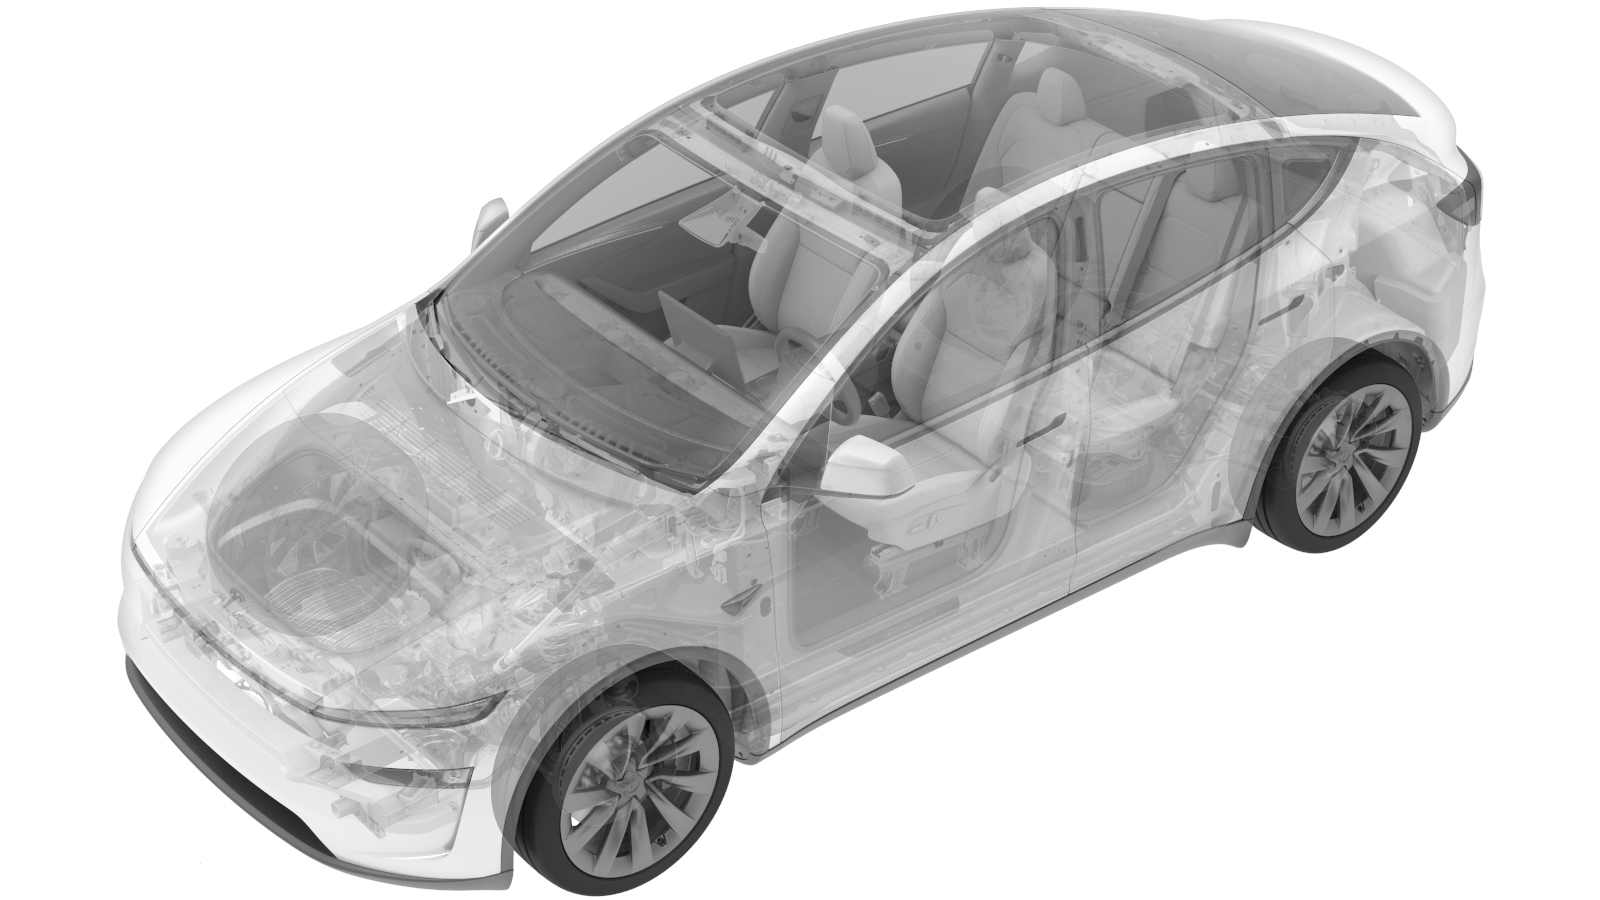
Active Grille Shutter (Remove and Install)
 Correction code
1001040101
FRT
0.66
NOTE: Unless
otherwise explicitly stated in the procedure, the above correction code and
FRT reflect all of the work required to perform this procedure, including
the linked procedures. Do
not stack correction codes unless explicitly told to do so.
NOTE: See Flat Rate
Times to learn more about FRTs and how
they are created. To provide feedback on FRT values, email ServiceManualFeedback@tesla.com.
NOTE: See Personal Protection
to make sure wearing proper PPE when performing the below procedure.
NOTE: See Ergonomic Precautions for safe and
healthy working practices.
Torque Specifications
| Description | Torque Value | Recommended Tools | Reuse/Replace | Notes |
|---|---|---|---|---|
| Bolts (x3) that attach the washer reservoir to the front end carrier |
 4 Nm (2.9 lbs-ft) |
|
Reuse | |
| Bolts (x2) that attach the LH and RH of the cooling fan module to the ankle catcher |
 6 Nm (4.4 lbs-ft) |
|
Reuse |
Remove
- Raise and support the vehicle. See Raise Vehicle - 2-Post Lift.
- Remove the underhood storage unit. See Underhood Storage Unit (Remove and Replace).
-
Disconnect the front camera washer
hose.
-
Release the clip that attaches the
front camera hose to the washer reservoir.
-
Remove the bolts (x3) that attach the
washer reservoir to the front end carrier, and then move the reservoir aside.
NoteBe careful not to spill washer fluid from the reservoir.TIpUse of the following tool(s) is recommended:
- 10 mm socket
-
Release the tabs (x2) and attach the
ambient temperature sensor to the active grille shutter.
-
Carefully remove the ambient
temperature sensor cover from the active grille shutter, and then move the sensor out
through the opening.
-
Disconnect the active grille shutter
actuator electrical connector.
CAUTIONDo not push down on the red tab. Pull the red tab to release the connector lock.
-
Release the clips (x8) that attach the
active grille shutter to the cooling fan module.
-
Remove the front valance. See Valance - Front Fascia (Remove and Replace).
NoteIt is not necessary to remove the pedestrian warning speaker from the valance.
-
Place towels to the front of subframe.
-
Remove the bolts (x2) that attach the
LH and RH of the cooling fan module to the ankle catcher.
NoteBe careful not to lose the bolt washer.TIpUse of the following tool(s) is recommended:
- 8 mm socket
Figure 1. LH shown, RH similar -
Release the tabs (x6) that attach the bottom of the active grille shutter to the
bottom of the cooling fan module.
- Lower the vehicle fully.
-
Remove the active grille shutter from the cooling fan module assembly.
Install
-
Install the active grille shutter to the cooling fan module assembly.
CAUTIONTake care of not damaging the radiator.
-
Raise the vehicle fully and lower the lift onto locks.
CAUTION
Make sure there is an audible click of the locks on both sides before lowering, otherwise the vehicle may tilt to one side.
Make sure that the doors are clear of surrounding objects.
-
Install the tabs (x6) that attach the bottom of the active grille shutter to the
bottom of the cooling fan module.
-
Loosely install the bolts (x2) that
attach the LH and RH of the cooling fan module to the ankle catcher.
Figure 2. LH shown, RH similar -
Torque the bolts (x2) that attach the
LH and RH of the cooling fan module to the ankle catcher.
 6 Nm (4.4 lbs-ft)TIpUse of the following tool(s) is recommended:
- 8 mm socket
Figure 3. LH shown, RH similar - Remove the towels from the front of subframe.
- Install the front valance. See Valance - Front Fascia (Remove and Replace).
-
Install the clips (x8) that attach the active grille shutter to the cooling fan
module.
-
Connect the active grille shutter
actuator electrical connector.
-
Feed the ambient temperature sensor
through the opening of the active grille shutter, and then install the tabs (x2) that
attach the sensor to the active grille shutter.
-
Install the ambient temperature sensor
cover.
-
Move the washer reservoir back to its
original position, and then install the bolts (x3) that attach the washer reservoir to
the front end carrier.
 4 Nm (2.9 lbs-ft)TIpUse of the following tool(s) is recommended:
- 10 mm socket
-
Fasten the clip that attaches the
front camera hose to the washer reservoir.
-
Connect the front camera washer
hose.
- Install the underhood storage unit. See Underhood Storage Unit (Remove and Replace).