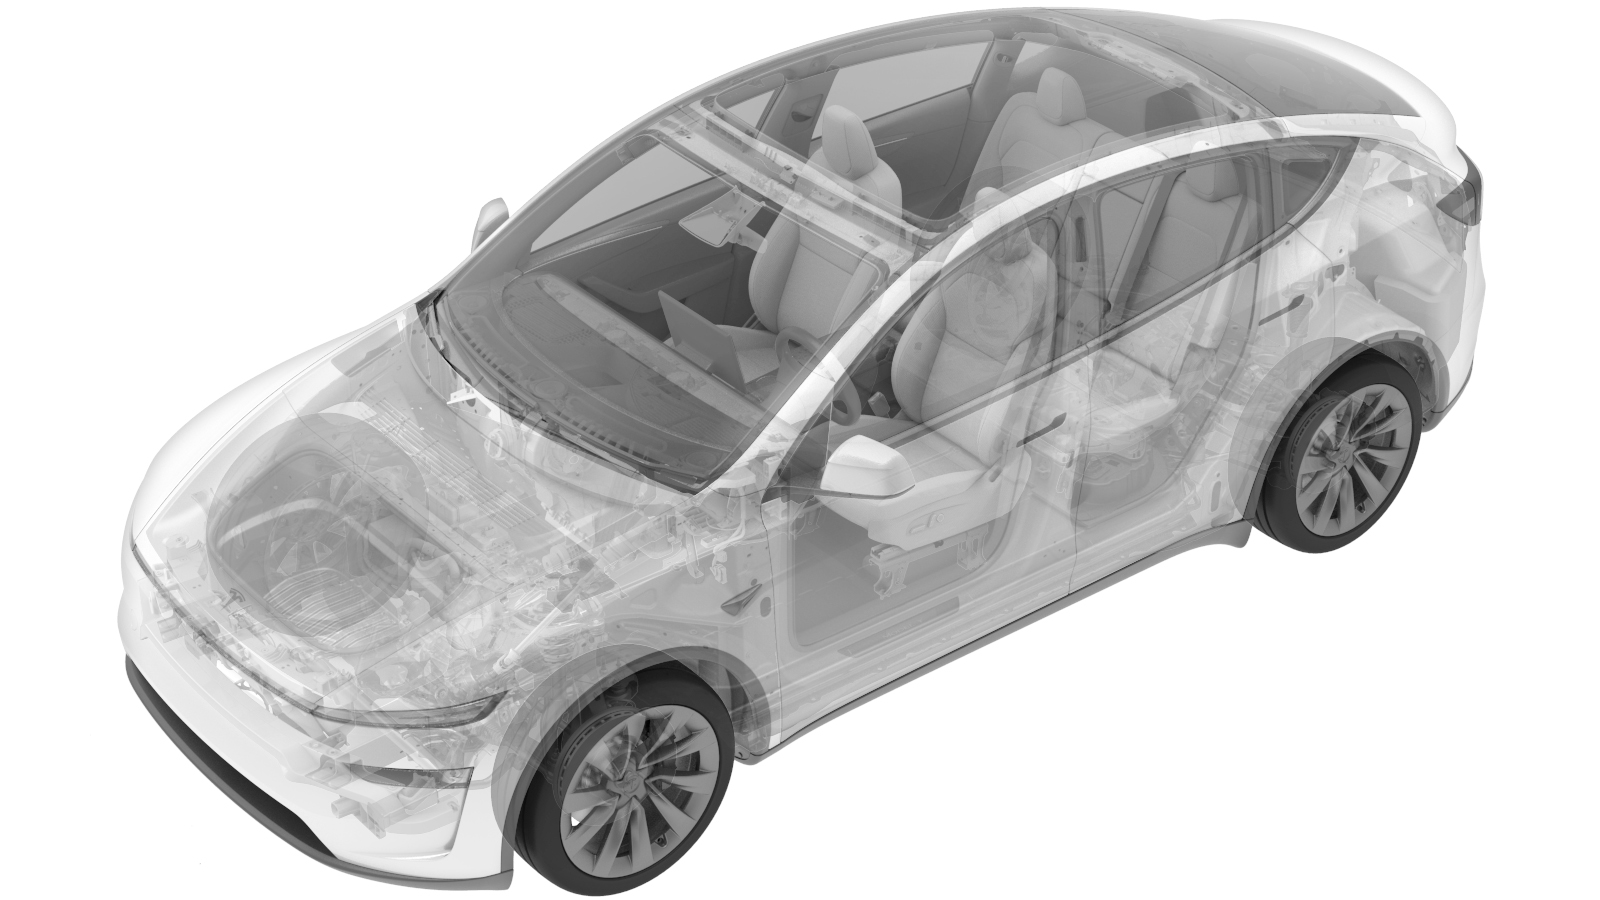
Assembly - USB Hub (Remove and Replace)
 Correction code
1519021102
FRT
0.45
NOTE: Unless
otherwise explicitly stated in the procedure, the above correction code and
FRT reflect all of the work required to perform this procedure, including
the linked procedures. Do
not stack correction codes unless explicitly told to do so.
NOTE: See Flat Rate
Times to learn more about FRTs and how
they are created. To provide feedback on FRT values, email ServiceManualFeedback@tesla.com.
NOTE: See Personal Protection
to make sure wearing proper PPE when performing the below procedure.
NOTE: See Ergonomic Precautions for safe and
healthy working practices.
| Description | Torque Value | Recommended Tools | Reuse/Replace | Notes |
|---|---|---|---|---|
| Bolts secure the VC USB to |
 1.1 Nm (.8 lbs-ft) |
|
Reuse |
Remove
- Remove the rear end module. See Module - Rear End - Center Console (Remove and Install).
-
Disconnect VC USB module
connector.
-
Remove VC USB from center
console.
TIpUse of the following tool(s) is recommended:
- Torx T20 bit
- DRIVER KIT, 1/4" HEX, M12
- 4 in extension
Install
-
Install VC USB to center console.
 1.1 Nm (.8 lbs-ft)TIpUse of the following tool(s) is recommended:
- Torx T20 bit
- DRIVER KIT, 1/4" HEX, M12
- 4 in extension
-
Connect VC USB module connector.
- Install the rear end module. See Module - Rear End - Center Console (Remove and Install).
-
Connect the laptop with Toolbox to
the vehicle. See Toolbox (Connect and Disconnect).
NoteConnecting the vehicle to Toolbox will also automatically activate Service Mode Plus.
- Click the Actionstab, click TEST-SELF_VCUSB_X_HVAC-ACTUATORvia Toolbox: (link), click Run, and allow the routine to complete.
- Reinstall software. See Software Reinstall - Touchscreen.
- Disconnect the laptop with Toolbox from the vehicle. See Toolbox (Connect and Disconnect).
- Exit Service Mode. See Service Mode Plus.
- Raise the LH front window and close the LH front door.