2025-12-19
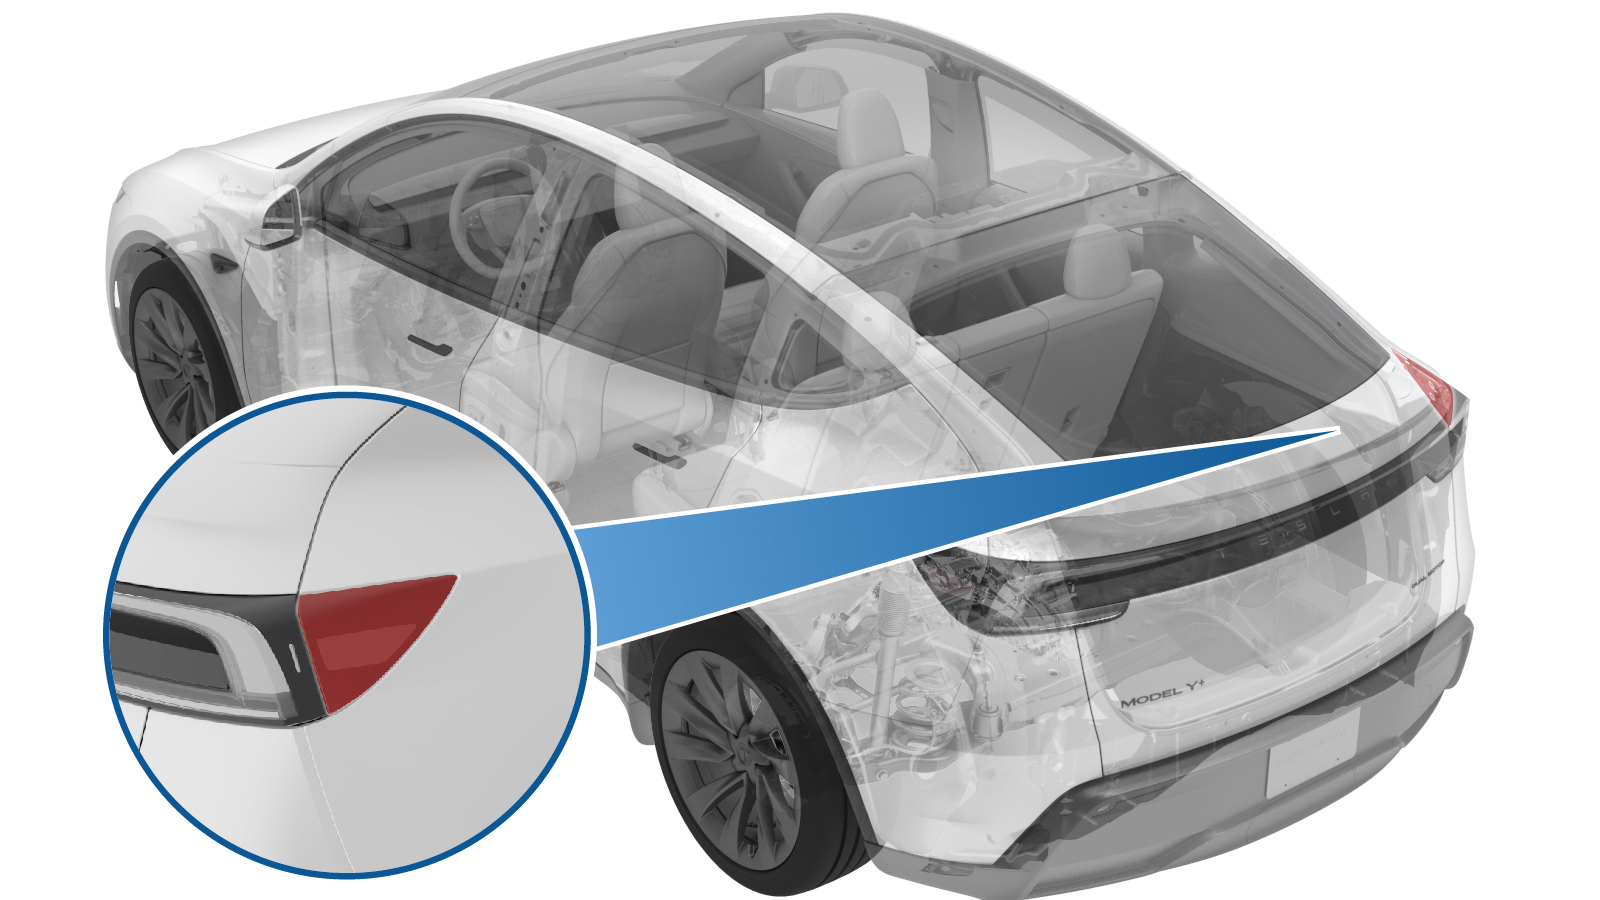
Reflex Lens - Rear - RH (Remove and Replace)
 Correction code
17404502
FRT
0.06
NOTE: Unless otherwise explicitly stated in the procedure, the correction code and FRT listed above reflect all of the work required to perform this procedure, including the linked procedures. Do not stack correction codes unless explicitly told to do so.
NOTE: See Flat Rate Times to learn more about FRTs and how they are created.
NOTE: See Personal Protection to make sure you
are wearing proper PPE when performing the procedure below.
NOTE: See Ergonomic Precautions for safe and healthy working practices.
Correction code
17404502
FRT
0.06
NOTE: Unless otherwise explicitly stated in the procedure, the correction code and FRT listed above reflect all of the work required to perform this procedure, including the linked procedures. Do not stack correction codes unless explicitly told to do so.
NOTE: See Flat Rate Times to learn more about FRTs and how they are created.
NOTE: See Personal Protection to make sure you
are wearing proper PPE when performing the procedure below.
NOTE: See Ergonomic Precautions for safe and healthy working practices.
- 2025-12-18: Added a note to remove damaged clips to avoid NVH issues.
Equipment:
- 1523872-00-A FBIT, T10 x 25mm
- CM91269380 Plastic trim tool wide
- 1082344-64-A Ratchet 1/4in Dr Std
Remove
- Open the liftgate.
-
Apply tape to RH rear quarter panel.
NoteUse masking tape to protect the working area.
-
Gently pry from the side to release
the clips (x3) that attach the RH reflex lens to the vehicle, then remove and discard
the RH reflex lens.
NoteRemove any damaged clips to prevent NVH issues.
Replace
-
Install RH reflex light.
NoteAlign the datums before evenly installing, ensure light is flush to quarter panel.
-
Adjust the RH reflex to ensure it is
flush with the rear quarter panel.
 0.7 Nm (6 lbs-in)TIpUse of the following tool(s) is recommended:
- Torx T10 bit
- Remove the masking tape from the RH reflex.
- Close the liftgate.