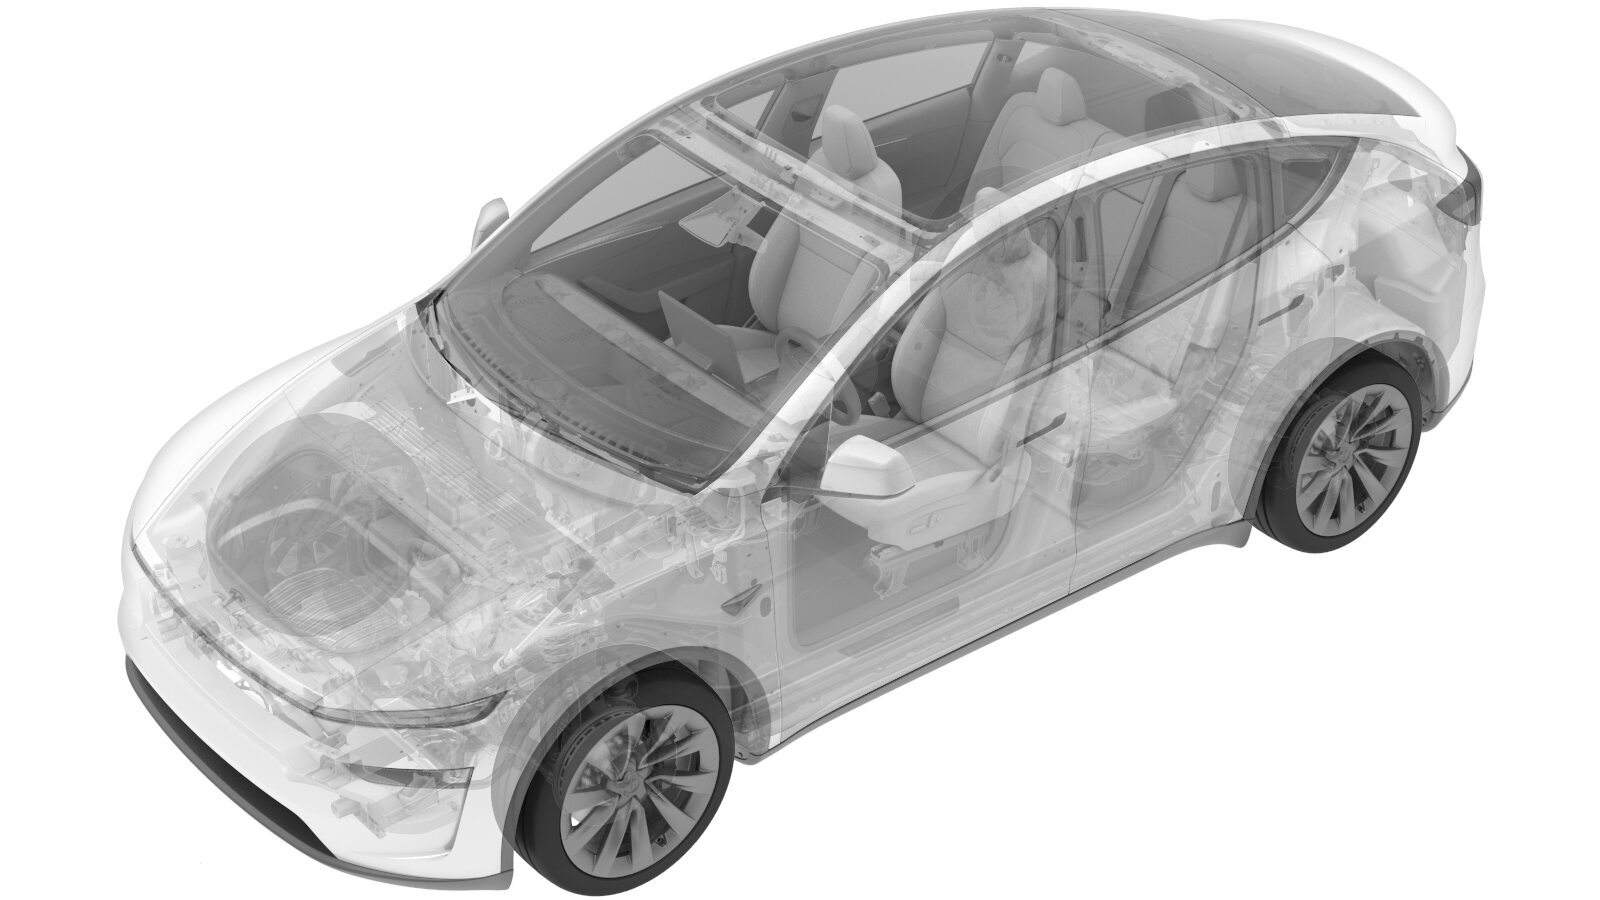
Harness - Instrument Panel - LHD (Remove and Replace)
 Correction code
1710020602
FRT
2.40
NOTE: Unless
otherwise explicitly stated in the procedure, the above correction code and
FRT reflect all of the work required to perform this procedure, including
the linked procedures. Do
not stack correction codes unless explicitly told to do so.
NOTE: See Flat Rate
Times to learn more about FRTs and how
they are created. To provide feedback on FRT values, email ServiceManualFeedback@tesla.com.
NOTE: See Personal Protection
to make sure wearing proper PPE when performing the below procedure.
NOTE: See Ergonomic Precautions for safe and
healthy working practices.
Remove
-
Remove the cross car beam. See Beam - Cross Car (Remove and Replace).
NoteNo need to remove the LH and RH display support brackets.
-
Disconnect the instrument panel
harness J10 connector from the LH body controller.
-
Disconnect the HVAC connector from the LH body controller.
-
Disconnect the instrument panel harness X035 connector from the LH body
controller.
NotePay attention to the color and the location of the connector.
-
Disconnect the blower motor
connector.
-
Disconnect the J10 instrument panel
electrical connector from the RH body controller module.
-
Disconnect the instrument panel harness connector from the RCM.
-
Remove the instrument panel harness from the cross car beam.
NoteTake note of the harness routing for installation.
Install
- Position the instrument panel harness to the cross car beam for installation.
-
Connect the HVAC connector to the LH body controller.
-
Connect the instrument panel harness J10 connector to the LH body controller.
-
Connect the instrument panel harness connector to the RCM.
-
Connect the J10 instrument panel electrical connector to the RH body controller
module.
-
Connect the blower motor
connector.
-
Connect the instrument panel harness
X035 connector to the LH body controller.
NotePay attention to the color and the location of the connector.
- Install the cross car beam. See Beam - Cross Car (Remove and Replace).
- Place the vehicle in Service Mode by using the touchscreen. See Service Mode.
- On the touchscreen, tap the Service Mode "wrench" (at the bottom of the touchscreen UI), and then tap , and allow the routine to complete.
- Exit Service Mode. See Service Mode.
- Move the LH front seat to original position.
- Raise the LH front window and close the LH front door.