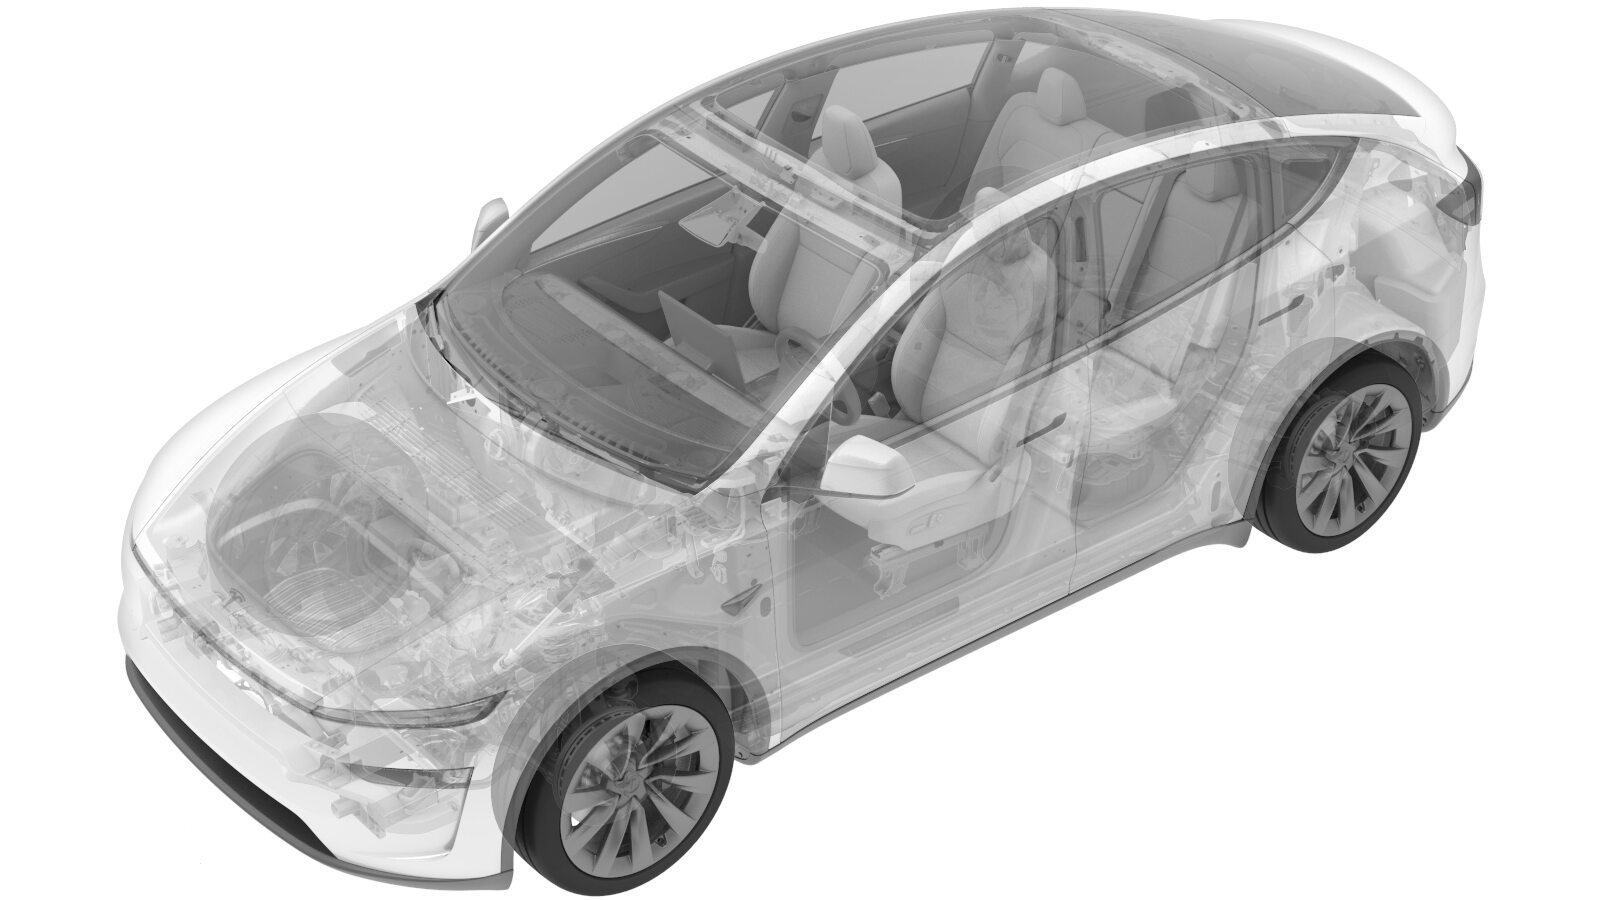
Liftgate Hinge - LH (Remove and Replace)
 Correction code
1133050302
FRT
0.54
NOTE: Unless
otherwise explicitly stated in the procedure, the above correction code and
FRT reflect all of the work required to perform this procedure, including
the linked procedures. Do
not stack correction codes unless explicitly told to do so.
NOTE: See Flat Rate
Times to learn more about FRTs and how
they are created. To provide feedback on FRT values, email ServiceManualFeedback@tesla.com.
NOTE: See Personal Protection
to make sure wearing proper PPE when performing the below procedure.
NOTE: See Ergonomic Precautions for safe and
healthy working practices.
Equipment:
- 1212168-00-A - Air saw (EMEA)
Torque Specifications
| Description | Torque Value | Recommended Tools | Reuse/Replace | Notes |
|---|---|---|---|---|
| Bolts (x2) that attach the LH liftgate hinge to the liftgate |
 24 Nm (17.7 lbs-ft) |
|
Reuse | |
| Inner nut that attaches the LH liftgate hinge to the vehicle |
 24 Nm (17.7 lbs-ft) |
|
Reuse | |
| Outer side nut that attaches the LH liftgate hinge to the body |
 24 Nm (17.7 lbs-ft) |
|
Reuse |
Remove
- Remove the rear headliner panel. See Rear Headliner (Remove and Replace).
-
Carefully release the clip that attaches the LH rear lower section of the headliner
to the vehicle.
-
Apply masking tape to the area
surrounding the liftgate hinge on the body and door to aid in alignment during
installation.
- Use a telescoping hood prop to support the liftgate.
-
Release the clip that attaches the
upper end of the trunk power strut to the upper trunk lid ball stud.
-
Place an inflatable air bag between the liftgate and the roof glass and then inflate
it.
NoteThis is to prevent the liftgate from directly pressing against the roof glass, causing damage to the glass.
-
Remove the bolts (x2) that attach the LH liftgate hinge to the liftgate.
TIpUse of the following tool(s) is recommended:
- 13 mm socket
-
Remove the inner nut that attaches the LH liftgate hinge to the vehicle.
TIpUse of the following tool(s) is recommended:
- 13 mm socket
-
Apply masking tape to the LH side of
the liftgate hinge on the body to protect the paint.
- Place a protective pad to the 2nd row LH seat backrest.
-
Use the air saw to cut the inner side bolt on the LH liftgate hinge.
NoteCut 9mm upwards from the bottom of the bolt, and be careful not to apply too much force towards the end of the cut.WarningWear proper PPE to avoid damage to components and/or personal injury.
- Remove the masking tape from the LH side of the liftgate hinge on the body.
-
Remove the outer side nut that attaches the LH liftgate hinge to the body.
TIpUse of the following tool(s) is recommended:
- 13 mm socket
-
Remove the LH liftgate hinge from the vehicle as follows:
CAUTIONTake care not to damage the glass.
- Remove the old spacers from the vehicle.
Install
-
Position the LH liftgate hinge to the vehicle as follows:
- Install the outer bolt of the hinge to the body.
- Rotate the LH side of the hinge ~30 degree counterclockwise to install the inner bolt of the hinge.
-
Hand-tighten the nuts (x2) that attach
the LH liftgate hinge to the body.
-
Hand-tighten the bolts (x2) that
attach the LH liftgate hinge to the liftgate.
-
Deflate the inflatable air bag, and
then remove it from between the liftgate and the roof glass.
-
Install the clip that attaches the
upper end of the trunk power strut to the upper trunk lid ball stud.
- Remove the telescoping hood prop from the liftgate.
-
Close the liftgate and verify the
fitment is within specification.
NoteRefer to CVIS for specifications.
- Open the liftgate and make adjustments if necessary.
-
Tighten the bolts (x2) that attach the LH liftgate hinge to the liftgate.
 24 Nm (17.7 lbs-ft)TIpUse of the following tool(s) is recommended:
- 13 mm socket
-
Tighten the nuts (x2) that attach the LH liftgate hinge to the body.
 24 Nm (17.7 lbs-ft)TIpUse of the following tool(s) is recommended:
- 13 mm socket
-
Shake the touch up paint, and then
apply the paint to the LH liftgate hinge nuts and bolts. Wait for some time to
dry.
NoteAllow the first coat to dry for 20 minutes before applying a second coat, if necessary.
-
Install the clip that attaches the LH
rear lower section of the headliner to the vehicle.
- Remove the rear headliner panel. See Rear Headliner (Remove and Replace).
- Remove the protective pad from the 2nd row LH seat backrest.
- Remove the masking tape from the vehicle.
- Close the liftgate.