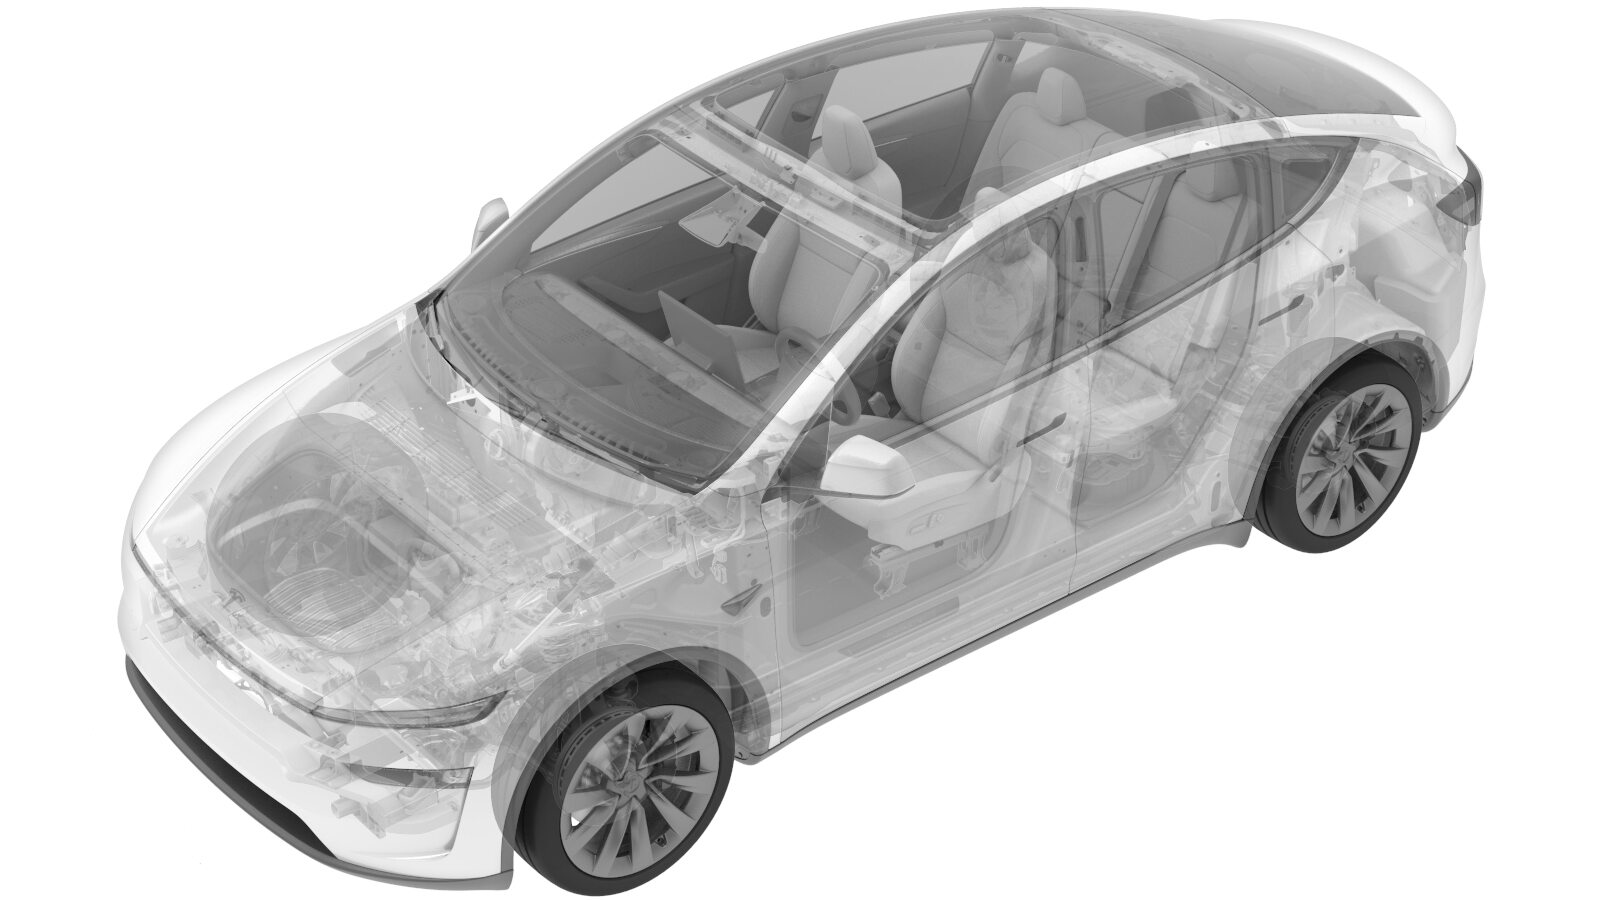
Rear Drive Inverter (3DU) (Remove and Replace)
 Correction code
4020040002
FRT
2.88
NOTE: Unless
otherwise explicitly stated in the procedure, the above correction code and
FRT reflect all of the work required to perform this procedure, including
the linked procedures. Do
not stack correction codes unless explicitly told to do so.
NOTE: See Flat Rate
Times to learn more about FRTs and how
they are created. To provide feedback on FRT values, email ServiceManualFeedback@tesla.com.
NOTE: See Personal Protection
to make sure wearing proper PPE when performing the below procedure.
NOTE: See Ergonomic Precautions for safe and
healthy working practices.
Remove
- Inspect the vehicle for abnormal tire wear that might indicate the need for a wheel alignment. Note any findings.
-
Place the vehicle on the 2-post
lift.
TIpEnsure the vehicle is not charging.
- Open all doors and lower all windows.
- Move both front seats forward.
-
Perform Before-Inverter-Replacement routines.
- Locally connect a laptop with Toolbox to the vehicle. See Toolbox (Connect and Disconnect).
- On the touchscreen, tap the Service Mode "wrench" (at the bottom of the touchscreen UI), and then tap , and allow the routine to complete.
- Tap , and allow the routine to complete.
- Tap , and allow the routine to complete.
- Disconnect the laptop.
-
Remove the rear drive inverter and place it on an ESD mat. See Rear Drive Inverter (3DU) (Remove and Install).
NoteNo need to separate the gasket from the inverter as this is a
Remove and Replace
procedure. Replace it together with the inverter. Remove the ESD wrist strap from the inverter housing after removing the inverter.
Install
-
Prepare the new drive inverter.
NoteSave the packaging to MRB old drive inverter. Remove any red protective covers.
-
Secure the ESD strap to the new
inverter housing.
-
Install the new inverter to the
vehicle. See Rear Drive Inverter (3DU) (Remove and Install).
NoteAfter installing the RDU phase out cover and the 3-phase access label, back to current procedure.
-
Put on the ESD wrist strap, package
the old inverter and prepare for MRB. Label properly for return or disposal.
NoteSecure any protective red caps. Return or dispose of packaging through proper channels. Label the part as MRB.
-
Continue installing the new inverter. See Rear Drive Inverter (3DU) (Remove and Install).
NoteAfter installing both rear wheels, return to current procedure and move on.
- Install the 2nd row seat cushion. See Seat Cushion - 2nd Row (Remove and Replace).
- Perform a cooling system vacuum refill. See Cooling System - Vacuum Refill (Test/Adjust).
- Connect the first responder loop and leave the LV battery disconnected.
- Connect an LV maintainer. See LV Maintainer (Maintenance).
-
Perform After-Inverter-Replacement and After-Successful-Redeploy routines.
- Locally connect a laptop with Toolbox to the vehicle. See Toolbox (Connect and Disconnect).
- On the touchscreen, tap the Service Mode "wrench" (at the bottom of the touchscreen UI), and then tap , and allow the routine to complete.
- Tap , and allow the routine to complete.
- Tap , and allow the routine to complete.
- Once the reinstallation is complete, check that the release notes appear on the touchscreen, indicating a successful reinstallation.
- Tap , and allow the routine to complete.
- Tap , and allow the routine to complete.
- Tap , and allow the routine to complete.
- Disconnect the LV maintainer and connect the LV battery.
- Inspect the coolant level and top off as necessary.
- Install the coolant bottle cap.
- Install the HEPA filter assembly. See HEPA Filter Assembly (Remove and Replace).
- Move both front seats to original position.
-
After the Coolant Air Purge routine is completed, continue to
perform the After-Successful-Redeploy routines.
- Raise all windows and close all doors.
- Remove the vehicle from the lift.
- Refer to the Alignment Requirement tables to determine whether an EPAS alignment check (EC) or four wheel alignment check (AC) is necessary. If performed, add the alignment check/adjust as a separate activity. See Alignment Requirement - Suspension.