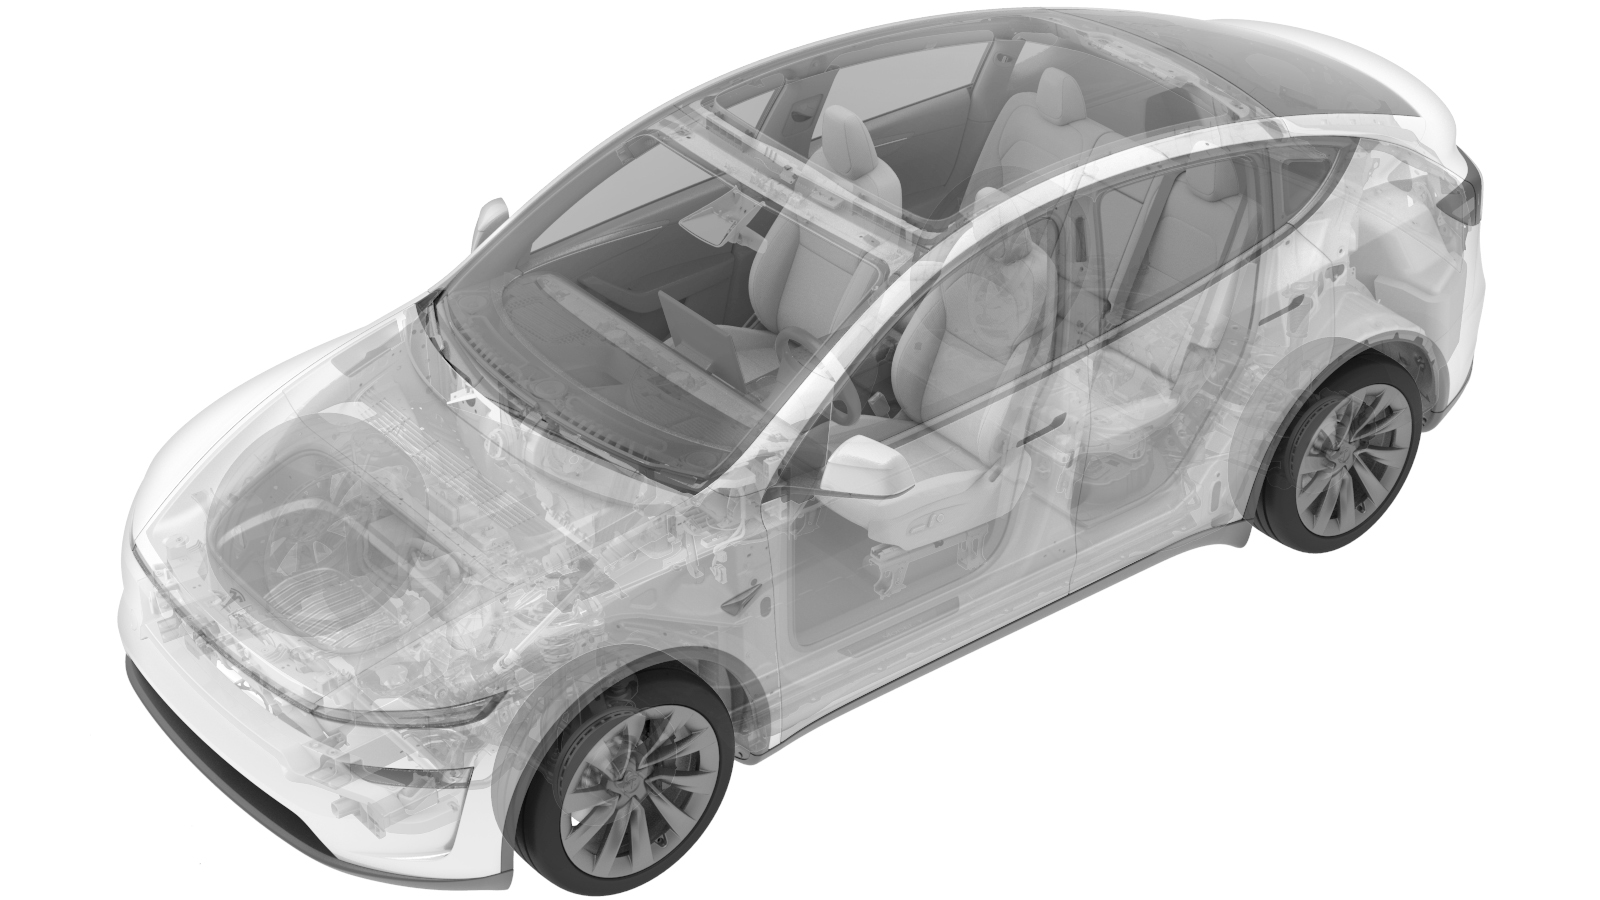
B-Pillar Applique - LH (Remove and Install)
 Correction code
1220010101
FRT
0.18
NOTE: Unless
otherwise explicitly stated in the procedure, the above correction code and
FRT reflect all of the work required to perform this procedure, including
the linked procedures. Do
not stack correction codes unless explicitly told to do so.
NOTE: See Flat Rate
Times to learn more about FRTs and how
they are created. To provide feedback on FRT values, email ServiceManualFeedback@tesla.com.
NOTE: See Personal Protection
to make sure wearing proper PPE when performing the below procedure.
NOTE: See Ergonomic Precautions for safe and
healthy working practices.
Remove
- Open the LH doors and lower the LH windows.
- Enter Service Mode. See Service Mode.
-
Partially release the LH rear primary
seal from the B-pillar area to gain access to the LH B-pillar applique.
-
Remove the double-sided tapes from
underneath the B-pillar applique.
-
Release the trim clip that attaches
the upper portion of the B-pillar applique to the B-pillar.
NoteInsert the clip pry tool into the position 7.5cm below the B-pillar camera.NoteMake sure the pry tool is under the B-pillar applique seal.
-
Release the trim clip that attaches
the lower portion of B-pillar applique to the B-pillar.
NoteInsert the clip pry tool into the position 6 cm above the bottom of the B-pillar applique.NoteMake sure the pry tool is under the B-pillar applique seal.
-
Slide the B-pillar applique down
slightly to release the assembly from the body, and then release the clip that attaches
the B-pillar applique seal to the body.
CAUTIONThe clip is glued to the seal and will tear if the pry tool is engaged at the seal clip.CAUTIONDo not pull the applique too far from the vehicle, as the applique is still attached by an electrical connector.
-
Disconnect the camera connector and
the NFC connector from the B-pillar applique, and then remove the applique from the
vehicle.
CAUTIONUse caution not to damage the connectors.
-
Use IPA wipes to clean all residual
adhesive from the LH B-pillar surface and B-pillar trim, and allow 1 min to dry.
Install
-
Install new double-sided tapes to the
B-pillar applique.
-
Connect the camera connector and the
NFC connector to the B-pillar applique, and then position the B-pillar applique onto the
vehicle.
-
Slightly slide the applique upward to
engage the tab that attaches the B-pillar applique to the vehicle, and then install the
clips (x2).
-
Install the clip that attaches the
B-pillar applique seal to the vehicle.
-
Remove the protective film from the
double-sided tapes and press the tapes to secure the LH B-pillar applique.
- Install the LH rear primary seal to the B-pillar area.
- Unlock the vehicle gateway. See Gateway (Unlock).
- On the touchscreen, tap , select BPillars from the Camera Selection drop-down menu, and click Run.
- Exit Service Mode. See Service Mode.
- Raise the LH windows and close the LH doors.
-
Inform the customer that manual
driving is now required to self-calibrate the camera.
NoteSelf-calibration can take up to 100 miles (160 km) of manual driving, depending upon the road type and condition. Until self-calibration is complete, the message "Autopilot Features Currently Unavailable: Manual Driving Required While Camera Is Calibrating" is displayed if an attempt is made to engage an Autopilot feature.