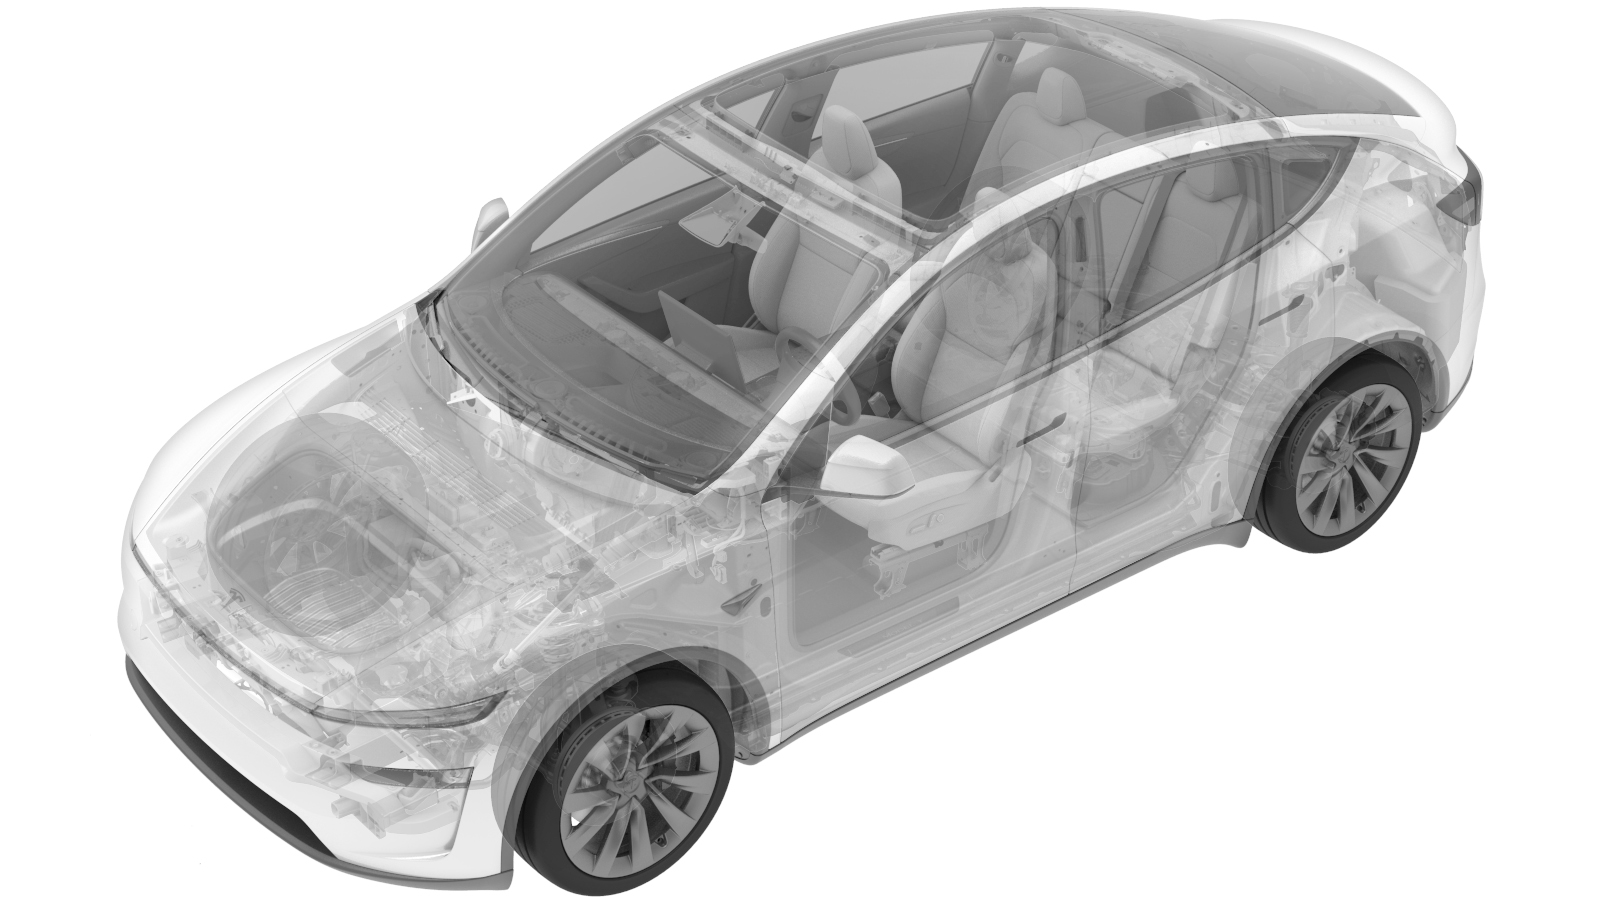
1st Row Height Adjuster Motor (Remove and Replace)
 Correction code
1301020102
FRT
0.35
NOTE: Unless
otherwise explicitly stated in the procedure, the above correction code and
FRT reflect all of the work required to perform this procedure, including
the linked procedures. Do
not stack correction codes unless explicitly told to do so.
NOTE: See Flat Rate
Times to learn more about FRTs and how
they are created. To provide feedback on FRT values, email ServiceManualFeedback@tesla.com.
NOTE: See Personal Protection
to make sure wearing proper PPE when performing the below procedure.
NOTE: See Ergonomic Precautions for safe and
healthy working practices.
Torque Specifications
| Description | Torque Value | Recommended Tools | Reuse/Replace | Notes |
|---|---|---|---|---|
| Front right bolt that attaches the LH front seat height motor to the cushion power frame assembly |
 23 Nm (17.0 lbs-ft) |
|
Replace | 1109796-00-B |
| Rear right bolt that attaches the LH front seat height motor to the cushion power frame assembly |
 19 Nm (14.0 lbs-ft) |
|
Replace | 1106615-00-C |
Remove
-
Remove the driver seat and rotate the
seat to gain access to its underside. See 1st Row Seat- LH (Remove and Install)
NoteProtect the seat cushion to avoid damage.
-
Disconnect the height motor electrical
connector.
-
Remove and discard the front right bolt that attaches the LH front seat height motor
to the cushion power frame assembly.
TIpUse of the following tool(s) is recommended:
- Cordless Ratchet/Impact Driver
- Torx T50 socket
- Ratchet/torque wrench
-
Remove and discard the rear right bolt that attaches the LH front seat height motor
to the cushion power frame assembly.
TIpUse of the following tool(s) is recommended:
- Cordless Ratchet/Impact Driver
- Torx T45 socket
- Ratchet/torque wrench
-
Remove the LH front seat height
adjuster motor assembly.
Install
- Position the LH front seat height adjuster motor assembly for installation.
-
Install a new rear right bolt (1106615-00-C) to attach the LH front seat height motor
to the cushion power frame assembly.
 19 Nm (14.0 lbs-ft)TIpUse of the following tool(s) is recommended:
- Cordless Ratchet/Impact Driver
- Torx T45 socket
- Ratchet/torque wrench
-
Install a new front right bolt (1109796-00-B) to attach the LH front seat height
motor to the cushion power frame assembly.
 23 Nm (17.0 lbs-ft)TIpUse of the following tool(s) is recommended:
- Cordless Ratchet/Impact Driver
- Torx T50 socket
- Ratchet/torque wrench
-
Connect the height motor electrical connector.
- Install the driver seat. See 1st Row Seat- LH (Remove and Install)
- Calibrate the seat by using the touchscreen. Tap , then follow the instructions on the touchscreen, and allow the process to complete.
- Move the driver seat to original position.
- Raise the LH front window and close the LH front door.