Cooling System (Vacuum Refill)
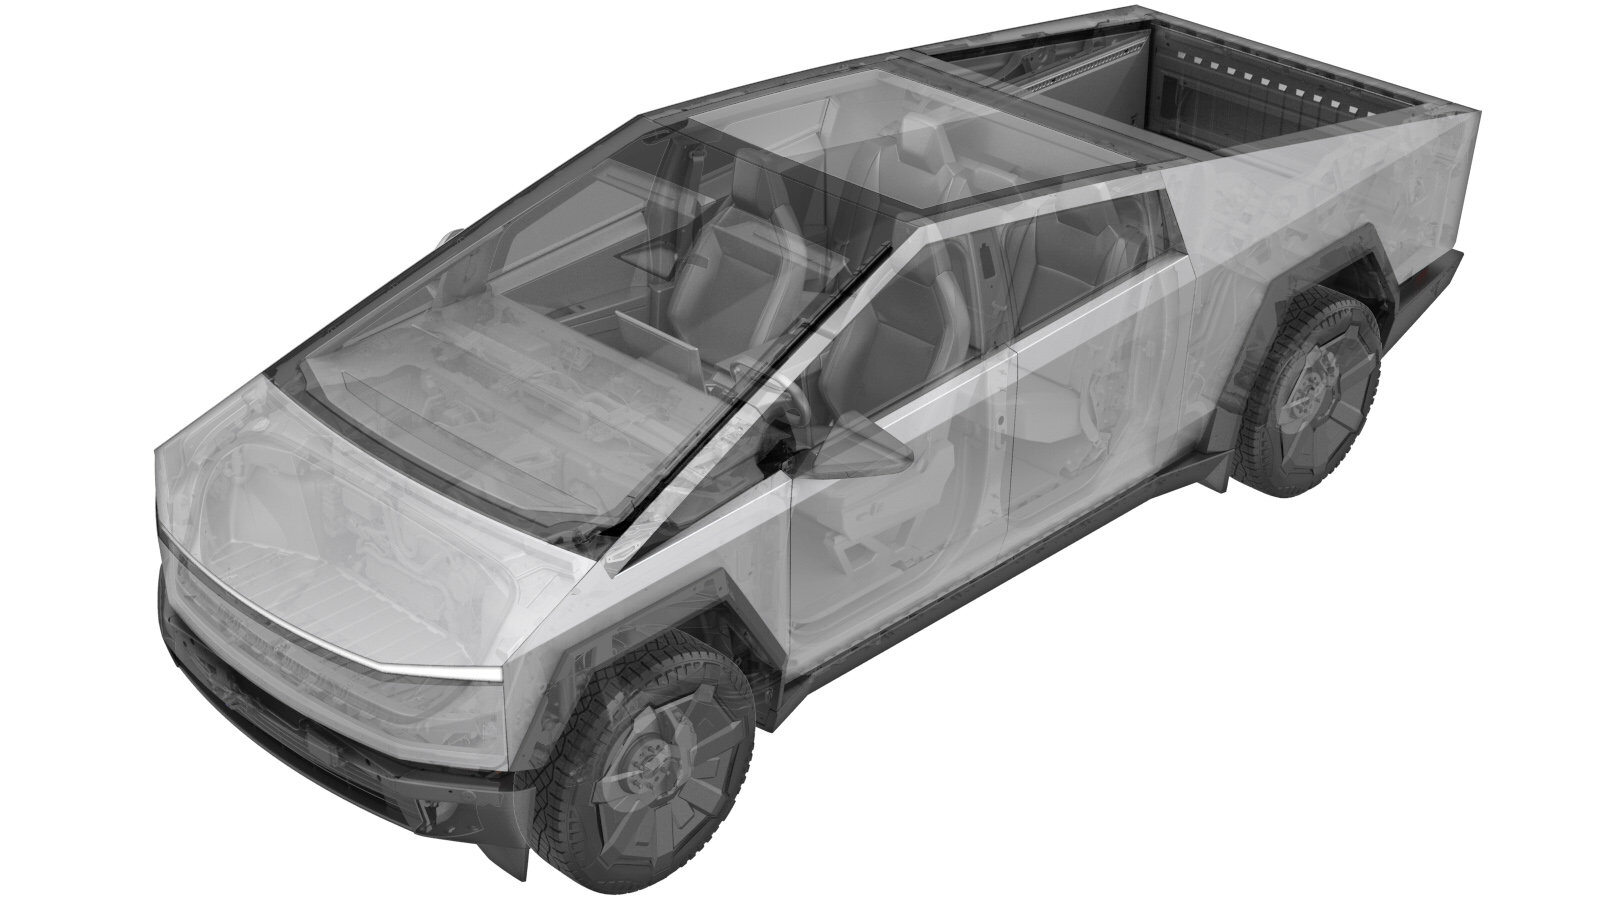 Correction code
18300400
FRT
0.36
NOTE: Unless
otherwise explicitly stated in the procedure, the correction code and its
associated FRT reflect all of the work required to perform this procedure,
including the linked procedures. Do not stack correction
codes unless explicitly told to do so.
NOTE: See Flat Rate Times to
learn more about FRTs and how they are created.
NOTE: See Personal Protection to make
sure you are wearing proper PPE when performing the procedure below.
NOTE: See Ergonomic Precautions for safe and healthy
working practices.
Correction code
18300400
FRT
0.36
NOTE: Unless
otherwise explicitly stated in the procedure, the correction code and its
associated FRT reflect all of the work required to perform this procedure,
including the linked procedures. Do not stack correction
codes unless explicitly told to do so.
NOTE: See Flat Rate Times to
learn more about FRTs and how they are created.
NOTE: See Personal Protection to make
sure you are wearing proper PPE when performing the procedure below.
NOTE: See Ergonomic Precautions for safe and healthy
working practices.
- 2026-06-26: Add missing step to disconnect MV power.
- 2024-03-06: Added step to perform Thermal System Test routine.
Equipment:
- 1050448-00-B Refiller, Cooling System
Procedure
- Open the LH front door and lower the LH front window.
- Open the powered frunk.
- Place the vehicle into Service Mode. See Service Mode.
- Unlock the vehicle Gateway. See Gateway (Unlock).
-
Access thermal system routines using
the UI
NoteSelect quick controls > Service mode > Thermal > Actions
-
Select "Coolant Fill/Drain" through
Service UI
NoteSelect 'Coolant System' to enter coolant circuit screen, Select 'Coolant Fill/Drain' and 'PROC_VCFRONT_X_START-THERMAL-FILL-DRAIN-COOLANT' window will appear, Select 'Run', Verify indicator displays green for Coolant readiness, Thermal Fill Drain routine has a 50 minute time limit
- Disconnect MV power. See Mid-Voltage Power (Disconnect and Connect) (Modify).
-
Remove coolant bottle cap
-
Install coolant reservoir adaptor cap
onto coolant bottle assembly
-
Place empty waste coolant container
into front storage area
-
Fill container with at least 15L of
coolant
-
Place filled coolant container onto
coolant drain & fill cart
NoteDo not place container with 15L of coolant on top of CFM fan shroud, Position cart as close as possible to front of vehicle
-
Setup coolant Vacuum Refill Tool
NoteVerify all valves on refill tool are in the closed position, See image for clarity
-
Connect vacuum refill hose to refill
cap on coolant bottle
NotePerform push-pull-push test to verify hose is fully installed
-
Place refill hose inside filled
coolant container
NoteMake sure hose end is fully submerged into coolant
-
Place overflow hose into empty
container
-
Connect shop air supply to coolant
refill tool
NoteIf not already done, Verify refill valve is set to off
-
Open shop air supply valve on vacuum
refill tool
NoteAir flow will be present when valve is open
-
Open air inlet valve on vacuum refill
tool to draw a vacuum on vehicle coolant system
NoteVacuum gauge reading should change once valve is open, Gauge should stabilize around 60-70 cmHg
-
Close air inlet valve on Vacuum Refill
Tool once gauge stabilizes
NoteVacuum gauge reading should not drop after the valve is closed
-
Monitor gauge for 30 seconds to verify
vacuum is maintained in cooling system
NoteIf vacuum is not maintained there may be a leak in the cooling system, Verify no loose connections or fittings on vacuum refill tool causing vacuum leak
-
Continue evacuating cooling
system
NoteOpen air inlet valve for 3 minutes then close air inlet valve
-
Close shop air supply valve on refill
tool
NoteAir flow noise should stop
-
Slowly open refill valve to draw
coolant into system
NoteValve lever is inline with hose when fully open, Make sure end of refill hose is fully submerged in container during entire process, Coolant will be transferred through hose from container to vehicle coolant reservoir, Vacuum gauge needle will move towards zero as it fills
-
When gauge reaches zero, close coolant
refill valve
-
Disconnect shop air from Vacuum Refill
tool.
-
Remove coolant refill hose from
coolant container
-
Remove coolant overflow hose from
waste coolant container
-
Remove vacuum refill hose from refill
cap on coolant bottle
-
Remove coolant reservoir adaptor cap
from coolant Superbottle assembly
Note(*Use this step for Cybertruck vehicle procedures) 1x cap
-
Remove coolant refill tool from
vehicle
-
Remove waste coolant container from
front storage area
- Reconnect MV power. See Mid-Voltage Power (Disconnect and Connect) (Modify).
-
Run ODIN routine
PROC_EGGRIGHT3_X_THERMAL-FILL-DRAIN-STOPvia Service Mode:
- Thermal ➜ Actions ➜ Stop Thermal Fill/Drain
- Thermal ➜ Coolant System ➜ Stop Coolant Fill/Drain
- Thermal ➜ Refrigerant System ➜ Stop Refrigerant Fill/Drain
- Drive Inverter ➜ Front Drive Inverter Replacement ➜ Stop Fluid Fill/Drain
- Drive Inverter ➜ Rear Drive Inverter Replacement ➜ Stop Fluid Fill/Drain
- Drive Inverter ➜ Rear Left Drive Inverter Replacement ➜ Stop Fluid Fill/Drain
- Drive Inverter ➜ Rear Right Drive Inverter Replacement ➜ Stop Fluid Fill/Drain
- Drive Unit ➜ Front Drive Unit Replacement ➜ Stop Coolant Fill/Drain
- Drive Unit ➜ Rear Drive Unit Replacement ➜ Stop Coolant Fill/Drain
-
Select "Start Coolant Air Purge" using
the UI
NoteTouch time only, wait until coolant pumps stop running (audible noise), Routine Passed will appear, but pumps will run for 10 minutes, If you start next another routine during this time it will fail, Make sure vehicle is not in "Drive", Routine is still running despite the completed message, Speeds can be monitored in garage under PT Thermal tab, Idle speed = ~1500 RPM, Test will vary speeds from 3500-6500 RPM and actuate valves between SERIES and PARALLEL, Putting vehicle into "Drive" will stop this routine, If speeds hover at 7000 RPM, this indicates the pumps are air locked, perform a vacuum fill, Continue to add coolant and purge until the coolant level reaches between the NOM and MAX Lines on the bottle
-
Inspect coolant level and top off as
necessary
NoteEnsure the fluid level is at the Max line, Top off fluid as required
-
Install coolant bottle cap
- Install the rear underhood apron. See Underhood Apron - Rear (Remove and Install).
-
Perform Thermal Performance Test
through the UI
NoteSelect Thermal > Actions > Test Thermal Performance, click Run, close once routine is completed, if thermal test fails follow toolbox article 206000
- Exit Service Mode. See Service Mode.
- Close the powered frunk.
- Raise the LH front window and close the LH front door.