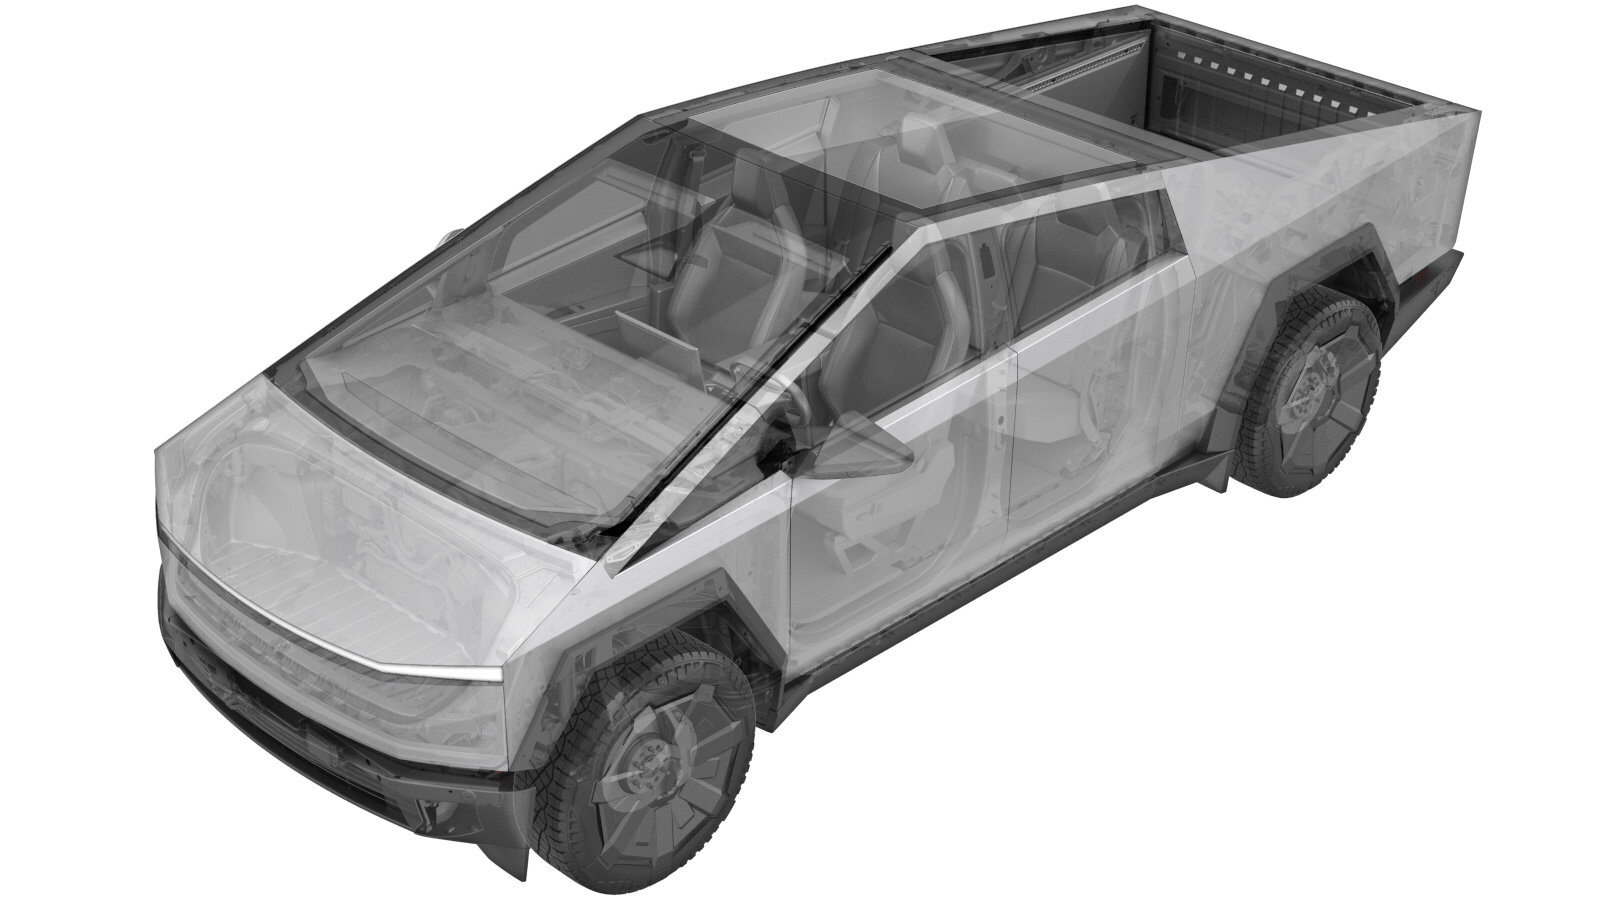
Electric Oil Pump - Front Drive Unit (Remove and Replace)
 Correction code
3901049021
3901049022
FRT
0.66
NOTE: Unless
otherwise explicitly stated in the procedure, the above correction code and
FRT reflect all of the work required to perform this procedure, including
the linked procedures. Do
not stack correction codes unless explicitly told to do so.
NOTE: See Flat Rate Times to learn more about FRTs and how
they are created. To provide feedback on FRT values, email ServiceManualFeedback@tesla.com.
NOTE: See Personal Protection
to make sure wearing proper PPE when performing the below procedure.
NOTE: See Ergonomic Precautions for safe and
healthy working practices.
- 2025-11-25: Updated images.
- 2025-02-13: Updated title to Remove and Replace.This procedure is identical for Remove and Install and Remove and Replace. Both correction codes included at the top of the procedure.
- 2024-06-06: Added step to reinstall vehicle software.
Remove
- Raise and support the vehicle. See Raise Vehicle - 2 Post Lift.
- Open the LH front door and lower the LH front window.
- Place the vehicle into Service Mode. See Service Mode.
- Remove the rear underhood apron. See Underhood Apron - Rear (Remove and Install).
- Disconnect MV power. See Disconnect MV Power.
- Fully raise the vehicle.
- Remove the front aeroshield. See Aeroshield - Front (Remove and Install).
- Position the oil drain under the oil pump area.
-
Release the connector lock, and then
disconnect the oil pump electrical connector.
-
Remove the bolts (x2) that attach the oil pump.
TIpUse of the following tool(s) is recommended:
- External Torx Plus EP10
NoteTorque: 5 Nm + 20 degrees -
Remove the oil pump from the front drive unit.
CAUTIONCarefully insert a pry tool or flat screwdriver on both tabs between the oil pump and the front drive unit. In small increments, work the wedge between the lower housing bracket and the oil pump until the green O-ring is visible.CAUTIONMake sure that the front drive unit casting is not damaged.NoteRemove the oil pump by hand. Residual oil will drain from the housing. Allow oil to drain.
-
Release the clips (x2) that attach the RH side of the acoustic cover to the lower portion of the acoustic cover.
-
Release the clips (x2) that attach the RH side acoustic cover to the front drive unit.
NoteRoute the caustic cover between the front subframe and the halfshaft.
-
Remove the oil fill plug from the front drive unit.
 15 Nm (11.1 lbs-ft)TIpUse of the following tool(s) is recommended:
- 8 mm Allen
NoteVerify the O-ring is not damaged. Replace the O-ring as needed. -
Inspect the oil fill plug O-rings. If it is damaged, replace the oil fill plug.
Install
-
Position the oil pump into the front drive unit.
NoteUse residual oil in the oil pump cavity to lubricate the seals of the oil pump before installation.NoteAlign the bolt holes with the housing.
-
Install the bolts (x2) that attach the oil pump to the front drive unit.
TIpUse of the following tool(s) is recommended:
- External Torx Plus EP10
NoteTorque: 5 Nm + 20 degrees -
Set up fill kit with KAF1.
CAUTIONOnly use KAF1 fluid for the front drive unit. Do not interchange or mix oil types.
-
Position the oil pump hose into the front drive unit fill hole.
-
Pump fluid into the front drive unit.
NotePump fluid into the front drive unit until fluid spills out.
-
Remove the oil pump hose from the front drive unit fill hole
NoteTurn off the valve, and then remove the hose from the fill hole.
-
Install the oil fill plug onto the front drive unit.
 15 Nm (11.1 lbs-ft)TIpUse of the following tool(s) is recommended:
- 8 mm Allen
NoteVerify the O-ring is not damaged. Replace the O-ring as needed. -
Spray the area with brake cleaner and wipe any residual fluid.
-
Fasten the clips (x2) that attach the RH side acoustic cover to the front drive unit.
NoteRoute the cover between the front subframe and the halfshaft.
-
Fasten the clips (x2) that attach the RH side acoustic cover to the lower portion of the acoustic cover.
-
Connect the oil pump electrical
connector, and then engage the connector lock.
- Install the front aeroshield. See Aeroshield - Front (Remove and Install).
- Lower the vehicle until the tires are touching the ground.
- Reconnect MV power. See Disconnect MV Power.
- Install the rear underhood apron. See Underhood Apron - Rear (Remove and Install).
- Reinstall the vehicle software. See Software Reinstall - Touchscreen (Restore).
- Exit Service Mode. See Service Mode.
- Remove the vehicle from the lift. See Raise Vehicle - 2 Post Lift.
- Raise the LH front window and close the LH front door.