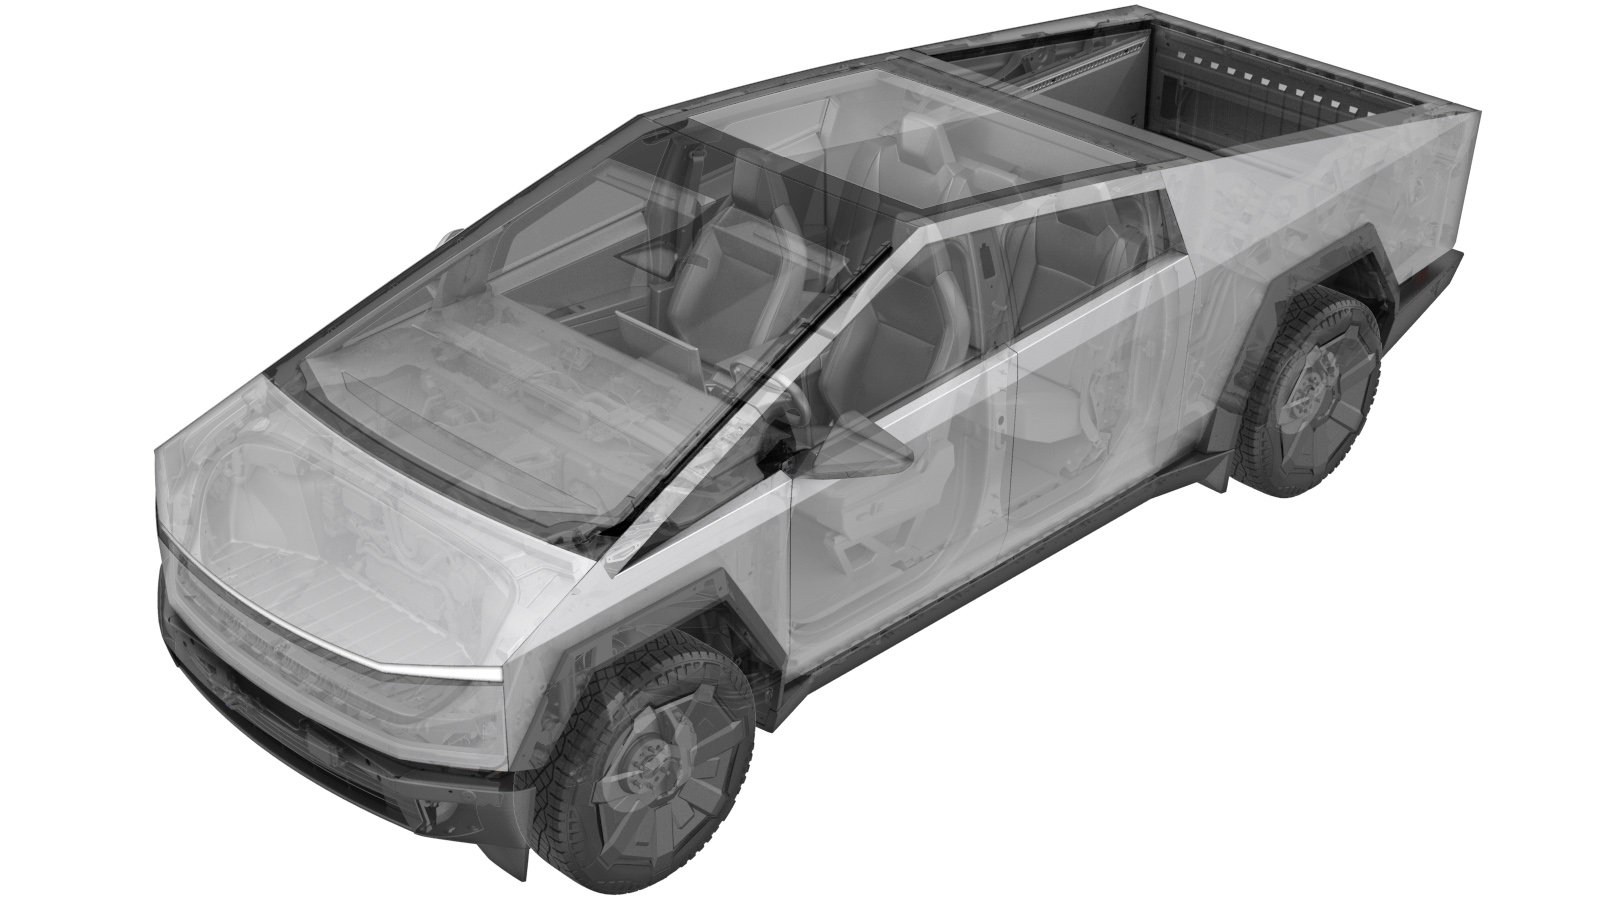
Door - Front - LH (Remove and Install)
 Correction code
1010025021
1010025031
FRT
0.24
NOTE: Unless
otherwise explicitly stated in the procedure, the above correction code and
FRT reflect all of the work required to perform this procedure, including
the linked procedures. Do
not stack correction codes unless explicitly told to do so.
NOTE: See Flat Rate Times to learn more about FRTs and how
they are created. To provide feedback on FRT values, email ServiceManualFeedback@tesla.com.
NOTE: See Personal Protection
to make sure wearing proper PPE when performing the below procedure.
NOTE: See Ergonomic Precautions for safe and
healthy working practices.
- 2025-07-07: Updating to from Remove and Replace steps to Remove and Install steps.
- 2024-06-05: Added final step to check gap and flushness.
Remove
- Open the LH front door and lower all the windows.
- Open the powered frunk.
- Place the vehicle into Service Mode. See Service Mode.
- Remove the rear underhood apron. See Underhood Apron - Rear (Remove and Install).
- Disconnect MV power. See Disconnect MV Power (Modify).
-
Remove the bolt that attaches the
check strap to the body.
 23 Nm (17.0 lbs-ft)TIpUse of the following tool(s) is recommended:
- Torx T40 socket
-
Release the grommet from the LH front
door harness connector at the A-pillar, and pull back to expose the connector and
harness wires.
-
Apply gentle tension to the harness
wires, and use a pick to press down on the inner tang in the top half of the harness
connector.
-
Continue to apply gentle tension to
the harness wires, and use the pick to press up on the inner tang in the bottom half of
the harness connector, and then disconnect the harness from the A-pillar
connector.
-
Tape the door hinge mount areas.
NoteThis will help with the fitment of the door during installation.
-
Remove the door hinge fasteners
(x2).
 38 Nm (28.0 lbs-ft)TIpUse of the following tool(s) is recommended:
- 15 mm socket (low profile)
CAUTIONUse assistance or rack holder to hold the door. -
Remove the LH front door from the
vehicle.
NoteUse assistance when lifting the door assembly.NoteUse the Portable Bench (1054720-00-A) to secure the door.
Install
-
Install the LH front door.
NoteAlign the hinge with the door stud and tape.
-
Install the door hinge fasteners
(x2).
 38 Nm (28.0 lbs-ft)TIpUse of the following tool(s) is recommended:
- 15 mm socket (low profile)
NoteUse assistance or rack holder to hold the door. -
Remove the tape from the door hinge
mount areas.
NoteRemove only if finished aligning the door.
-
Connect LH front door harness at
A-pillar.
Note1x connector, Seat grommet onto connector housing before installation, Perform push-pull-push test
-
Install the check strap fastener.
 23 Nm (17.0 lbs-ft)TIpUse of the following tool(s) is recommended:
- Torx T40 socket
- Reconnect MV power. See Disconnect MV Power (Modify).
-
Check the LH front door gap and
flushness and adjust as needed.
NoteReference current specifications in CVIS.