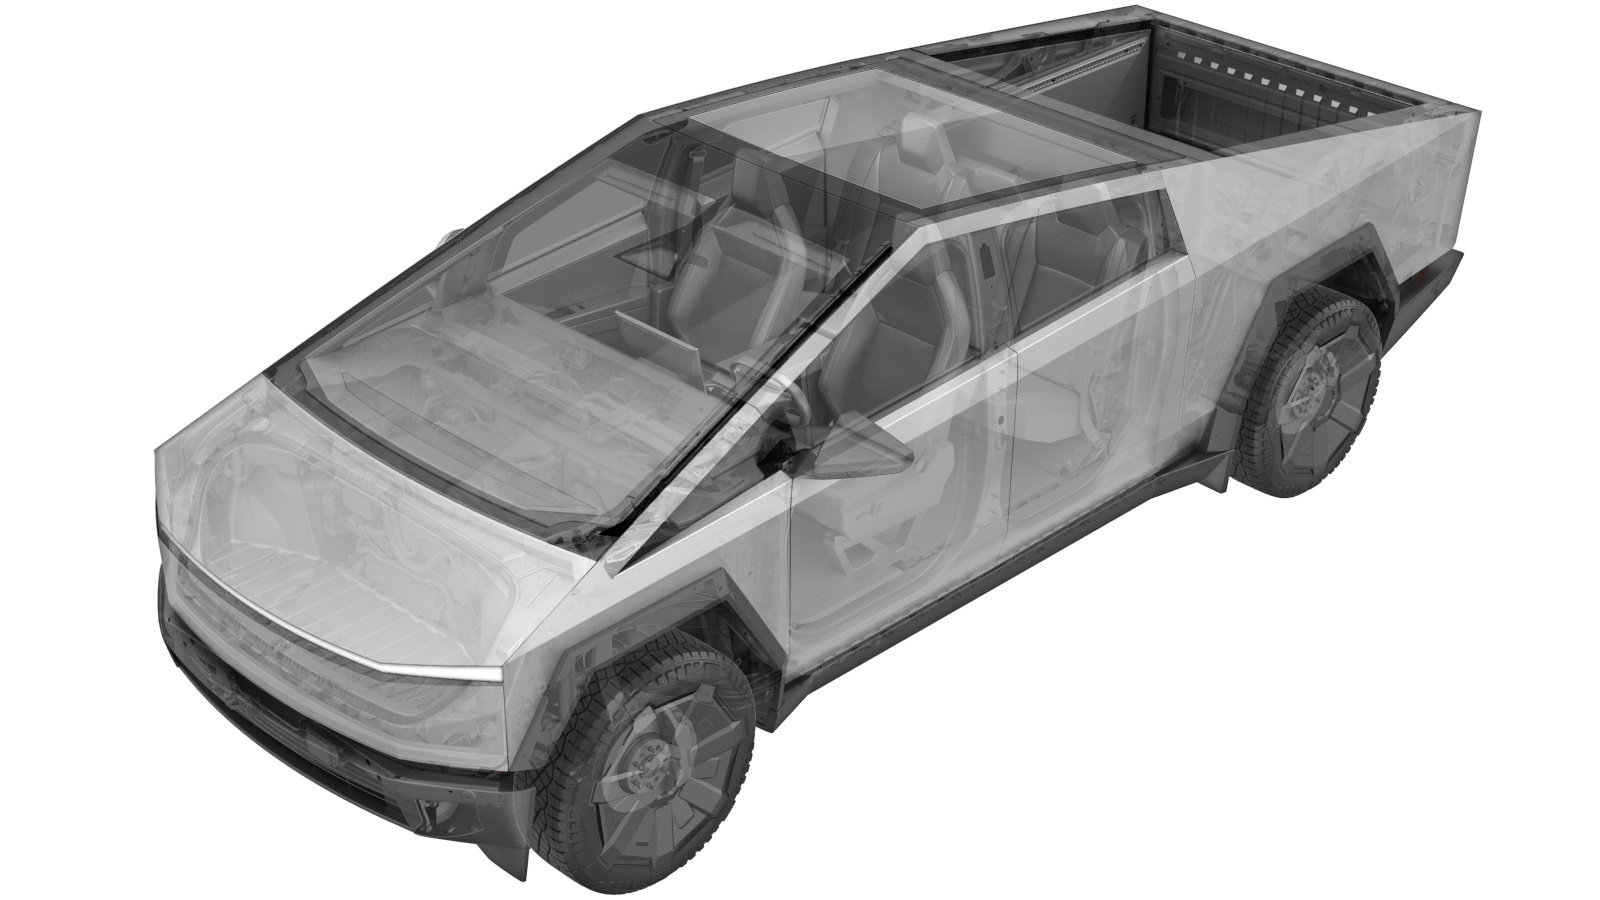
Baffle - Fender - Front - LH (Remove and Install)
 Correction code
1220035201
1220035202
1220035211
1220035212
FRT
0.66
NOTE: Unless
otherwise explicitly stated in the procedure, the above correction code and
FRT reflect all of the work required to perform this procedure, including
the linked procedures. Do
not stack correction codes unless explicitly told to do so.
NOTE: See Flat Rate Times to learn more about FRTs and how
they are created. To provide feedback on FRT values, email ServiceManualFeedback@tesla.com.
NOTE: See Personal Protection
to make sure wearing proper PPE when performing the below procedure.
NOTE: See Ergonomic Precautions for safe and
healthy working practices.
- 2024-04-01: Cleaned up topic.
Remove
- Open the LH front door and lower the LH front window.
- Open the LH rear door and lower the LH rear window.
- Open the powered frunk.
- Remove the rear underhood apron. See Underhood Apron - Rear (Remove and Install).
- Remove the frunk assembly. See Frunk Assembly (Remove and Install).
- Remove the LH side apron assembly. See Underhood Apron - LH (Remove and Install).
- Remove the LH cantrail assembly. See Trim - Cantrail - Roof Rail - LH (Remove and Install).
- Remove LH front fore fender flare carrier. See Carrier - Fender Flare - Fore - Front - LH (Remove and Install).
- Remove the LH front aft fender flare carrier. See Carrier - Fender Flare - Aft - Front - LH (Remove and Install).
- Remove the LH fender assembly. See Fender Assembly - Front - LH (Remove and Install).
-
Release the clips (x3) that attach the
LH fender baffle to the fender, and then remove the fender baffle from the fender.
Install
-
Fasten the clips (x3) that attach the
LH fender baffle to the fender.
- Install the LH fender assembly. See Fender Assembly - Front - LH (Remove and Install).
- Install the LH front aft fender flare carrier. See Carrier - Fender Flare - Aft - Front - LH (Remove and Install).
- Install the LH front fore fender flare carrier. See Carrier - Fender Flare - Fore - Front - LH (Remove and Install).
- Install the LH cantrail assembly. See Trim - Cantrail - Roof Rail - LH (Remove and Install).
- Install the LH side apron assembly. See Underhood Apron - LH (Remove and Install).
- Install the frunk assembly. See Frunk Assembly (Remove and Install).
- Install the rear underhood apron. See Underhood Apron - Rear (Remove and Install).
- Close the powered frunk.
- Raise the LH rear window and close the LH rear door.
- Place the vehicle into Service Mode. See Service Mode.
- Unlock the vehicle Gateway. See Gateway (Unlock).
-
Clear the camera calibration through
the vehicle touchscreen.
NoteIn Service Mode, touch Driver Assist > Cameras > Clear Camera Calibration > ForwardFacing and then touch Run.
- Exit Service Mode. See Service Mode.
- Raise the LH front window and close the LH front door.