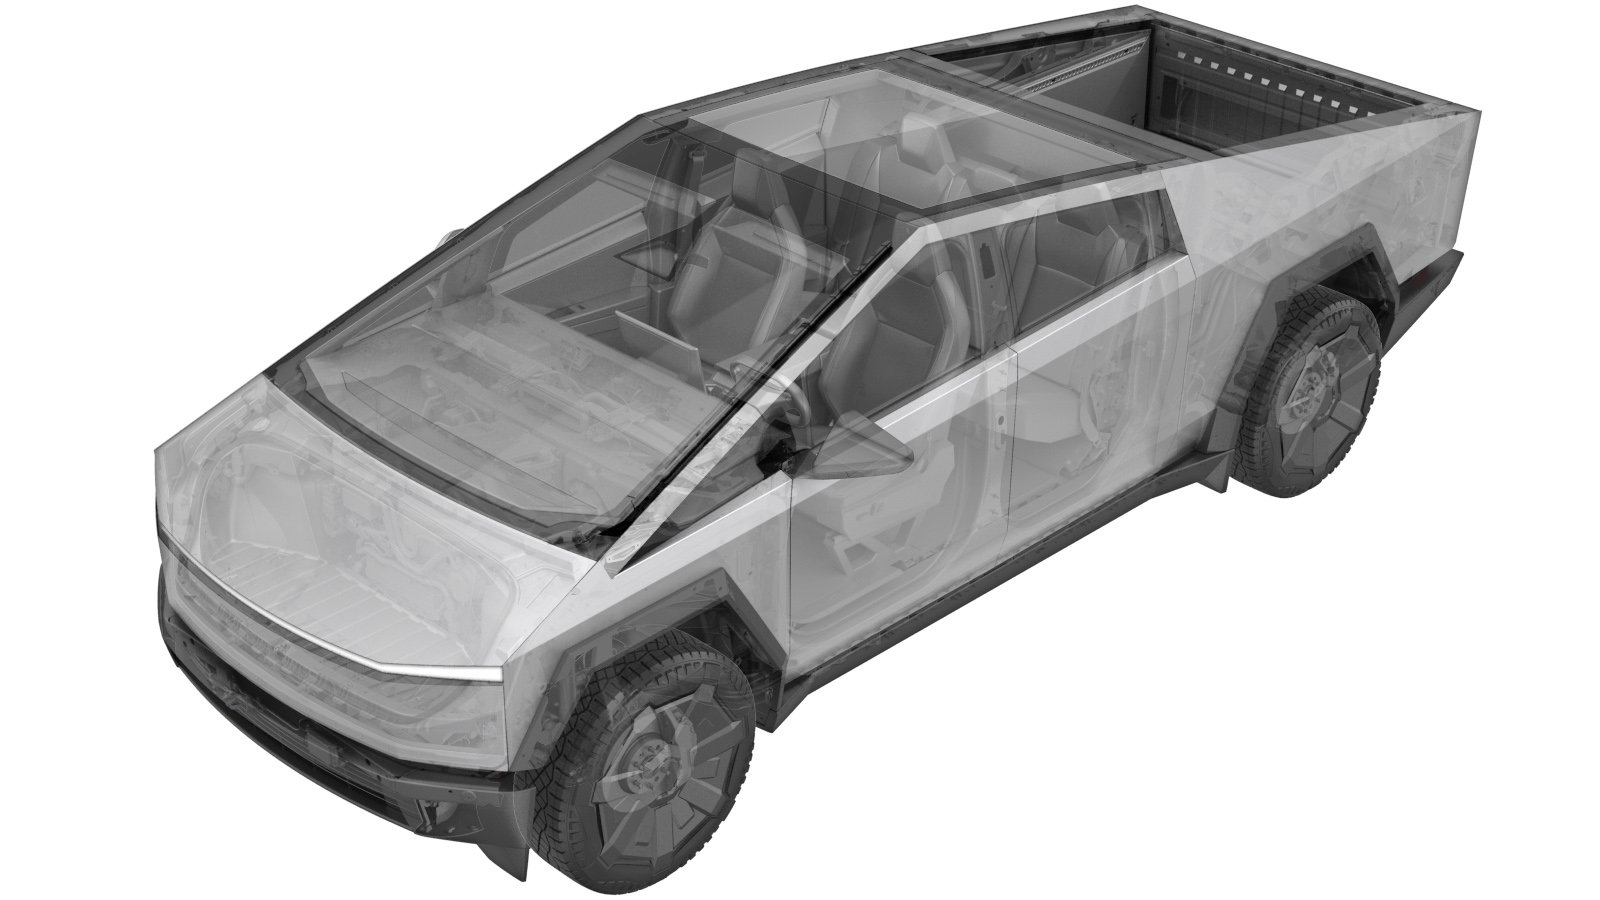
Motor - Recline - 1st Row Seat - LH (Remove and Install)
 Correction code
1301061081
1301061082
FRT
0.48
NOTE: Unless
otherwise explicitly stated in the procedure, the above correction code and
FRT reflect all of the work required to perform this procedure, including
the linked procedures. Do
not stack correction codes unless explicitly told to do so.
NOTE: See Flat Rate Times to learn more about FRTs and how
they are created. To provide feedback on FRT values, email ServiceManualFeedback@tesla.com.
NOTE: See Personal Protection
to make sure wearing proper PPE when performing the below procedure.
NOTE: See Ergonomic Precautions for safe and
healthy working practices.
Correction code
1301061081
1301061082
FRT
0.48
NOTE: Unless
otherwise explicitly stated in the procedure, the above correction code and
FRT reflect all of the work required to perform this procedure, including
the linked procedures. Do
not stack correction codes unless explicitly told to do so.
NOTE: See Flat Rate Times to learn more about FRTs and how
they are created. To provide feedback on FRT values, email ServiceManualFeedback@tesla.com.
NOTE: See Personal Protection
to make sure wearing proper PPE when performing the below procedure.
NOTE: See Ergonomic Precautions for safe and
healthy working practices.
- 2024-04-03: Cleaned up topic.
Remove
- Open the LH front door and lower the LH front window.
- Open the LH rear door and lower the LH rear window.
- Remove the LH 1st row seat assembly. See Seat Assembly - 1st Row - LH (Remove and Install).
-
Put the seat on a protected surface
such as a 500 lb portable bench or similar.
NoteRecommend assistance.NotePut the seat so that the underside of the seat can be accessed.
-
Release the seat back elastic straps
(x2) from the seat frame.
TIpUse of the following tool(s) is recommended:
- Pick Miniature Soft Grip, 90 degree tip, 6 in
- Remove the LH outboard side shield. See Side Shield - Outboard - 1st Row Seat - LH (Remove and Install).
- Remove the LH front seat inboard cover. See Side Shield - Inboard - 1st Row Seat - LH (Remove and Install).
-
Pull the tails of the zippers outside
the seatback, and then unzip the LH seatback trim zippers (x2).
NoteUse of a straight pick can aid in moving the zipper pulls.
-
Pry off the push nut with trim clip
tool, and then discard. Slide the LH seatback recline tube (shaft) out of the
splines.
-
Remove the bolt that attaches the
seatback recline motor to the seat frame, disconnect the electrical connector, and then
remove the seatback recline motor from the seat frame.
 5 Nm (3.7 lbs-ft)TIpUse of the following tool(s) is recommended:
- 8 mm socket
Install
-
Install the bolt that attaches the LH
seatback recline motor to the seat frame, and then connect the electrical
connector.5 Nm (3.7 lbs-ft)TIpUse of the following tool(s) is recommended:
- 8 mm socket
-
Install the LH seatback recline tube
(shaft), and then install a new push nut.
-
Zip the LH seatback trim zippers
(x2).
NoteZip each side of seatback trim, and then tuck in the tails.NoteUse of a straight pick can aid in moving the zipper pulls.
- Install the LH front seat inboard cover. See Side Shield - Inboard - 1st Row Seat - LH (Remove and Install).
- Install the LH outboard side shield. See Side Shield - Outboard - 1st Row Seat - LH (Remove and Install).
-
Install the seat back elastic straps
(x2) onto the seat frame.
- Install the LH 1st row seat assembly. See Seat Assembly - 1st Row - LH (Remove and Install).
-
Calibrate the LH front seat using the
vehicle touchscreen.
NoteTouch Controls > Service > Drivers Seat, Steering & Mirrors Calibration > Start. Follow the on screen instructions. Allow the process to complete.
- Raise the LH rear window and close the LH rear door.
- Raise the LH front window and close the LH front door.