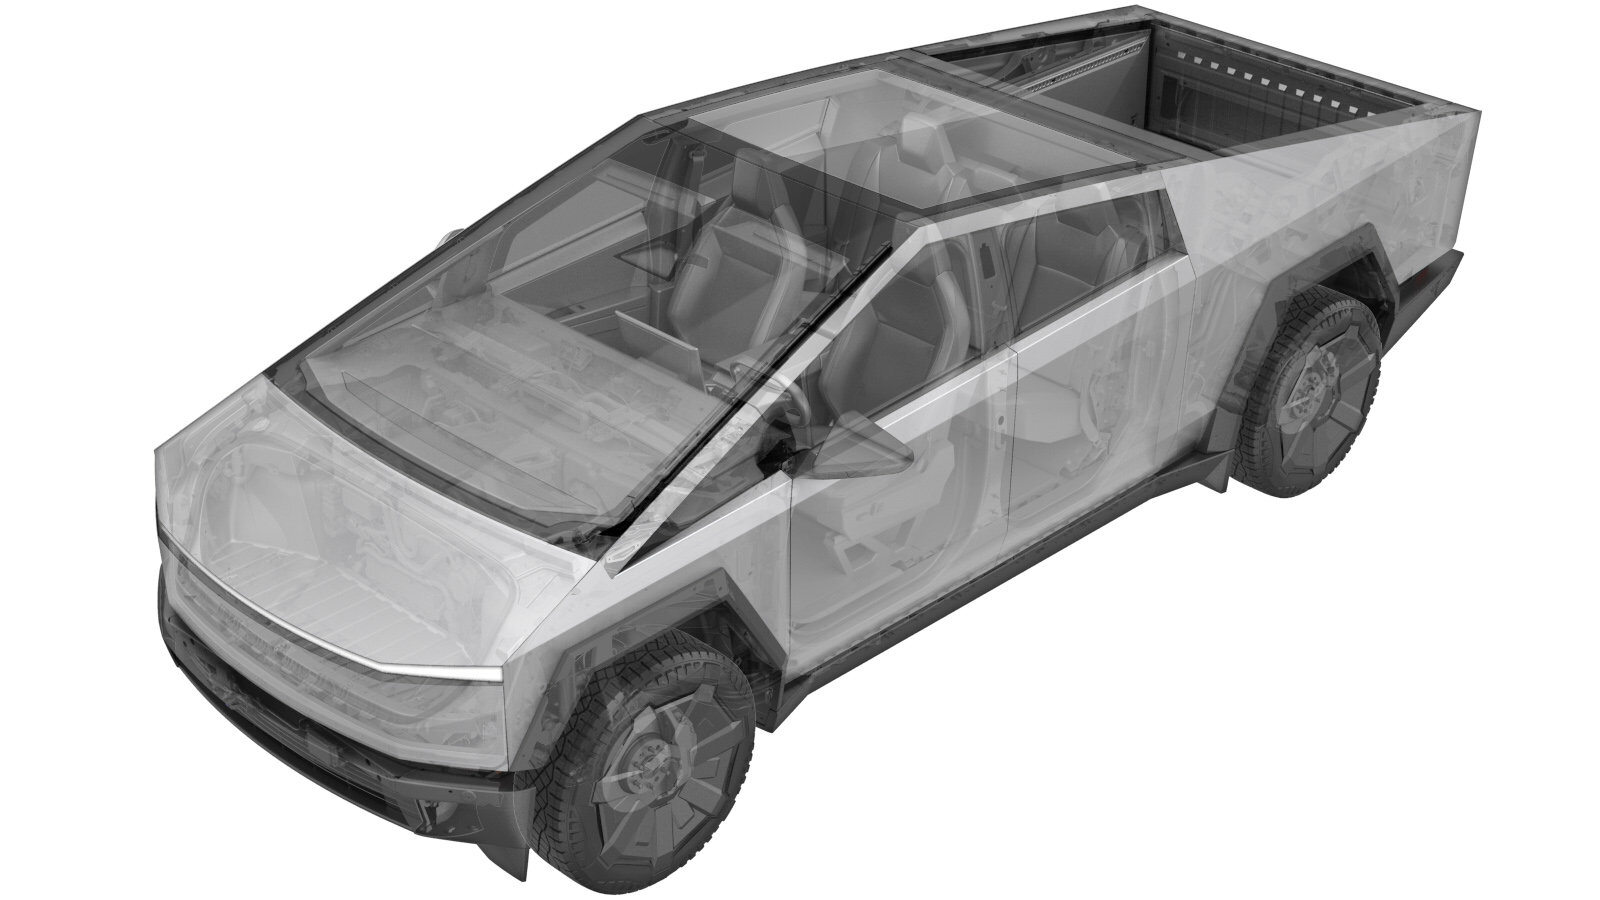
Sensor - Powertrain - Low Pressure - Supermanifold (Remove and Install)
 Correction code
1840114031
FRT
0.54
NOTE: Unless
otherwise explicitly stated in the procedure, the above correction code and
FRT reflect all of the work required to perform this procedure, including
the linked procedures. Do
not stack correction codes unless explicitly told to do so.
NOTE: See Flat Rate Times to learn more about FRTs and how
they are created. To provide feedback on FRT values, email ServiceManualFeedback@tesla.com.
NOTE: See Personal Protection
to make sure wearing proper PPE when performing the below procedure.
NOTE: See Ergonomic Precautions for safe and
healthy working practices.
Remove
- Open the LH front door and lower the LH front window.
- Put the vehicle in Service Mode. See Service Mode.
- Unlock the vehicle gateway. See Gateway (Unlock).
-
Navigate to Refrigerant System on the
vehicle touchscreen.
NoteTouch Service Mode > Thermal > Refrigerant System
-
Touch Start Thermal Fill Drain (Refrigerant
only).
NoteAllow routine to complete. Ensure routine is successful.
- Open the powered frunk.
- Remove the rear underhood apron. See Underhood Apron - Rear (Remove and Install).
- Remove the frunk. See Frunk Assembly (Remove and Install).
- Disconnect MV power. See Disconnect MV Power (Modify).
- Recover the A/C refrigerant. See A/C Refrigerant (Recovery and Recharge).
-
Disconnect the supermanifold
controller electrical connectors (x2).
NoteRelease the locking tabsNotex1 harness clip
-
Remove the screws (x3) that attach the
supermanifold controller to the supermanifold.
 5 Nm (3.7 lbs-ft)TIpUse of the following tool(s) is recommended:
- Torx T40 socket
-
Disconnect the PT sensor electrical
connectors (x3).
NoteRelease the locking tabs.
-
Remove the supermanifold harness with
standalone controller.
Notex3 bolts, 8 mm, 8 NmNoteGently pull outwards to release the supermanifold harness with standalone controller from the supermanifold. Set aside for access to the supermanifold.
-
Remove the low pressure PT sensor from
the supermanifold.
NoteLoosen with ratchet, and then remove by hand.NoteFor Sensata sensors, use a 24 mm thin wall. For Bridgeport sensors, use a 21 mm.CAUTIONMust use special tool. Regular 24 mm or 21 mm socket will damage connector housing.NoteLow pressure PT sensor connector color is brown.
Install
-
Lubricate the low pressure PT sensor
threads and O-ring with ND-11 oil.
-
Hand start the low pressure PT sensor until the O-ring contacts the
supermanifold.
-
Gradually hand tighten the low pressure PT sensor while slightly backing off to walk
the O-ring into the fully seated position. This will avoid pinching the O-ring on the
outside edge of the manifold, which can cause a leak,
NoteTakes multiple cycles to properly seat.
-
Torque the low pressure PT sensor.
NoteFor Sensata sensors, use a 24 mm thin wall. For Bridgeport sensors, use a 21 mm.CAUTIONMust use special tool. Regular 24 mm or 21 mm socket will damage connector housing.
-
Install the supermanifold harness with
standalone controller.
Notex3 bolts, 8 mmNotePosition the supermanifold harness with standalone controller onto supermanifold. Press inwards to secure harness on the supermanifold.
-
Connect the PT sensor electrical
connectors (x3).
NoteEngage the locking tabs.
-
Install the screws (x3) that attach
the supermanifold controller to the supermanifold.
TIpUse of the following tool(s) is recommended:
- Torx T40 socket
-
Connect the supermanifold electrical
connectors (x2).
NoteSecure the locking tabs.Notex1 harness clip
- Perform the A/C Vacuum and Run Leak Test. See A/C Refrigerant (Recovery and Recharge).
- Perform the A/C refrigerant recharge. See A/C Refrigerant (Recovery and Recharge).
- Reconnect MV power. See Disconnect MV Power (Modify).
- Perform the A/C performance tests. See A/C Refrigerant (Recovery and Recharge).
- Exit Service Mode. See Service Mode.
- Install the frunk. See Frunk Assembly (Remove and Install).
- Install the rear underhood apron. See Underhood Apron - Rear (Remove and Install).
- Close the powered frunk.
- Raise the LH front window and close the LH front door.