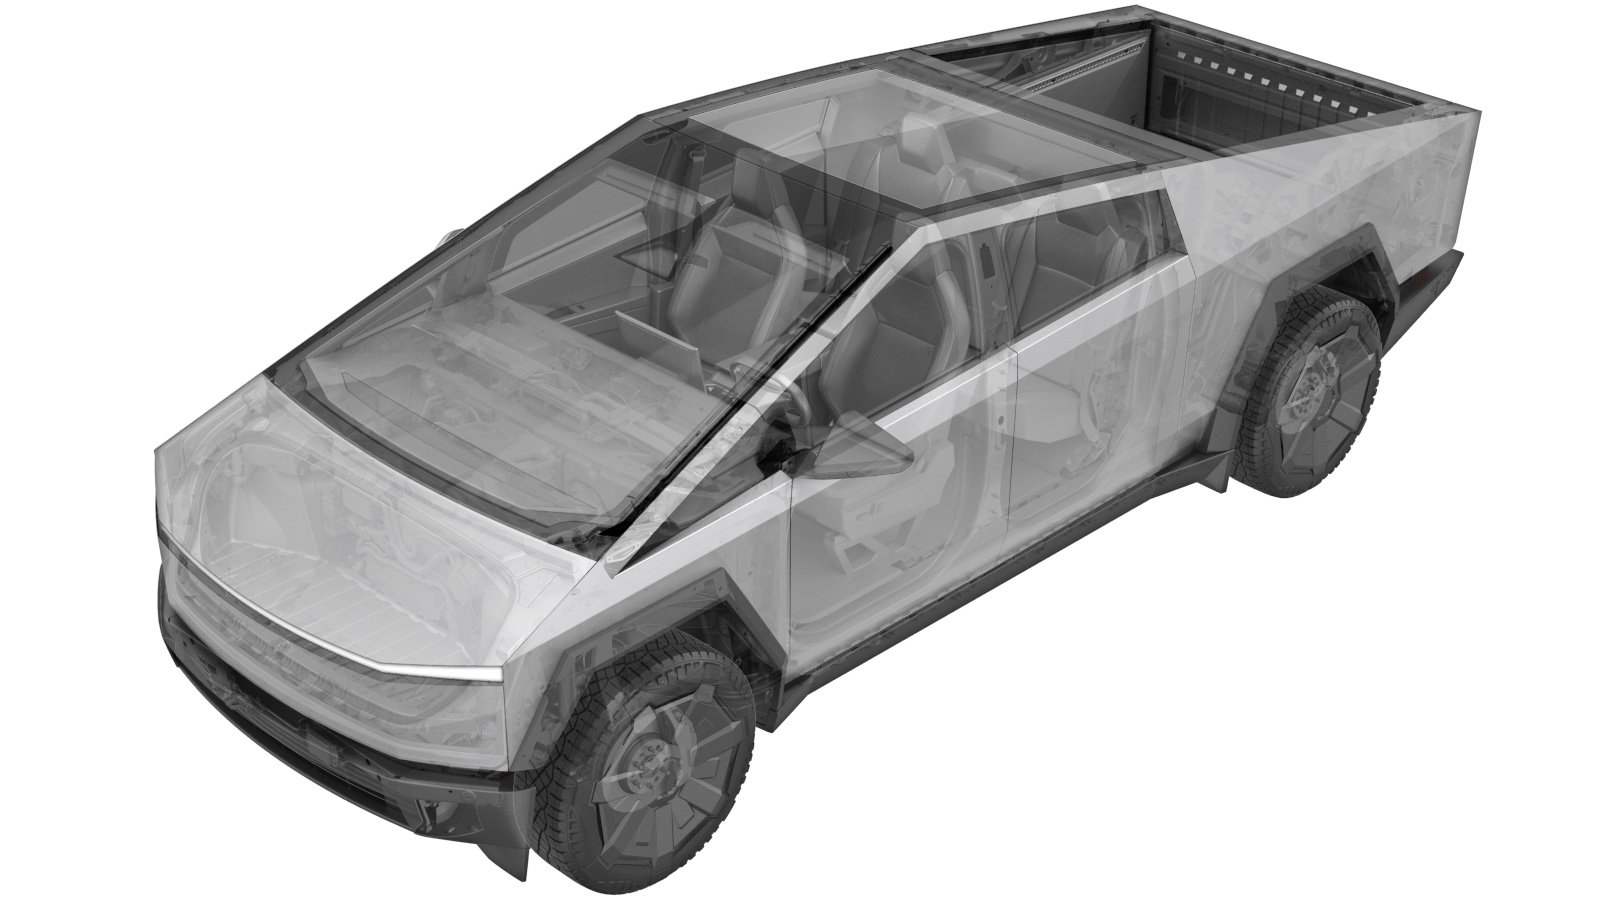
Brake Pad Kit - Front (Remove and Install)
 Correction code
3301044081
3301044082
FRT
0.48
NOTE: Unless
otherwise explicitly stated in the procedure, the above correction code and
FRT reflect all of the work required to perform this procedure, including
the linked procedures. Do
not stack correction codes unless explicitly told to do so.
NOTE: See Flat Rate Times to learn more about FRTs and how
they are created. To provide feedback on FRT values, email ServiceManualFeedback@tesla.com.
NOTE: See Personal Protection
to make sure wearing proper PPE when performing the below procedure.
NOTE: See Ergonomic Precautions for safe and
healthy working practices.
- Open the LH front door and lower the LH front window.
- Raise and support the vehicle. See Raise Vehicle - 2 Post Lift.
- Remove the rear underhood apron. See Underhood Apron - Rear (Remove and Install).
-
Place shop rags underneath the brake
fluid reservoir.
-
Clean the area around the brake fluid
reservoir and remove the brake reservoir cap.
- Remove the LH rear wheel. See Wheel Assembly (Remove and Install).
-
Remove the bolt that attaches the LH
front brake hose bracket to the knuckle.
 10 Nm (7.4 lbs-ft)TIpUse of the following tool(s) is recommended:
- 10 mm deep socket
-
Remove the brake pad anti-rattle springs
(x2) from the LH front brake caliper.
NoteRelease the tab, and then remove the spring from the caliper. Repeat for the remaining anti-rattle spring.
-
Remove the bolts (x2) that attach the LH
front caliper to the knuckle, and then use an S-hook to hang the caliper from the
body.
 315 Nm (232.3 lbs-ft)NoteThe rotor will be loose until the caliper is reinstalled. Use lug nut to secure the rotor as needed.TIpUse of the following tool(s) is recommended:
- 24 mm socket
-
Remove the brake pads from the LH front
caliper.
-
Placeholder - Compress LH front brake
caliper pistons.
Note4x pistons, Picture for reference only
-
Clean the LH front brake caliper.
NoteUse a nylon brush and brake cleaner as needed. Allow 1 minute of dry time.
-
Clean the LH front brake caliper
anti-rattle springs (x2).
NoteUse soapy water or brake cleaner as needed. Allow 1 minute of dry time.
-
Apply an even layer of Silaramic
lubricant onto both LH brake pad guide contact points.
-
Install the brake pads (x2) into the LH
front caliper.
-
With assistance, position the LH front
caliper onto the knuckle, and then install the bolts (x2) that attach the caliper to the
knuckle.
 315 Nm (232.3 lbs-ft)NoteThe rotor will be loose until the caliper is installed.TIpUse of the following tool(s) is recommended:
- 24 mm socket
-
Install the brake pad anti-rattle
springs (x2) into the LH front brake caliper.
-
Install the bolt that attaches the LH
front brake hose bracket to the knuckle.
 10 Nm (7.4 lbs-ft)TIpUse of the following tool(s) is recommended:
- 10 mm deep socket
- Repeat step 6 through step 18 for the RH front wheel.
-
Placeholder - Compress RH front brake
caliper pistons.
Note4x pistons, Picture for reference only
-
Check the brake fluid level and top off
the reservoir if necessary.
NoteIf the brake fluid level is above the Max line, remove any extra fluid.
-
Install the brake reservoir cap.
- Pump the brake pedal a few times to ensure the pedal feels normal.
-
Remove the shop rags from underneath the
brake fluid reservoir.
- Install the RH rear wheel. See Wheel Assembly (Remove and Install).
- Install the rear underhood apron. See Underhood Apron - Rear (Remove and Install).
- Remove the vehicle from the lift. See Raise Vehicle - 2 Post Lift.
- Raise the LH front window and close the LH front door.
-
Perform a road test and burnish the
brakes.
NoteMake sure there is proper brake pedal feel and performance. Add correction code 00040100 as needed.