Sensor - TPMS - Front - LH (Remove and Install)
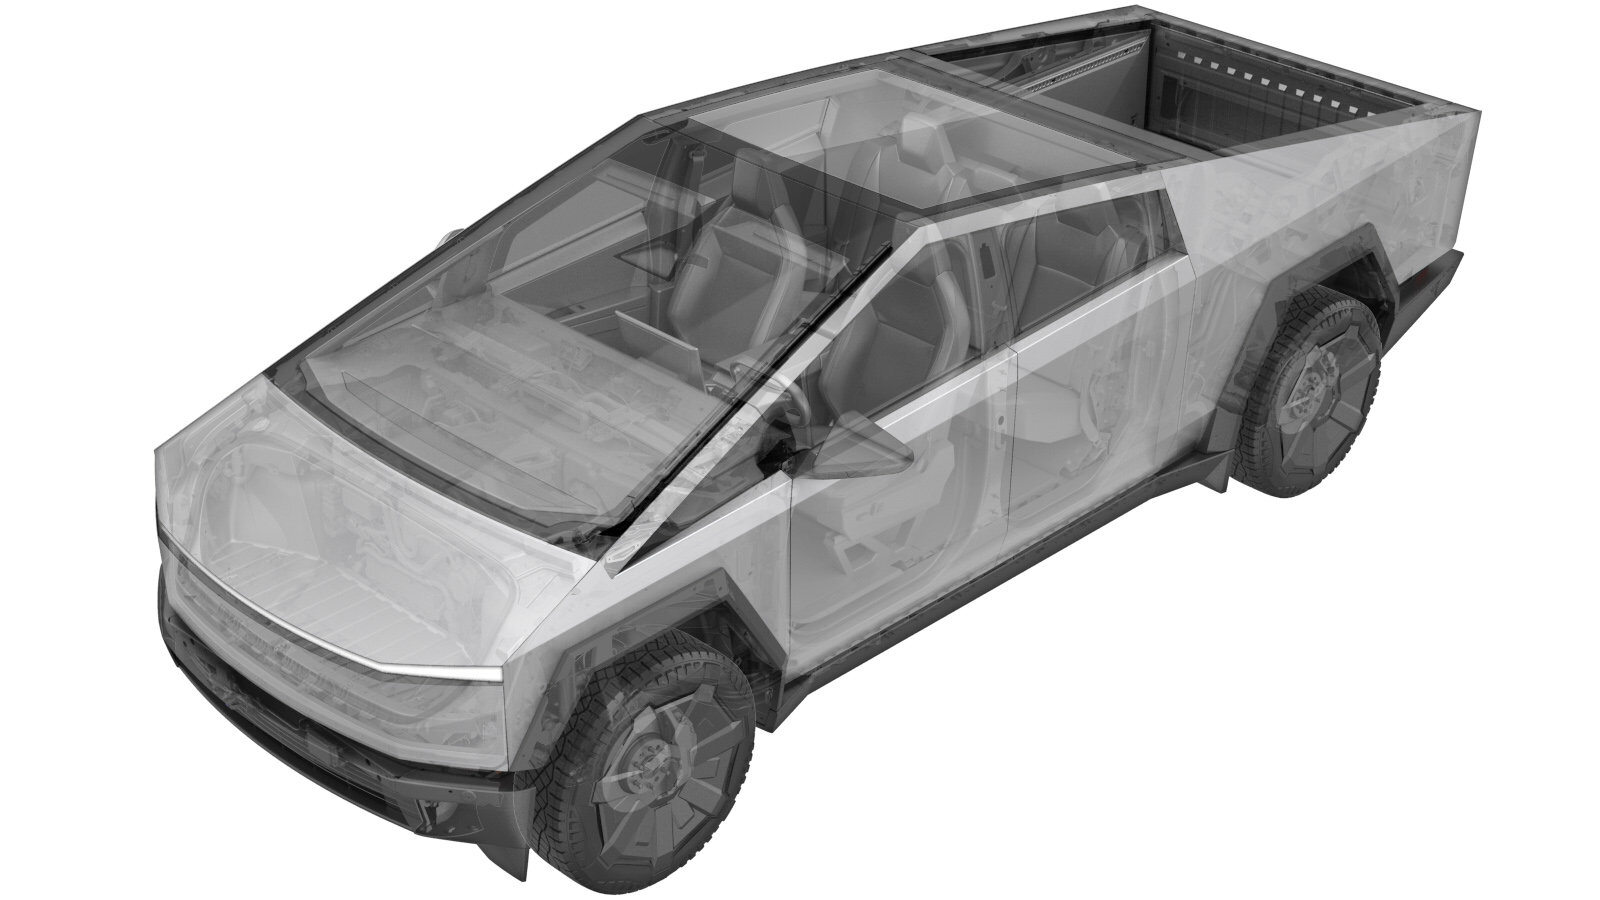 Correction code
3404120011
FRT
0.30
NOTE: Unless
otherwise explicitly stated in the procedure, the above correction code and
FRT reflect all of the work required to perform this procedure, including
the linked procedures. Do
not stack correction codes unless explicitly told to do so.
NOTE: See Flat Rate Times to learn more about FRTs and how
they are created. To provide feedback on FRT values, email ServiceManualFeedback@tesla.com.
NOTE: See Personal Protection
to make sure wearing proper PPE when performing the below procedure.
NOTE: See Ergonomic Precautions for safe and
healthy working practices.
Correction code
3404120011
FRT
0.30
NOTE: Unless
otherwise explicitly stated in the procedure, the above correction code and
FRT reflect all of the work required to perform this procedure, including
the linked procedures. Do
not stack correction codes unless explicitly told to do so.
NOTE: See Flat Rate Times to learn more about FRTs and how
they are created. To provide feedback on FRT values, email ServiceManualFeedback@tesla.com.
NOTE: See Personal Protection
to make sure wearing proper PPE when performing the below procedure.
NOTE: See Ergonomic Precautions for safe and
healthy working practices.
- 2025-02-06: Added note regarding updated sensor.
- Both sensor types can be installed on different wheels on the same vehicle.
- The mounting nuts on both sensor types are cross-compatible, but it is recommended to install the nut that is in newest condition.
Remove
- Open the LH front door and lower the LH front window.
-
Raise and support the vehicle.
NoteSet the air suspension to "Jack Mode".
-
Release the clips (x8) that attach the
LH front wheel cap to the wheel, and then remove the cap from the wheel.
NoteUse both hands to gently pull the wheel cap to release the clips.NoteMake sure that the mounting ring is removed with the wheel cap.
-
Loosen the LH front wheel lug nuts
(x6)..
 205 Nm (151.2 lbs-ft)TIpUse of the following tool(s) is recommended:
- 21 mm deep socket
-
Raise the vehicle fully.
NoteSet to a comfortable working height, and then lower to locks.CAUTIONMake sure the locks engage on both sides to prevent tilting.
-
Remove the nuts (x6) that attach the
wheel to the hub, and then remove the LH front wheel from the vehicle.
TIpUse of the following tool(s) is recommended:
- 21 mm deep socket
-
Place the wheel and tire on the tire
machine and secure it.
Notex1 wheel clamp
-
Remove the valve stem cap.
-
Remove the valve stem core using a
valve core removal tool.
CAUTIONExercise caution as tire rapidly deflates.NoteWear safety glasses as Personal Protection Equipment (PPE).
-
Rotate the wheel and tire so that the
upper roller is ~100 mm in front of the valve stem.
Attention: Failure to properly position the valve stem can result in TPMS sensor damage.
-
Break the upper bead.
-
Remove the nut that attaches the TPMS
sensor to the wheel, and then remove the TPMS sensor from the wheel.8 Nm (5.9 lbs-ft)TIpUse of the following tool(s) is recommended:
- 11 mm socket
NotePush the bead down for access.
Install
-
Install the nut that attaches the TPMS
sensor to the wheel.8 Nm (5.9 lbs-ft)TIpUse of the following tool(s) is recommended:
- 11 mm socket
-
Inflate the tire to seat the
beads.
CAUTIONDo not exceed the pressure indicated on the tire sidewall.NoteWear safety glasses as Personal Protection Equipment (PPE).NoteMake sure the inside and outside beads are seated.
-
Install the valve core stem using the
valve core removal tool.
CAUTIONHand tight only. Do not over tighten.
-
Set tire pressure to specifications,
and then install the valve stem cap.
NoteRefer to "Tire and Loading Information" label located on driver side B-pillar.
-
Remove the wheel and tire from the
tire changer.
Notex1 clamp
- Install the wheel onto the hub.
- Hand start the lug nuts (x6) beginning with the bottom lug nut first.
-
Partially tighten the lug nuts (x6) of the wheel to the initial torque in a
criss-cross star pattern.
TIpUse of the following tool(s) is recommended:
- 21 mm deep socket
-
Lower the vehicle until the tires are
touching the ground.
NoteRaise lift off locks, then hold lock release lever to keep locks free while vehicle is lowered.
-
Tighten the lug nuts (x6) of the wheel
in a criss-cross star pattern.205 Nm (151.2 lbs-ft)TIpUse of the following tool(s) is recommended:
- 21 mm deep socket
-
Install the LH front wheel cap.
Notex8 clipsNotePartially secure the wheel cap to wheel. While partially installed, the wheel cover can be rotated to align with the tire design. When aligned, press inward from the center of cap, and then secure all clips to the wheel spokes.
-
Remove the vehicle from the
lift.
NoteLower rack arms fully and remove them from under vehicle.NoteRemove the air suspension from "Jack Mode".
- Raise the LH front window and close the LH front door.