2026-08-09
Wheel Assembly (Remove and Install)
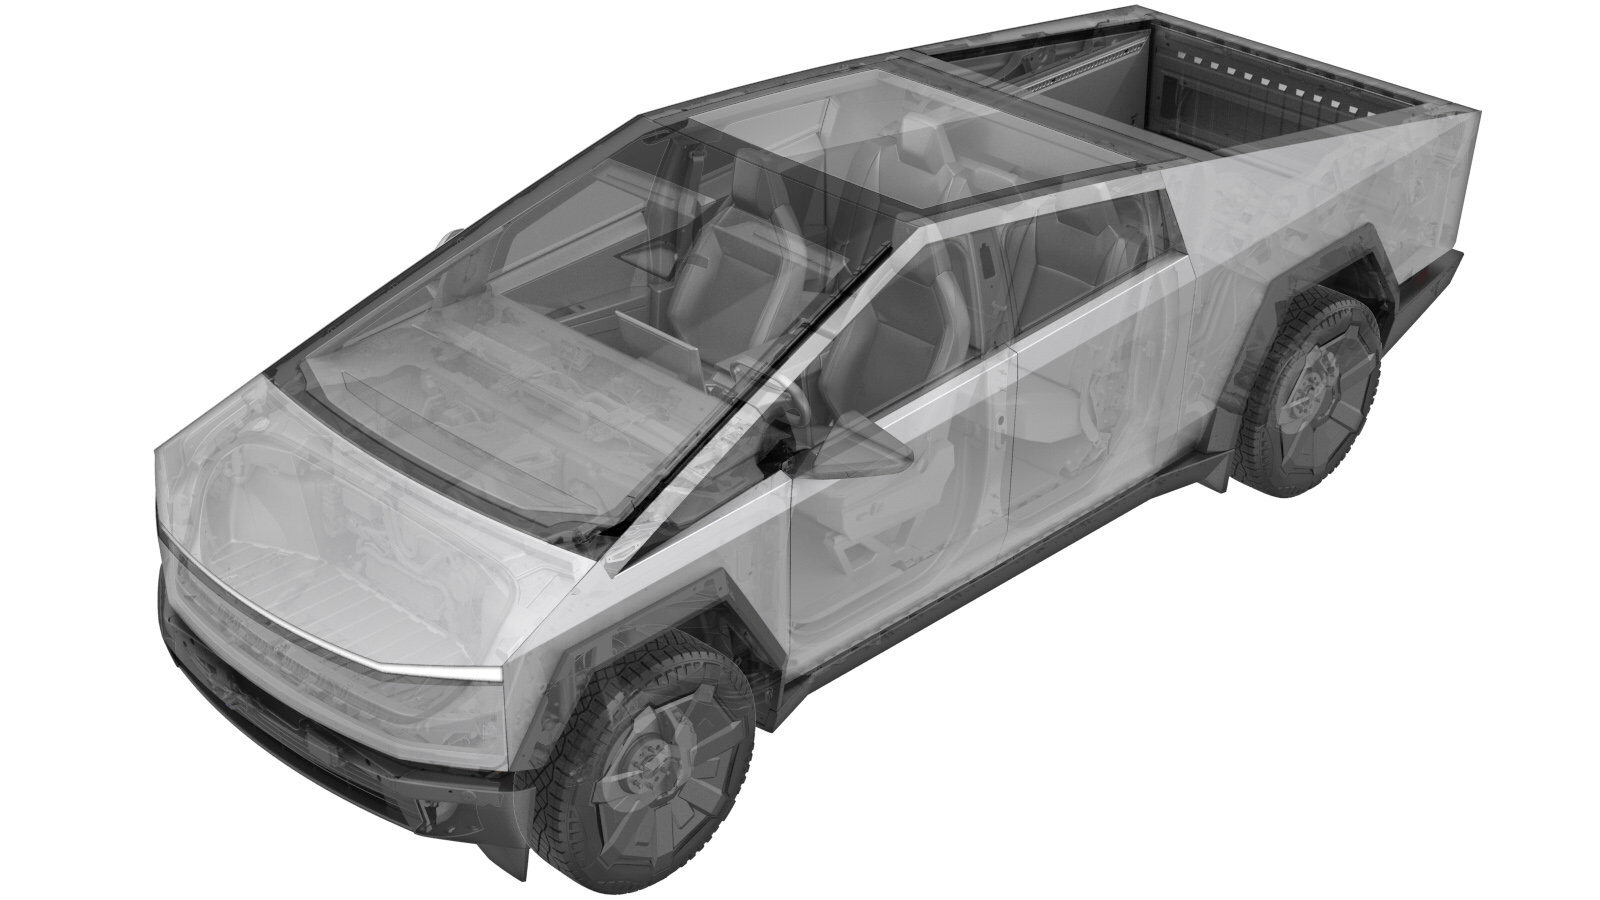 Correction code
34015001
34015101
34015201
34015301
FRT
TBD
NOTE: Unless otherwise explicitly stated in the procedure, the correction code and FRT listed above reflect all of the work required to perform this procedure, including the linked procedures. Do not stack correction codes unless explicitly told to do so.
NOTE: See Flat Rate Times to learn more about FRTs and how they are created.
NOTE: See Personal Protection to make sure you
are wearing proper PPE when performing the procedure below.
NOTE: See Ergonomic Precautions for safe and healthy working practices.
Correction code
34015001
34015101
34015201
34015301
FRT
TBD
NOTE: Unless otherwise explicitly stated in the procedure, the correction code and FRT listed above reflect all of the work required to perform this procedure, including the linked procedures. Do not stack correction codes unless explicitly told to do so.
NOTE: See Flat Rate Times to learn more about FRTs and how they are created.
NOTE: See Personal Protection to make sure you
are wearing proper PPE when performing the procedure below.
NOTE: See Ergonomic Precautions for safe and healthy working practices.
- 2026-01-29: Added steps to use the wheel lifting tool.
Warning
This procedure is a DRAFT.
Although it has been validated, Warnings and Cautions might be missing. Follow safety
requirements and use extreme caution when working on or near High Voltage systems and
components.
Remove
- Open the LH front door and lower the LH front window.
- Raise and support the vehicle on a 2 post lift. See Raise Vehicle - 2 Post Lift.
- Remove the wheel wheel cover. See Wheel Cover - Front - LH (Remove and Install) or Cap - Wheel - Front - LH (Long Range) (Remove and Install).
-
Loosen the wheel lug nuts (x6)..
 205 Nm (151.2 lbs-ft)TIpUse of the following tool(s) is recommended:
- 21 mm deep socket
-
Raise the vehicle to a comfortable
working height.
NoteSet to a comfortable working height, and then lower to locks.CAUTIONMake sure the locks engage on both sides to prevent tilting.
-
Use the wheel lifting tool to remove
the wheel from the vehicle.
Install
-
Use the lifting tool to raise the wheel assembly to installation height.
-
Position the wheel into the vehicle, and then hand start the lug nuts (x6) beginning
with the bottom lug nut first. Hand ighten the lug nuts (x6) of the wheel to the initial
torque in a criss-cross star pattern.
TIpUse of the following tool(s) is recommended:
- 21 mm deep socket
-
Remove the wheel lifting tool from the
wheel assembly.
NoteFully lower the lifting tool once it has been removed from the wheel assembly.
-
Lower the vehicle until the tires are
touching the ground.
NoteRaise lift off locks, then hold lock release lever to keep locks free while vehicle is lowered.
-
Tighten the lug nuts (x6) of the wheel
in a criss-cross star pattern.205 Nm (151.2 lbs-ft)TIpUse of the following tool(s) is recommended:
- 21 mm deep socket
- Install the wheel cap. See Wheel Cover - Front - LH (Remove and Install) or Cap - Wheel - Front - LH (Long Range) (Remove and Install).
- Remove the vehicle from the lift. See Raise Vehicle - 2 Post Lift.
- Raise the LH front window and close the LH front door.