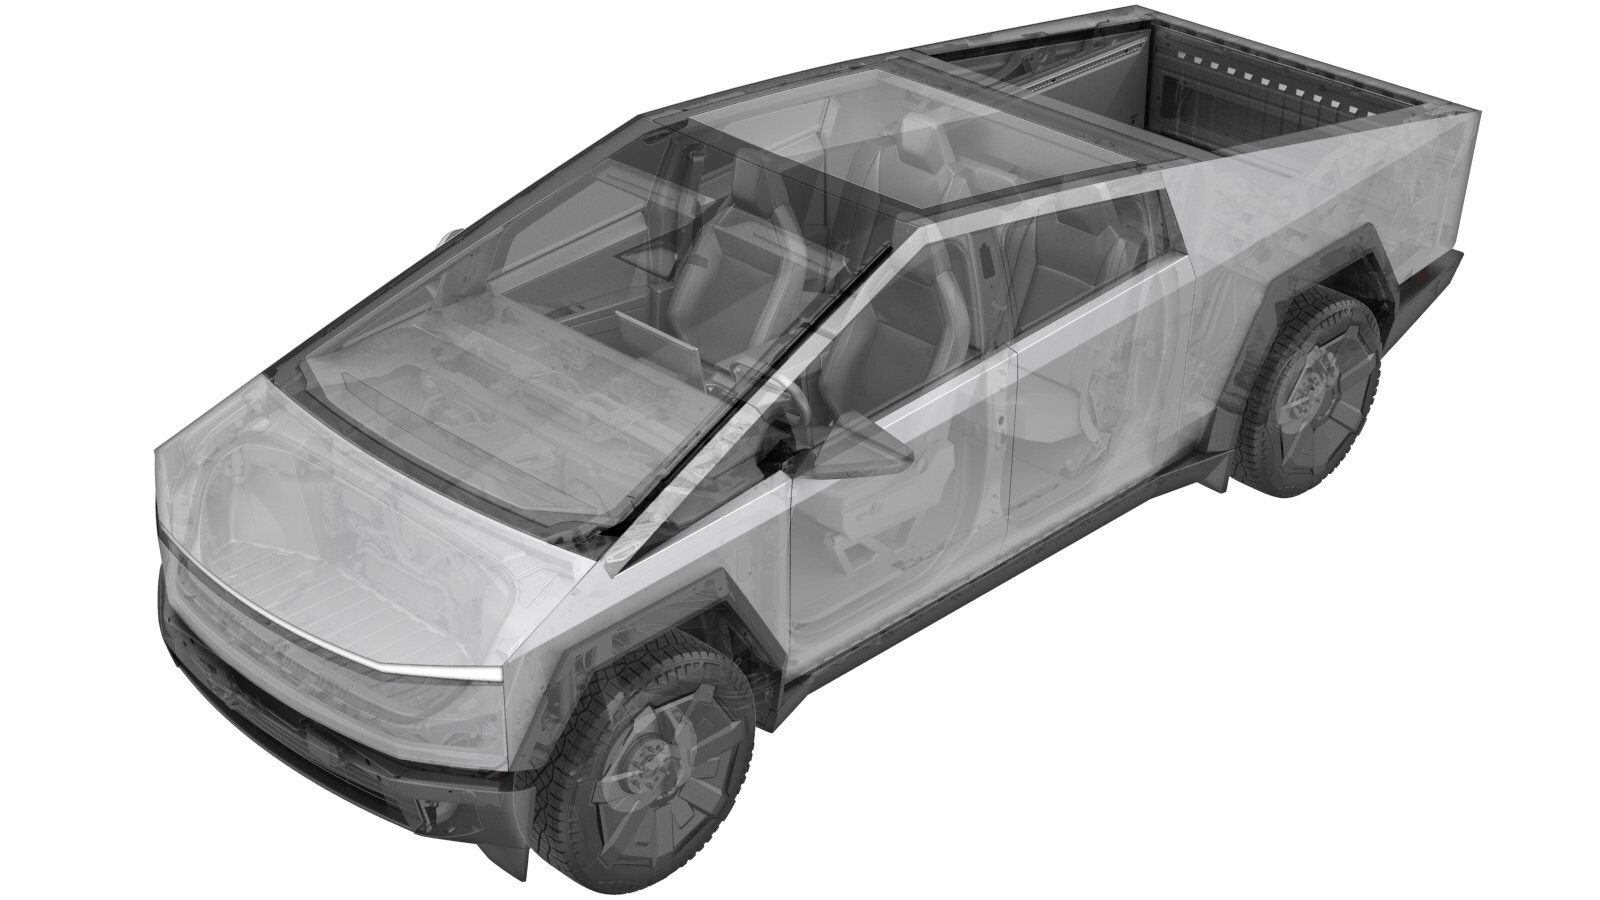
Toe Link - Rear - LH (Remove and Install)
 Correction code
3201099011
3201099012
FRT
0.42
NOTE: Unless otherwise explicitly stated in the procedure, the above correction code and FRT reflect all of the work required to perform this procedure, including the linked procedures. Do not stack correction codes unless explicitly told to do so.
NOTE: See Flat Rate Times to learn more about FRTs and how they are created. To provide feedback on FRT values, email ServiceManualFeedback@tesla.com.
NOTE: See Personal Protection to make sure wearing proper PPE when performing the below procedure.
NOTE: See Ergonomic Precautions for safe and healthy working practices.
- 2024-03-14: Added Toolbox steps and step to raise suspension to ride height.
| Description | Torque Value | Recommended Tools | Reuse/Replace | Notes |
|---|---|---|---|---|
| Bolt that attaches the LH rear toe link to the LH rear knuckle |
 210 Nm (154.9 lbs-ft) |
|
Replace | |
| Bolt that attaches the LH rear toe link to the rear steering actuator |
 145 Nm (106.9 lbs-ft) |
|
Reuse |
Remove
- Open the LH front door and lower the LH front window.
- Raise and support the vehicle. See Raise Vehicle - 2 Post Lift.
- Connect a laptop with Toolbox 3 to the vehicle. See Toolbox 3 (Connect and Disconnect).
- In toolbox, click the Actions tab, and then search for "TAS service run".
- Click TAS Enter Service Run Mode, click Run, and allow the routine to complete.
- Click the Actions tab, and then search for "TAS deflate".
-
Click TAS Deflate
Component, click Run, and allow the routine to
complete.
NoteSelect RL from drop-down menu.
- Remove the LH rear wheel. See Wheel Assembly (Remove and Install).
-
Remove the bolt that attaches the LH rear toe link to the rear steering
actuator.
 145 Nm (106.9 lbs-ft)TIpUse of the following tool(s) is recommended:
- 18 mm combination wrench
-
Remove and discard the nut that
attaches the LH rear toe link to the LH rear knuckle, and then remove the toe link from
the vehicle.
 210 Nm (154.9 lbs-ft)NoteCounter hold the ball joint while removing the nut.TIpUse of the following tool(s) is recommended:
- 21 mm socket
Install
-
Position the LH rear toe link on the
LH rear knuckle, and then install a new nut that attaches the toe link to the
knuckle.
 210 Nm (154.9 lbs-ft)NoteCounter hold the ball joint.TIpUse of the following tool(s) is recommended:
- 21 mm socket
-
Position the LH rear toe link on the
rear steering actuator, and then install and hand-tighten the bolt that attaches the toe
link to the rear steering actuator.
CAUTIONOnly hand-tighten the bolt, as this joint will be fully torqued at a later step.TIpUse of the following tool(s) is recommended:
- 18 mm combination wrench
-
Position and raise pole jack onto the
LH rear lower control arm.
-
Adjust the LH rear suspension to ride height specification.
NoteMeasure from the wheel housing stud to the stabar link mount. The distance should be 31.8 cm. Adjust pole jack as needed.
-
Fully torque the bolt that attaches
the rear toe link to the rear steering actuator.
 145 Nm (106.9 lbs-ft)TIpUse of the following tool(s) is recommended:
- 18 mm combination wrench
- Install the LH rear wheel. See Wheel Assembly (Remove and Install).
- Re-establish vehicle connection to Toolbox 3.
- In Toolbox, click the Actions tab, and then search for "TAS normal".
- Click TAS Enter Normal Run Mode, click Run, and allow the routine to complete.
- Disconnect Toolbox and remove the laptop from the vehicle. See Toolbox 3 (Connect and Disconnect).
- Remove the vehicle from the lift. See Raise Vehicle - 2 Post Lift.
-
Drive the vehicle onto an alignment rack and set the vehicle ride height to
Medium.
CAUTIONThe ride height must be set to Medium before the rear toe link bolt is torqued in the next step. Failure to do so will affect vehicle ride quality.
- Review wheel alignment requirements and add correction code as needed.