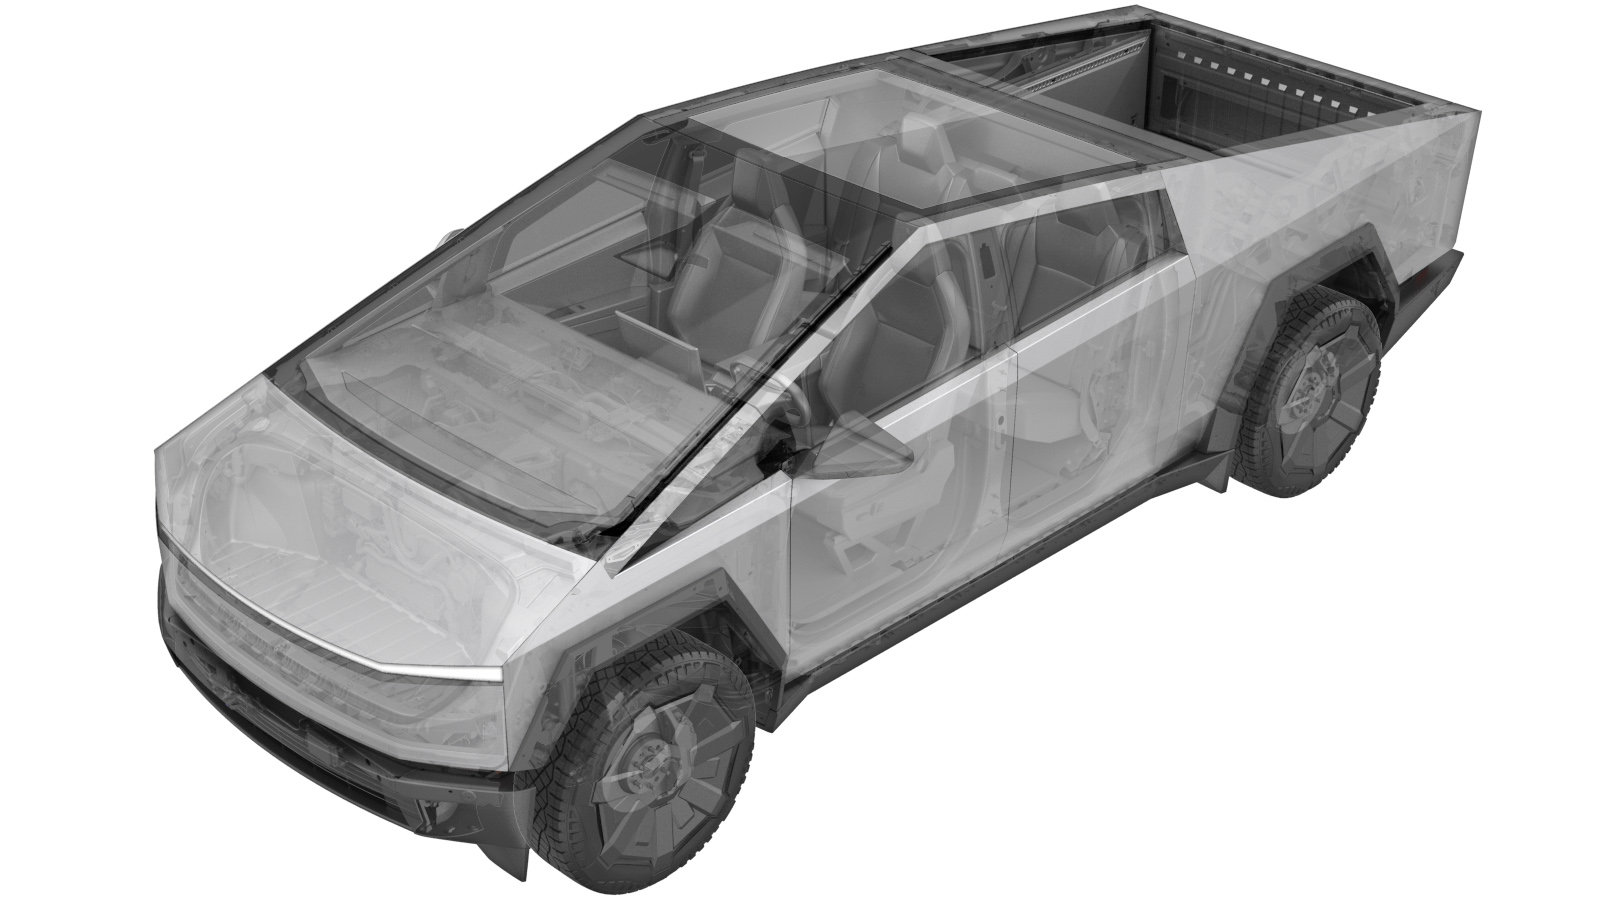
Event Data Recorder Retrieval
 Correction code
NA
NOTE: Unless
otherwise explicitly stated in the procedure, the above correction code and
FRT reflect all of the work required to perform this procedure, including
the linked procedures. Do
not stack correction codes unless explicitly told to do so.
NOTE: See Flat Rate Times to learn more about FRTs and how
they are created. To provide feedback on FRT values, email ServiceManualFeedback@tesla.com.
NOTE: See Personal Protection
to make sure wearing proper PPE when performing the below procedure.
NOTE: See Ergonomic Precautions for safe and
healthy working practices.
Establish a Direct-to-Module Connection
- Open all the doors and open all the windows.
- Move the LH and RH front seats fully rearward.
- Open the powered frunk.
- Disconnect MV power. See Disconnect MV Power (Modify).
- Remove the center console jumper duct. See Jumper Duct - Center Console (Remove and Install).
-
Release the Restraint Control Module (RCM) connector locking tabs (x2), and then disconnect the electrical connectors (x2) from the RCM.
TIpUse of the following tool(s) is recommended:
- Pocket Screwdriver
-
Connect the EDR extraction harness connectors (x2) to the RCM.
TIpUse of the following tool(s) is recommended:
- EDR Extraction Harness
-
Connect the EDR extraction harness to the PCAN-USB adapter.
TIpUse of the following tool(s) is recommended:
- PCAN-USB Adapter
-
Connect the PCAN-USB adapter to the computer used for data retrieval.
-
Connect the EDR extraction harness to the XP-10 jump pack to establish external power.
TIpUse of the following tool(s) is recommended:
- XP-10 Jump Pack
-
Open the Tesla EDR Retrieval Program. The program automatically attempts to connect to the RCM.
NoteWhen connected properly, a green circle and the message “Connected to RCM” displays on the bottom left corner of the window.
-
Once connected to the EDR, click “Run EDR Retrieval” and follow the on-screen prompts to retrieve and save EDR data.
NoteWhen connected properly, a green circle and the message “Connected to RCM” displays on the bottom left corner of the window.
- The retrieved *.edr data file can be used to generate a Tesla EDR Report at https://edr.tesla.com/.
- Close the Tesla EDR Retrieval Program.
-
Disconnect the EDR extraction harness connectors (x2) from the RCM.
-
Connect the RCM electrical connectors (x2) to the RCM, and then engage the connector locking tabs (x2) that secure the connectors to the RCM.
- Install the center console jumper duct. See Jumper Duct - Center Console (Remove and Install).
- Connect MV power. See Disconnect MV Power (Modify).
- Close the powered frunk.
- Move the LH and RH front seats back to their original position.
- Raise all the windows and close all the doors.