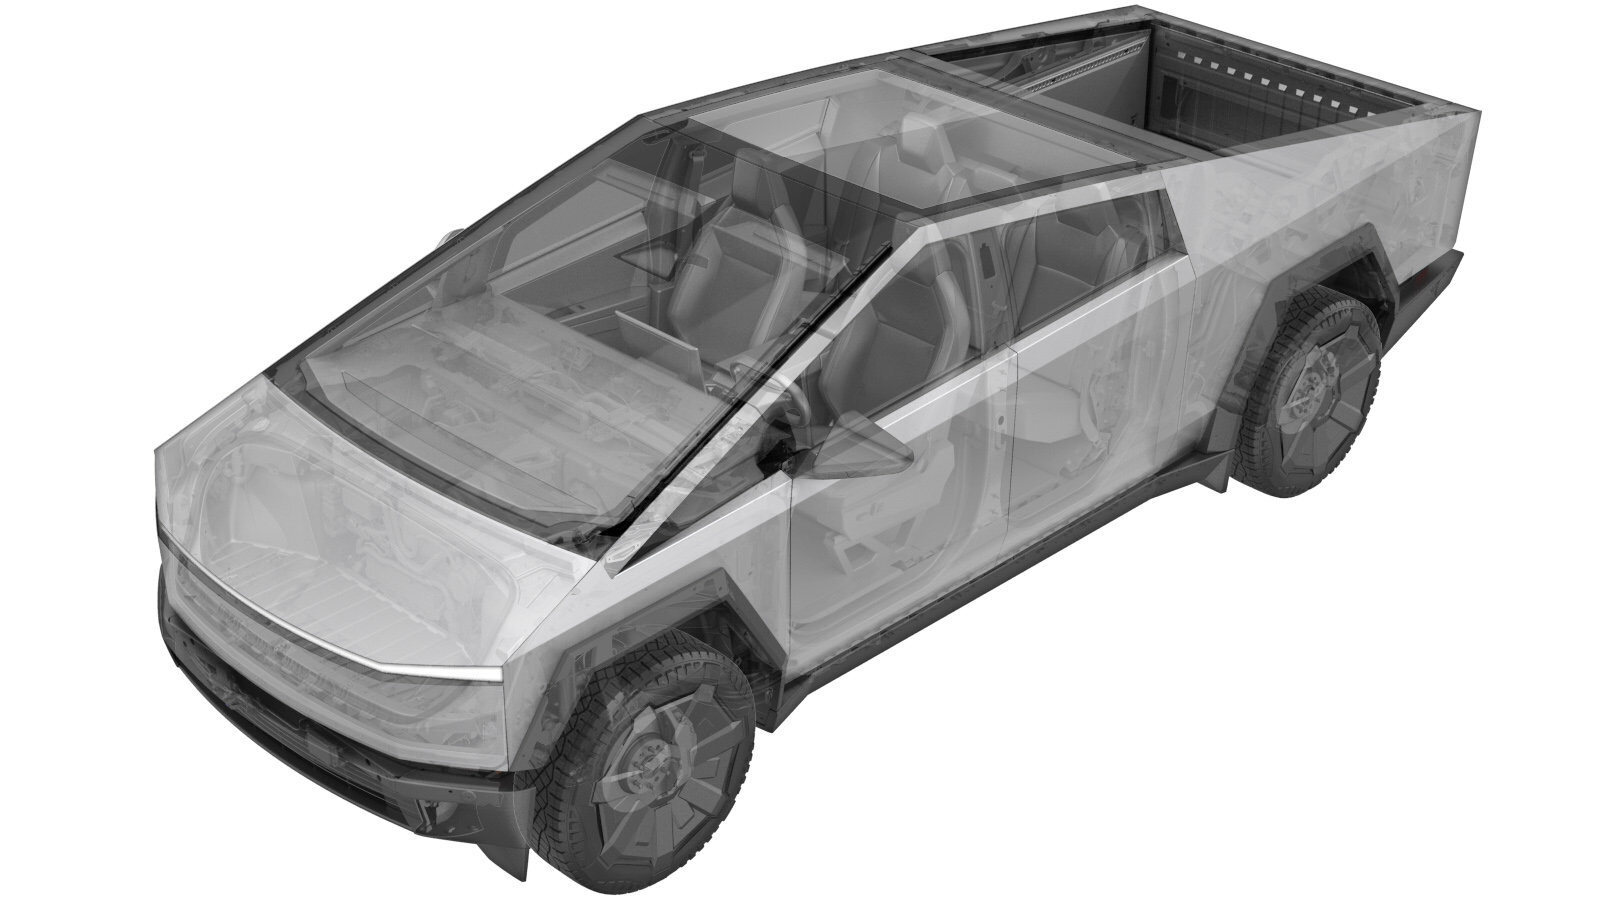
Sail Applique - LH (Remove and Replace)
 Correction code
1220126012
FRT
0.18
NOTE: Unless
otherwise explicitly stated in the procedure, the above correction code and
FRT reflect all of the work required to perform this procedure, including
the linked procedures. Do
not stack correction codes unless explicitly told to do so.
NOTE: See Flat Rate Times to learn more about FRTs and how
they are created. To provide feedback on FRT values, email ServiceManualFeedback@tesla.com.
NOTE: See Personal Protection
to make sure wearing proper PPE when performing the below procedure.
NOTE: See Ergonomic Precautions for safe and
healthy working practices.
- 2025-01-16: Updated install section to point to sail applique retrofit.
- 2024-12-02: Added steps to remove/install tonneau applique.
- 2024-06-25: Revised installation steps for push nut.
- 2024-06-25: Added note to discard the applique after removal.
Remove
- Open the LH front door and lower the LH front window.
- Remove the tonneau applique. See Tonneau Applique (Remove and Install).
-
Release the clips (x9) and double
sided tape strips (x6) that attach the LH sail applique to the vehicle, disconnect the
tonneau cover switch electrical connector, and then remove the sail applique from the
vehicle.
NoteLift the rear edge first to access the connector and harness clip, disconnect the connector and release the harness clip, and then release the remaining clips.CAUTIONDiscard the sail applique after removal. Do not reuse any of the fasteners.
-
Thoroughly clean the bed side area of
any remaining residue.
NoteRemove any remaining double sided tape.NoteUse a cordless drill with an eraser wheel attachment to clean residue that is difficult to remove.NoteUse IPA wipes to remove any remaining adhesive.
Install
If the vehicle was equipped with sail appliques with PN: 1741538-XX-X (LH) and 1741539-XX-X (RH), retrofit the sail appliques with updated parts. Refer to the Service Manual procedure Truck Bed Exterior Trim - Sail Applique Set (Retrofit).
If the vehicle is equipped with the updated sail applqiues (PN: 2009390-00-A (LH), PN: 2009391-00-A (RH)), refer Service Manual procedure Sail Applique - LH (Remove and Install) (Post 11/4/2024) or Sail Applique - RH (Remove and Install) (Post 11/4/2024).