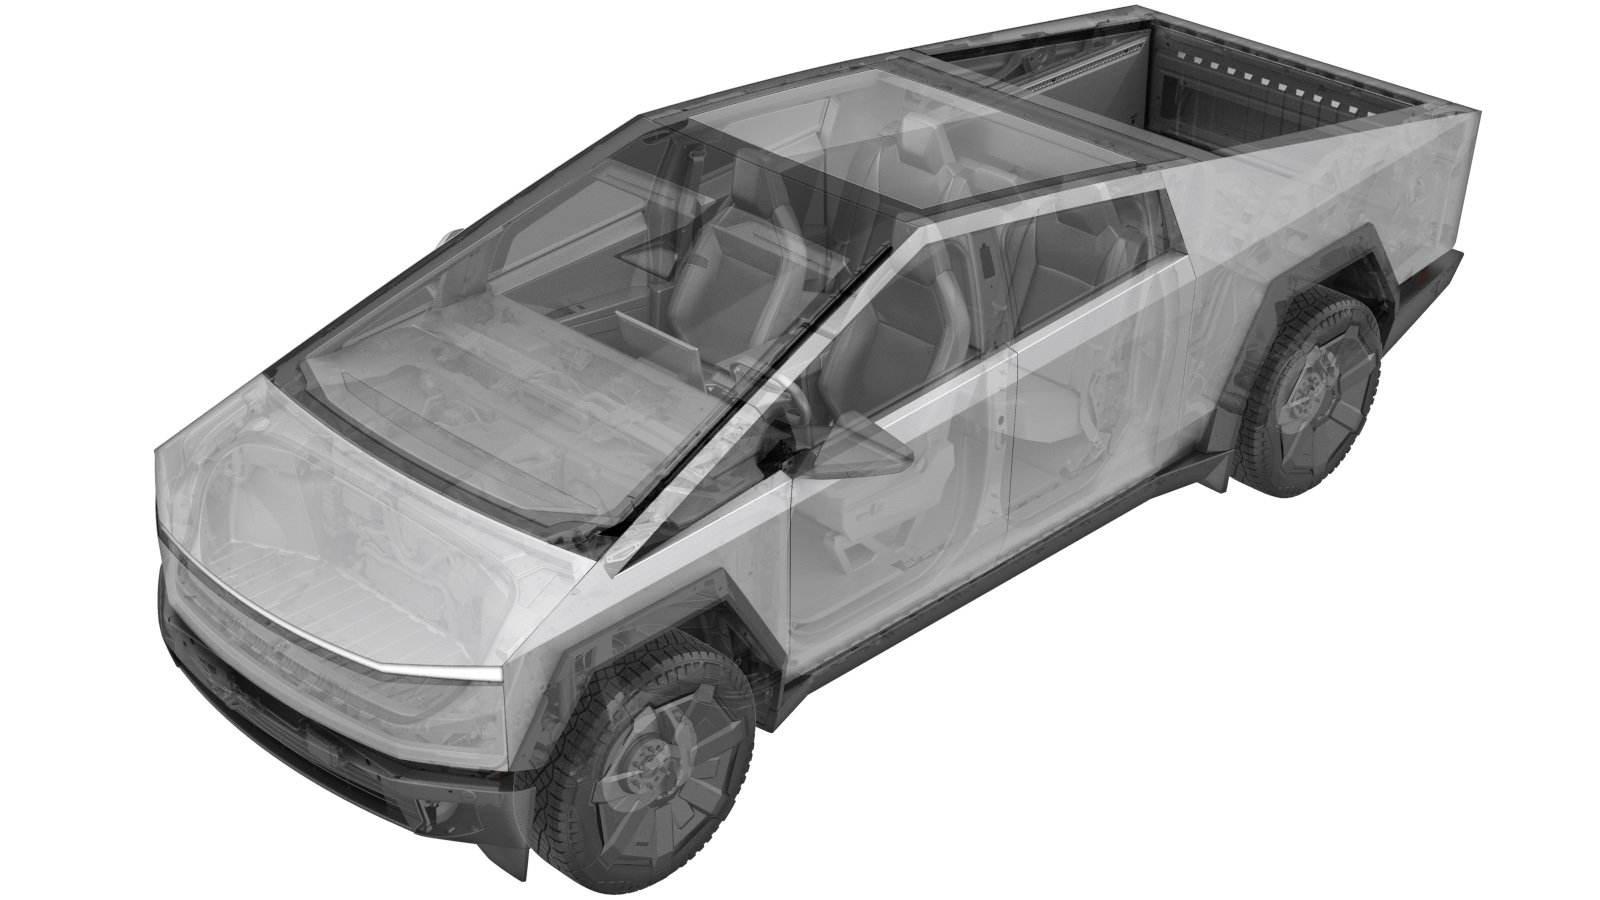
Powergate Hood (Remove and Replace)
 Correction code
1010025122
FRT
0.42
NOTE: Unless
otherwise explicitly stated in the procedure, the above correction code and
FRT reflect all of the work required to perform this procedure, including
the linked procedures. Do
not stack correction codes unless explicitly told to do so.
NOTE: See Flat Rate Times to learn more about FRTs and how
they are created. To provide feedback on FRT values, email ServiceManualFeedback@tesla.com.
NOTE: See Personal Protection
to make sure wearing proper PPE when performing the below procedure.
NOTE: See Ergonomic Precautions for safe and
healthy working practices.
Correction code
1010025122
FRT
0.42
NOTE: Unless
otherwise explicitly stated in the procedure, the above correction code and
FRT reflect all of the work required to perform this procedure, including
the linked procedures. Do
not stack correction codes unless explicitly told to do so.
NOTE: See Flat Rate Times to learn more about FRTs and how
they are created. To provide feedback on FRT values, email ServiceManualFeedback@tesla.com.
NOTE: See Personal Protection
to make sure wearing proper PPE when performing the below procedure.
NOTE: See Ergonomic Precautions for safe and
healthy working practices.
Remove
- Open the LH front door and lower the LH front window.
- On the vehicle touchscreen, touch to set the vehicle ride height to Very High.
- On the vehicle touchscreen, touch to enable Jack Mode.
- Remove the rear underhood apron. See Underhood Apron - Rear (Remove and Install).
- Remove the frunk assembly. See Frunk Assembly (Remove and Install).
- Disconnect MV power. See Disconnect MV Power (Modify).
- Remove the RH front wheel liner. See Wheel Liner - Front - LH (Remove and Replace).
- Remove the LH and RH lightbar beauty cover. See Beauty Cover - Lightbar - LH (Remove and Install).
- Remove the powergate fascia. See Powergate Fascia (Remove and Install).
-
Disconnect the powergate electrical
connectors (x2), and then release the harness clips (x9).
NoteRelease the connector locks to disconnect the connectors.
-
Disconnect the powergate harness
electrical connector and release the harness clips (x3).
NoteRelease the connector lock to disconnect the connector.NoteImages shown with fender removed for clarity.
- Remove the front lightbar. See Lightbar - Front (Remove and Install).
-
With an assistant holding the
powergate, remove the nuts (x4) that attach the powergate to the hinges, and then lift
the powergate up and away from the hinges to remove it from the vehicle.
 18 Nm (13.3 lbs-ft)NoteRemove the fastener caps by turning counter-clockwise.TIpUse of the following tool(s) is recommended:
- 13 mm socket
Figure 1. LH shown; RH similar Figure 2. LH shown; RH similar
Install
-
With assistance, position the
powergate onto the hinges, and then install the nuts (x4) and fastener caps that attach
the powergate to the vehicle.18 Nm (13.3 lbs-ft)NoteUtilize witness marks to align powergate to previous location.TIpUse of the following tool(s) is recommended:
- 13 mm socket
Figure 3. LH shown; RH similar Figure 4. LH shown; RH similar - Install the front lightbar. See Lightbar - Front (Remove and Install).
-
Connect the powergate harness
electrical connector and secure the harness clips (x3).
NoteEngage the connector lock.NoteImages shown with fender removed for clarity.
-
Secure the clips (x9) that attach the
harness to powergate, and then connect the electrical connectors (x2).
NoteEngage the connector locks.
- Install the powergate fascia. See Powergate Fascia (Remove and Install).
- Install the LH and RH lightbar beauty covers. See Beauty Cover - Lightbar - LH (Remove and Install).
- Install the RH front wheel liner. See Wheel Liner - Front - LH (Remove and Replace).
- Reconnect MV power. See Disconnect MV Power (Modify).
- Install the frunk assembly. See Frunk Assembly (Remove and Install).
- Install the rear underhood apron. See Underhood Apron - Rear (Remove and Install).
- On the vehicle touchscreen, touch to disable jack mode.
- On the vehicle touchscreen, touch to set the ride height to Medium.
- Raise the LH front window and close the LH front door.