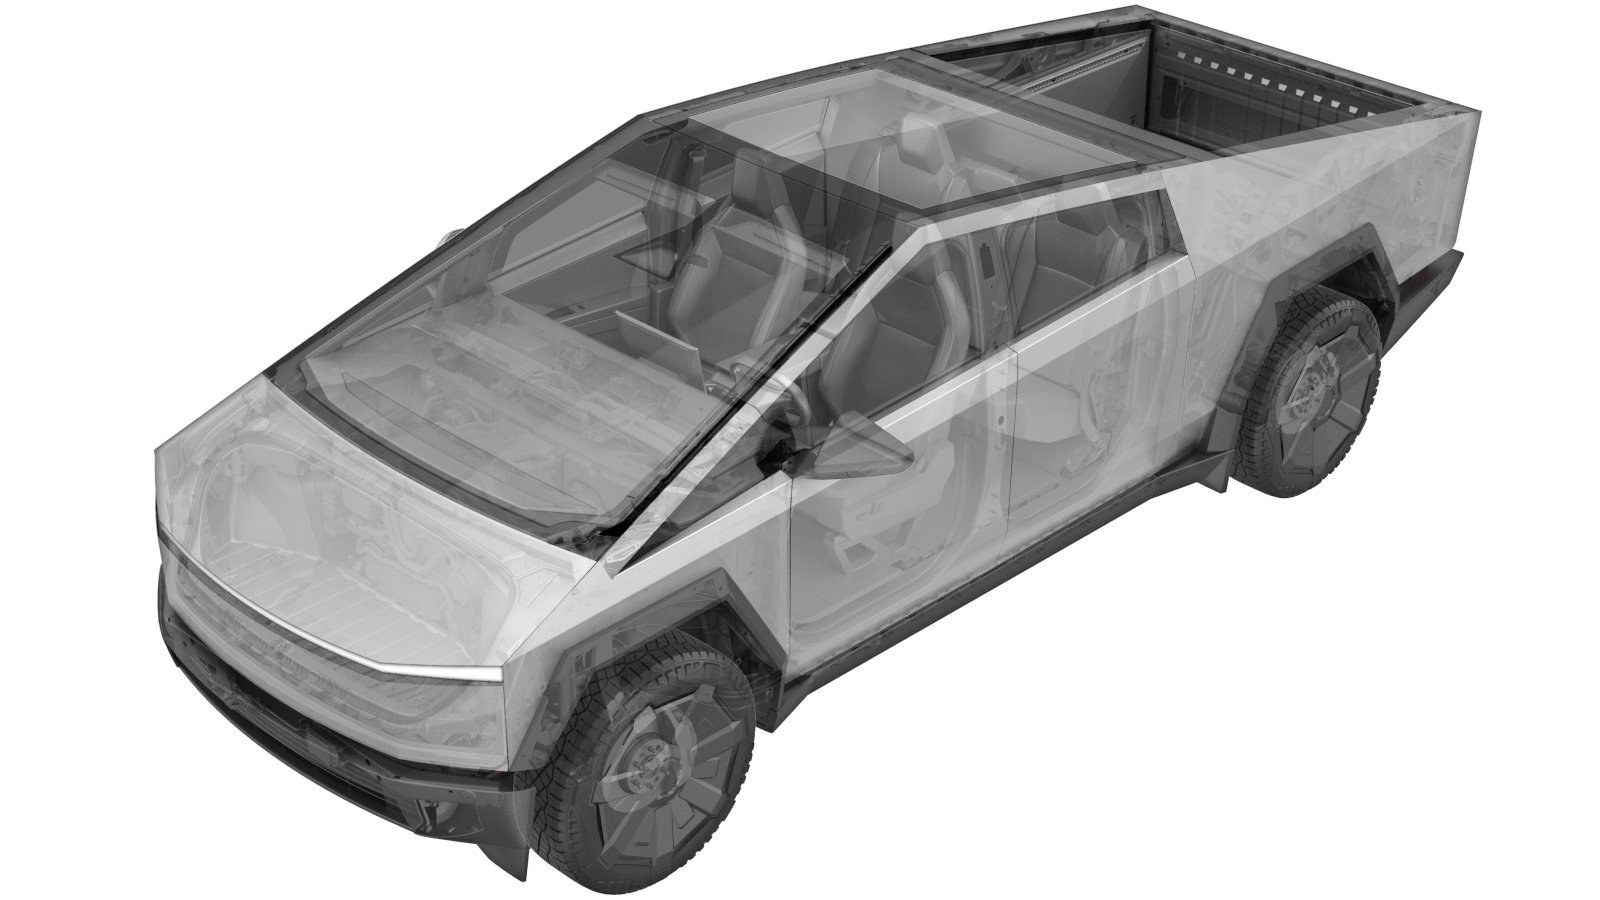
Moving Glass - Front Door - LH (Adjust)
 Correction code
N/A
FRT
0.20
NOTE: Unless
otherwise explicitly stated in the procedure, the above correction code and
FRT reflect all of the work required to perform this procedure, including
the linked procedures. Do
not stack correction codes unless explicitly told to do so.
NOTE: See Flat Rate Times to learn more about FRTs and how
they are created. To provide feedback on FRT values, email ServiceManualFeedback@tesla.com.
NOTE: See Personal Protection
to make sure wearing proper PPE when performing the below procedure.
NOTE: See Ergonomic Precautions for safe and
healthy working practices.
-
Check gap and flushness
NoteReference CVIS for specification
-
Open LH front door
NotePush LH B-pillar door trigger to release
-
Place vehicle in service mode
NoteVia UI > Controls > Software, Touch and hold "Cybertruck" for 2 seconds then release, Use screen keyboard to type "service" into dialog box then select OK
-
Remove LH front lower beltline assembly
Note18x clips, 2x connectors, Replace clips if damaged or broken
-
Remove bolts securing LH front door trim
Note3x bolts, 8mm, 7 Nm
-
Release LH front door trim
Note14x clips, 1x connector, 1x manual release cable
-
Connect external window switch tool
Note1x connector
-
Manually latch LH front door
-
Remove LH front door grommets
Note4x grommets
-
Move window to access window bracket fasteners
-
Mark window postion
NoteApply masking tape from LF window to LF door. Cut the tape where the window meets the door seal to mark the original window position.
-
Loosen bolts securing LH front window
Note2x bolts, 10mm, 12Nm, Loosen bolts just enough to allow side-to-side movement of LF window
-
Adjust window and torque bolts securing LH front window
Note2x bolts, 10mm, 12Nm
-
Lower window
NoteLower window to access lower window clamp locking nuts.
-
Loosen locking nut and adjust window pitch jackscrew
Note1x nut, 6mm, 5Nm, 1x screw, 3mm internal hex, Loosen locking nut, then move jackscrew to adjust window pitch. Rotate counter-clockwise to pitch window in, rotate clockwise to pitch window out.
-
Torque locking nut and reinstall door grommets
Note1x nut, 6mm, 5Nm, 4x grommets
-
Manually release the latch
NotePull manual release cable away from vehicle to unlatch
-
Roll up LH front window
NoteTake caution when rolling up window to ensure there is no contact to trim surrounding window
-
Close LH front door
-
Check gap and flushness
NoteReference CVIS for specification
-
Open LH front door
NotePush LH B-pillar door trigger to release
-
Disconnect external window switch
Note1x connector
-
Install LH front door trim
Note14x clips, 1x connector, 1x manual release cable, Replace any missing or damaged clips
-
Install bolts securing LH front door trim
Note3x bolts, 8mm, 7 Nm
-
Install LH front lower beltline assembly
Note18x clips, 2x connectors, Replace any missing or damaged clips
-
Calibrate window
NotePress and hold down selected window for 15 seconds, Roll up window and hold for 15 seconds, Test window by hard pressing to see if auto roll function works
-
Raise LH front window
-
Close LH front door