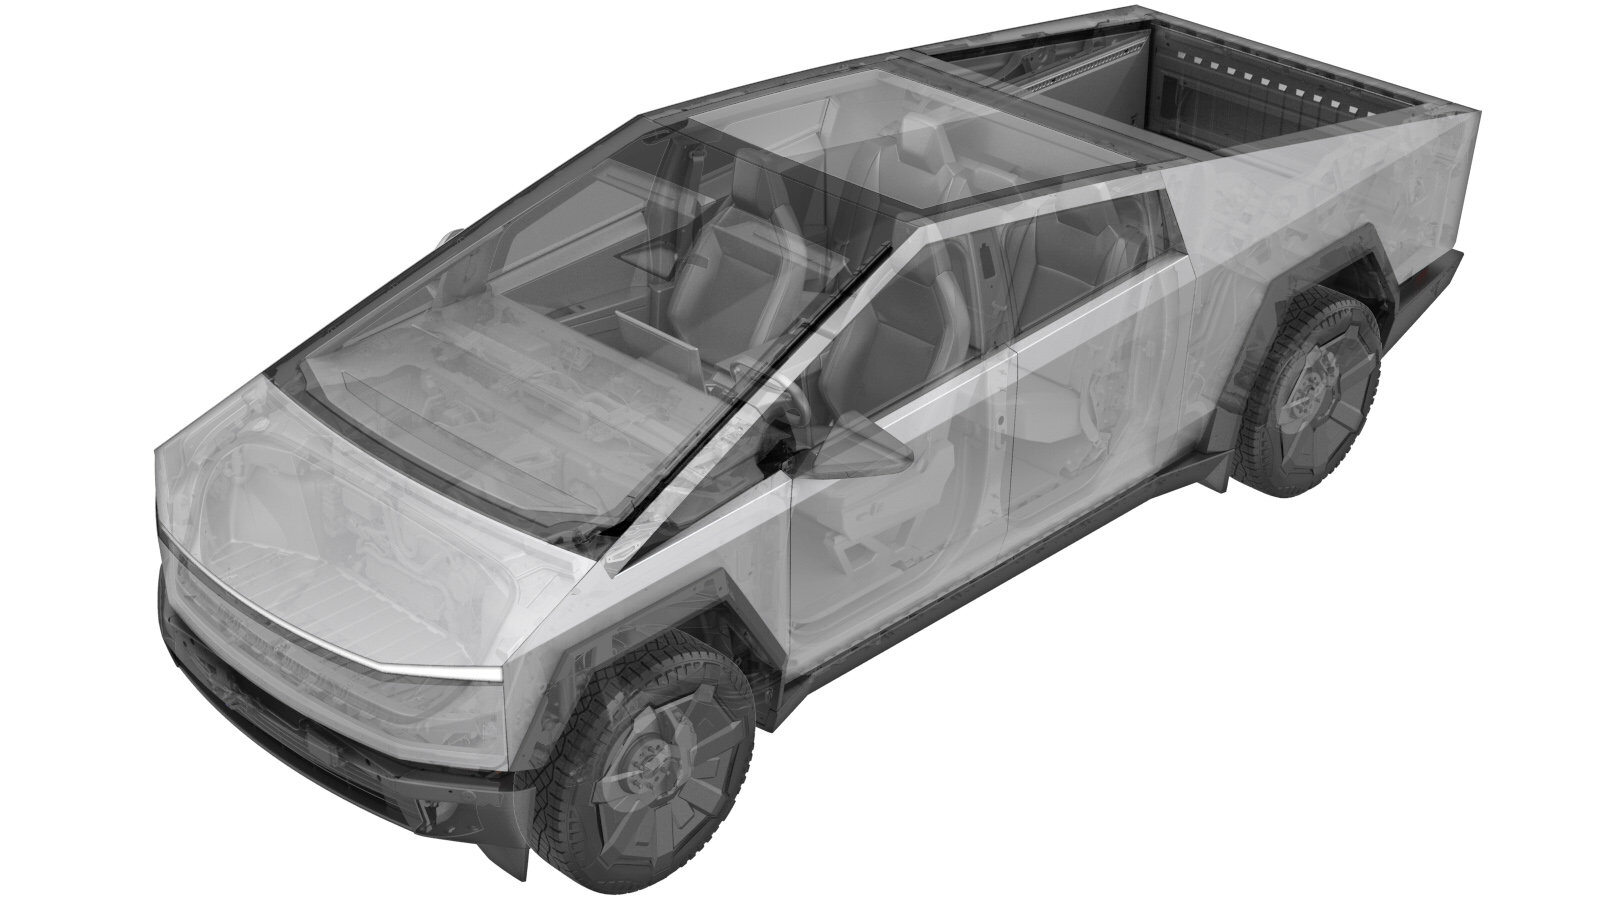
Trim - Lower - Rear Wall (Remove and Install)
 Correction code
1530083111
1530083112
FRT
0.18
NOTE: Unless otherwise explicitly stated in the procedure, the above correction code and FRT reflect all of the work required to perform this procedure, including the linked procedures. Do not stack correction codes unless explicitly told to do so.
NOTE: See Flat Rate Times to learn more about FRTs and how they are created. To provide feedback on FRT values, email ServiceManualFeedback@tesla.com.
NOTE: See Personal Protection to make sure wearing proper PPE when performing the below procedure.
NOTE: See Ergonomic Precautions for safe and healthy working practices.
- 2025-10-20: Updated images for lower C-pillar trim.
- 2024-10-30: Added an extra arrow callout to release the C-pillar higher for better access.
Remove
- Open the rear doors and lower the rear windows.
- Remove the 2nd row floor mat.
- Fold the 2nd row seats to the up position.
-
Release the clip and datums that
attach the front portion of the LH lower C-pillar trim to the vehicle. Repeat this step
for the RH C-pillar trim.
Figure 1. Clip and datum locations Figure 2. Trim removed for clarity -
Remove the outermost push clips (x2)
that attach the rear wall lower trim to the vehicle, pull the trim forward to release
the inner clips (x4), and then remove the trim from the vehicle.
Install
-
Position the rear wall lower trim into the vehicle, and then install the outermost
push clips (x2) and inner clips (x4) that attach the trim to the vehicle.
-
Secure the clip and datums that attach
the front portion of the LH lower C-pillar trim to the vehicle. Repeat this step for the
RH C-pillar trim.
Figure 3. LH shown; RH similar - Return the 2nd row seats to the original positions.
- Install the 2nd row floor mat.
- Raise the rear windows and close the rear doors.