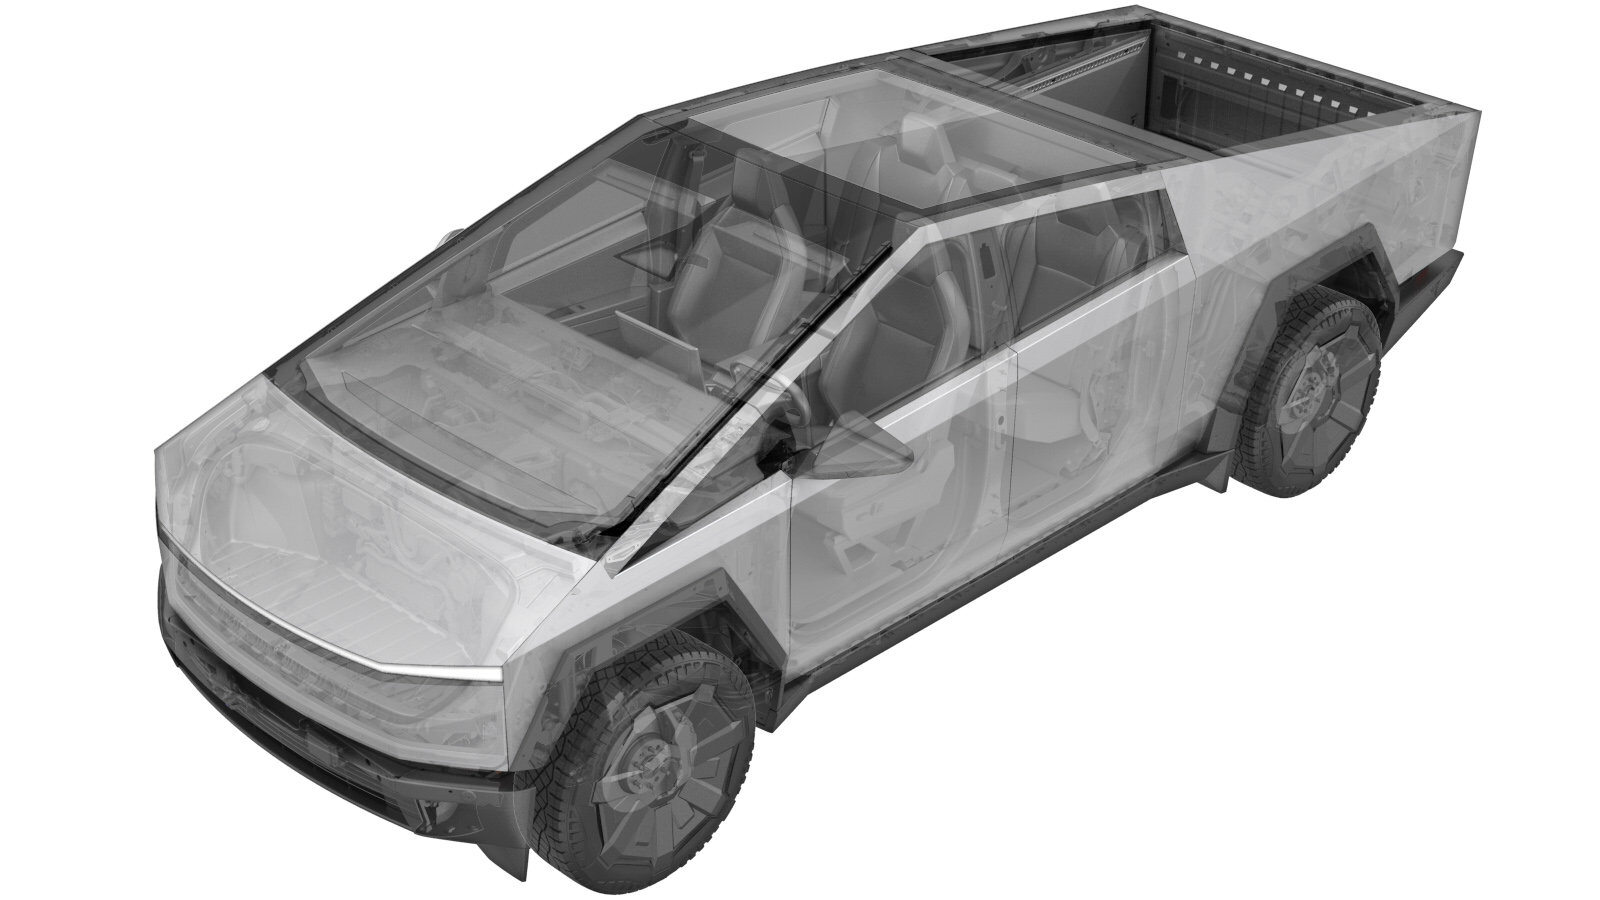
Airbag - Driver (Remove and Install)
 Correction code
2001038011
2001038012
FRT
0.12
NOTE: Unless
otherwise explicitly stated in the procedure, the above correction code and
FRT reflect all of the work required to perform this procedure, including
the linked procedures. Do
not stack correction codes unless explicitly told to do so.
NOTE: See Flat Rate Times to learn more about FRTs and how
they are created. To provide feedback on FRT values, email ServiceManualFeedback@tesla.com.
NOTE: See Personal Protection
to make sure wearing proper PPE when performing the below procedure.
NOTE: See Ergonomic Precautions for safe and
healthy working practices.
Remove
- Open the LH front door and lower the LH front window.
- Open the powered frunk.
- Remove the rear underhood apron. See Underhood Apron - Rear (Remove and Install).
- Disconnect MV power. See Disconnect MV Power (Modify).
-
Press the spring clips (x2)
simultaneously from the 2 access holes to release the driver airbag from the steering
wheel, and then partially pull the airbag away from the steering wheel.
CAUTIONDo not remove the driver airbag from the steering wheel yet because the airbag electrical connector is still connected to the steering wheel.WarningNote how the airbag is attached to the steering wheel to aid in installation. Failure to fully seat both sides of the airbag can result in the airbag falling out or not performing as intended.TIpUse of the following tool(s) is recommended:
- Small flathead screwdriver
- Pick miniature soft grip hook tip 6 in.
-
Disconnect the driver airbag
electrical connector, and then remove the airbag from the vehicle.
NoteMake sure that the airbag is stored with the trim side facing upwards.
Install
-
Connect the driver airbag electrical
connector.
-
Press the LH side of the driver airbag
assembly into the steering wheel until an audible click is heard and the spring clip is
fully seated.
WarningFailure to fully seat both sides of the airbag can result in the airbag falling out or not performing as intended.
-
Press the RH side of the driver airbag
assembly into the steering wheel until an audible click is heard and the spring clip is
fully seated.
WarningFailure to fully seat both sides of the airbag can result in the airbag falling out or not performing as intended.
- Perform a light pull test on the LH side of the driver airbag to verify that it is properly secured to the steering wheel.
- Perform a light pull test on the RH side of the driver airbag to verify that it is properly secured to the steering wheel.
- Check that the gap between the driver airbag assembly and the steering wheel is consistent around the perimeter of the airbag.
- Reconnect MV power. See Disconnect MV Power (Modify).
- Install the rear underhood apron. See Underhood Apron - Rear (Remove and Install).
- Close the powered frunk.
- Raise the LH front window and close the LH front door.