2025-05-15
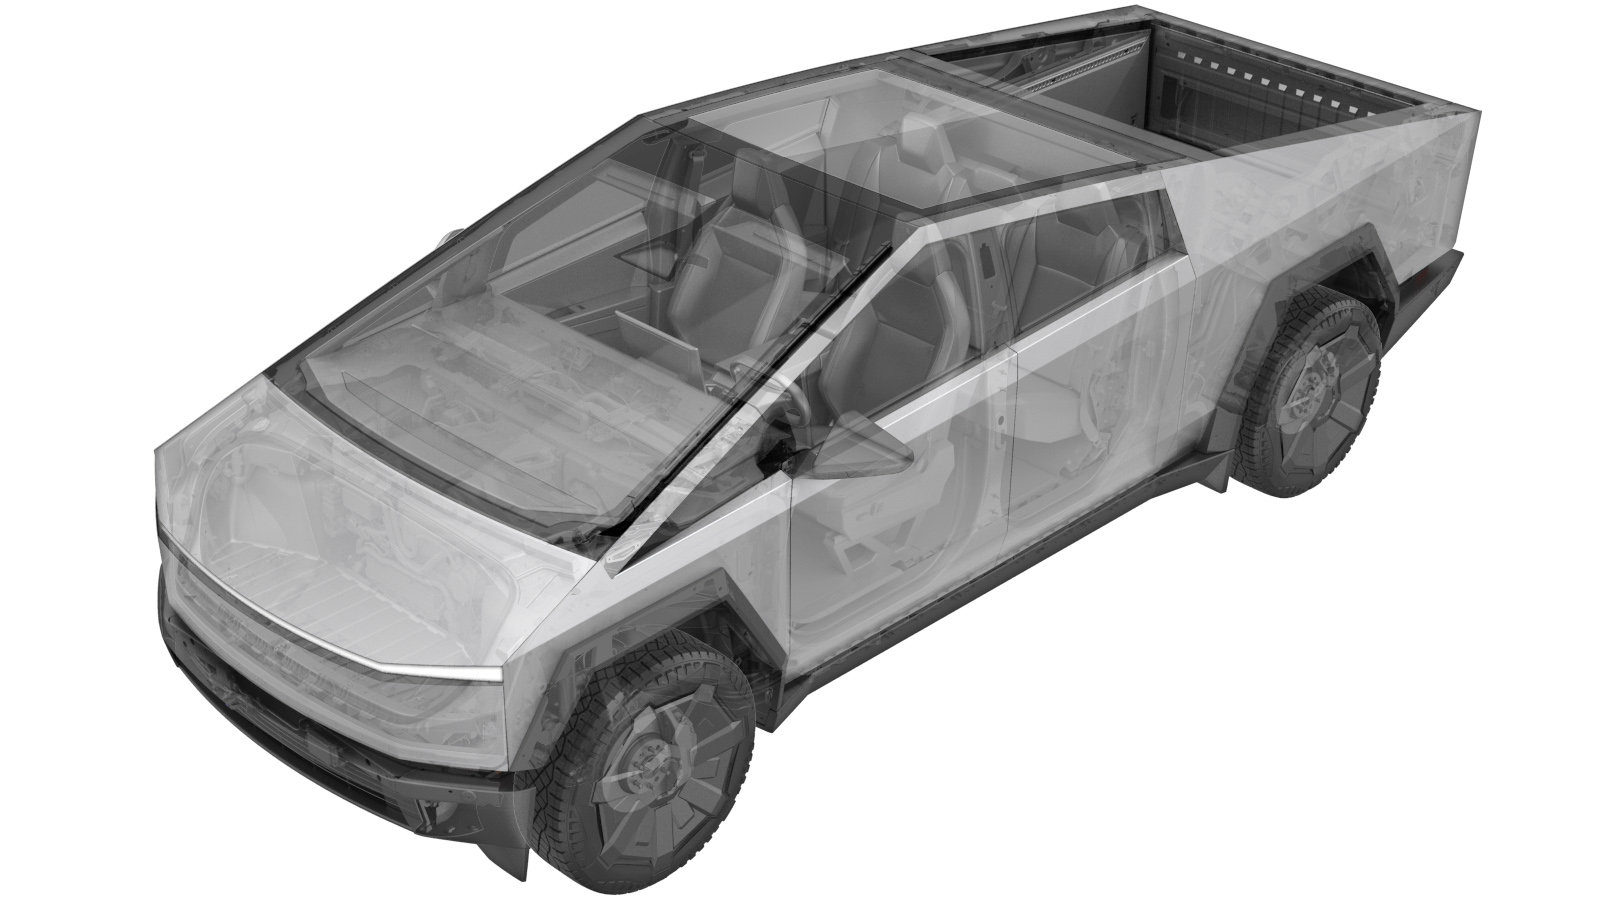
Harness - Instrument Panel (Remove and Install)
 Correction code
1710029021
1710029022
FRT
2.04
NOTE: Unless otherwise explicitly stated in the procedure, the correction code and FRT listed above reflect all of the work required to perform this procedure, including the linked procedures. Do not stack correction codes unless explicitly told to do so.
NOTE: See Flat Rate Times to learn more about FRTs and how they are created.
NOTE: See Personal Protection to make sure you
are wearing proper PPE when performing the procedure below.
NOTE: See Ergonomic Precautions for safe and healthy working practices.
Correction code
1710029021
1710029022
FRT
2.04
NOTE: Unless otherwise explicitly stated in the procedure, the correction code and FRT listed above reflect all of the work required to perform this procedure, including the linked procedures. Do not stack correction codes unless explicitly told to do so.
NOTE: See Flat Rate Times to learn more about FRTs and how they are created.
NOTE: See Personal Protection to make sure you
are wearing proper PPE when performing the procedure below.
NOTE: See Ergonomic Precautions for safe and healthy working practices.
- 2024-09-11: Added note and link for testing and servicing Super Connectors.
- 2024-05-29: Updated locking cover torque value from 4 Nm to 6 Nm.
- 2024-03-20: Cleaned up topic.
Warning
Cybertruck electronics are powered by a
48V "mid voltage" or "MV" architecture that is designed to improve efficiency. Servicing
MV components requires extra knowledge and care in order to avoid personal and/or
vehicular harm. Read and understand MV precautions in Electrical Precautions and make sure any required
MV-related training courses have been completed, as applicable.
Note
For best practices associated with testing and servicing Super Connectors on a Cybertruck Vehicle Controller, refer to video Super Controller Testing.
Warning
This procedure is a DRAFT.
Although it has been validated, Warnings and Cautions might be missing. Follow safety
requirements and use extreme caution when working on or near High Voltage systems and
components.
Remove
- Open the LH front door and lower the LH front window.
- Move the LH front seat fully rearward.
- Open the RH front door and lower the RH front window.
- Move the RH front seat fully rearward.
- Open the powered frunk.
- Remove the rear underhood apron. See Underhood Apron - Rear (Remove and Install).
- Disconnect MV power. See Mid-Voltage Power (Disconnect and Connect) (Modify).
- Remove the LH mid A-pillar trim. See Trim - A-Pillar - Mid - LH (Remove and Install).
-
Partially remove the LH side lower
A-pillar primary seal.
- Remove the LH lower A-pillar trim. See Trim - A-Pillar - Lower - LH (Remove and Install).
- Remove the footwell cover. See Cover - Footwell (Remove and Install).
- Remove the LH center floor rail. See Rail - Center Floor - LH (Remove and Install).
- Remove the center floor trim. See Trim - Center Floor - Lower (Remove and Install).
- Remove the accelerator pedal side trim. See Side Trim - Pedal (Remove and Install).
- Remove the accelerator pedal. See Accelerator Pedal (Remove and Install).
-
Fold back the LH front cabin
carpet.
- Remove the RH center floor rail. See Rail - Center Floor - LH (Remove and Install).
- Remove the RH mid A-pillar trim. See Trim - A-Pillar - Mid - LH (Remove and Install).
-
Partially remove the RH front door
seal.
- Remove the RH lower A-pillar trim. See Trim - A-Pillar - Lower - LH (Remove and Install).
-
Fold back the RH front cabin
carpet.
- Remove the IP mid panel assembly. See Mid Panel Assembly - Instrument Panel (Remove and Install).
- Remove the instrument panel lower assembly. See Lower Assembly - Instrument Panel (Remove and Install).
- Remove the glovebox assembly. See Glovebox Assembly (Remove and Install).
- Remove the RH panel duct. See Panel Duct - RH (Remove and Install).
-
Disconnect the passenger airbag
electrical connectors.
Notex3 squib connectorsNotePull back the white tabs simultaneously to release the connectors.
-
Remove the bolts (x4) that attach the
instrument panel top pad to the vehicle.
NoteThe bolts are two different lengths.TIpUse of the following tool(s) is recommended:
- 8 mm socket
- Remove the IP center shroud service panel. See Service Panel - Center Shroud - Instrument Panel (Remove and Install).
- Remove the center display assembly. See Touchscreen - Center Display Assembly (Remove and Install).
- Remove the front header trim. See Trim - Header - Front (Remove and Install).
- Remove the LH and RH upper A-pillar panels. See Trim - A-Pillar - Upper - LH (Remove and Install).
- Remove the IP top pad assembly. See Top Pad Assembly - Instrument Panel (Remove and Install).
- Remove the IP aerobracket assembly from the vehicle with airwave modules. See Aerobracket Assembly - Instrument Panel (Remove and Install).
- Remove the LH quarter panel assembly. See Quarter Panel Assembly - LH - Instrument Panel (Remove and Replace).
- Remove the LH side window demist duct. See Demist Duct - Side Window - LH (Remove and Install).
- Remove the LH outboard IP floor duct. See Floor Duct - Outboard - LH - Instrument Panel (Remove and Install).
-
Disconnect the LH section of the IP
harness electrical connectors (x5).
Notex9 harness clipsNoteRelease the electrical connector locking tabs.
-
Release the IP harness clips (x5) from
the center of the supercarrier.
-
Disconnect the IP harness electrical
connectors (x3) from the RH MV controller.
TIpUse of the following tool(s) is recommended:
- 8 mm deep socket (magnetic)
Notex3 harness clips, x1 boltNoteDo not remove locking cover. Loosen until the bolt spins freely.NoteMake sure the bolt and locking cover are fully released before attempting to release the connectors.NoteIf the cover binds, tighten the bolt until the locking cover is square again, then loosen the bolt while holding the cover square to the controller.NoteRelease the connector lock before disconnecting the connector where applicable.NoteUse a power tool to loosen the bolt.Figure 1. Rear MV controller shown; other MV controllers similar -
Disconnect the RH section of the IP
harness electrical connectors (x6).
Notex7 harness clipsNoteRelease the electrical connector locking tabs.
-
Remove the IP harness from the
vehicle.
Install
-
Position the IP harness in the
vehicle.
-
Install the RH section of the IP
harness.
Notex6 connectors, x7 harness clipsNoteEngage the electrical connector locking tabs.
-
Connect the IP harness to the RH MV
controller.
 6 Nm (4.4 lbs-ft)TIpUse of the following tool(s) is recommended:
- 8 mm deep socket (magnetic)
Notex3 connectors, x1 harness clip, x1 boltNoteMake sure the connector housing is secured to the locking frame with a push-pull-push test.NoteMake sure connectors are aligned before securing the bracket.NoteEngage connector lock after connecting the connector where applicable.NoteIf the cover binds, loosen the bolt until the locking cover is square again, then tighten the bolt while holding the cover square to the controller.TIpWhile tightening the bolt, press the connector into the controller to keep it square.Figure 2. Rear MV controller shown; other MV controllers similar -
Secure the IP harness to the center of
the supercarrier.
Notex4 clips
-
Connect the LH section of the IP
harness.
Notex5 connectors, x9 harness clipsNoteEngage the electrical connector locking tabs.
-
Position the LH panel duct to the
vehicle, and then secure the clips (x2) and connect the electrical connector that attach
the duct to the vehicle.
-
Position the LH side window demist
duct into the vehicle, and then install the clips (x2) that attach the duct to the
vehicle.
NoteMake sure the duct is seated over the HVAC case correctly to avoid circulation problems.NoteRefer to the images for install clarification.
-
Position the LH outboard IP floor duct
into the vehicle, and then install the clips (x3) that attach the duct to the
vehicle.
NoteEnsure duct is seated over the LH instrument panel floor duct inboard correctly to avoid circulation problems.NoteRefer to the images for install clarification.
-
Position the LH quarter glass demist
duct into the vehicle, and then secure the clip that attaches the duct to the
vehicle.
NoteMake sure the duct is seated correctly.
- Install the IP aerobracket assembly. See Aerobracket Assembly - Instrument Panel (Remove and Install).
- Install the LH quarter panel assembly. See Quarter Panel Assembly - LH - Instrument Panel (Remove and Replace).
- Install the IP top pad assembly. See Top Pad Assembly - Instrument Panel (Remove and Install).
- Install the LH and RH upper A-pillar panels. See Trim - A-Pillar - Upper - LH (Remove and Install).
- Install the front header trim. See Trim - Header - Front (Remove and Install).
-
Install the bolts (x4) that attach the
instrument panel top pad to the vehicle.7 Nm (5.2 lbs-ft)NoteThe longer bolts are located in rearmost positions.TIpUse of the following tool(s) is recommended:
- 8 mm socket
-
Connect the passenger airbag
electrical connectors (x3).
Notex3 squib connectorsNoteEnsure the squib connectors are fully seated.
- Install the RH panel duct. See Panel Duct - RH (Remove and Install).
- Install the glovebox assembly. See Glovebox Assembly (Remove and Install).
- Install the instrument panel lower assembly. See Lower Assembly - Instrument Panel (Remove and Install).
- Install the IP mid panel assembly. See Mid Panel Assembly - Instrument Panel (Remove and Install).
- Install the center floor trim. See Trim - Center Floor - Lower (Remove and Install).
- Install the RH center floor rail. See Rail - Center Floor - LH (Remove and Install).
- Install the RH lower A-pillar trim. See Trim - A-Pillar - Lower - LH (Remove and Install).
- Install the RH mid A-pillar trim. See Trim - A-Pillar - Mid - LH (Remove and Install).
-
Secure the RH front door seal.
-
Unfold the LH front cabin carpet into
position.
- Install the accelerator pedal. See Accelerator Pedal (Remove and Install).
- Install the accelerator pedal side trim. See Side Trim - Pedal (Remove and Install).
- Install the LH center floor rail. See Rail - Center Floor - LH (Remove and Install).
- Install the footwell cover. See Cover - Footwell (Remove and Install).
- Install the LH lower A-pillar trim. See Trim - A-Pillar - Lower - LH (Remove and Install).
- Install the LH mid A-pillar trim. See Trim - A-Pillar - Mid - LH (Remove and Install).
-
Secure the LH side lower A-pillar
primary seal.
- Install the center display assembly. See Touchscreen - Center Display Assembly (Remove and Install).
- Install the IP center shroud service panel. See Service Panel - Center Shroud - Instrument Panel (Remove and Install).
- Connect MV power. See Mid-Voltage Power (Disconnect and Connect) (Modify).
- Install the rear underhood apron. See Underhood Apron - Rear (Remove and Install).
- Close the powered frunk.
- Put the vehicle in Service Mode. See Service Mode.
- Unlock the vehicle gateway. See Gateway (Unlock).
- Touch Service Mode Plus > Thermal > Actions using the vehicle touchscreen.
- Touch Thermal > Actions > Test Thermal Performance and run the routine.
-
Touch Service Mode Plus >
Chassis >
Thermal >
Test HVAC
Performance and run the routine.
NoteIf the routine fails, backtrack your steps to ensure the repair was done correctly.
- Exit Service Mode. See Service Mode.
- Restore the RH front seat back to its original position.
- Raise the RH front window and close the RH front door.
- Restore the LH front seat back to its original position.
- Raise the LH front window and close the LH front door.