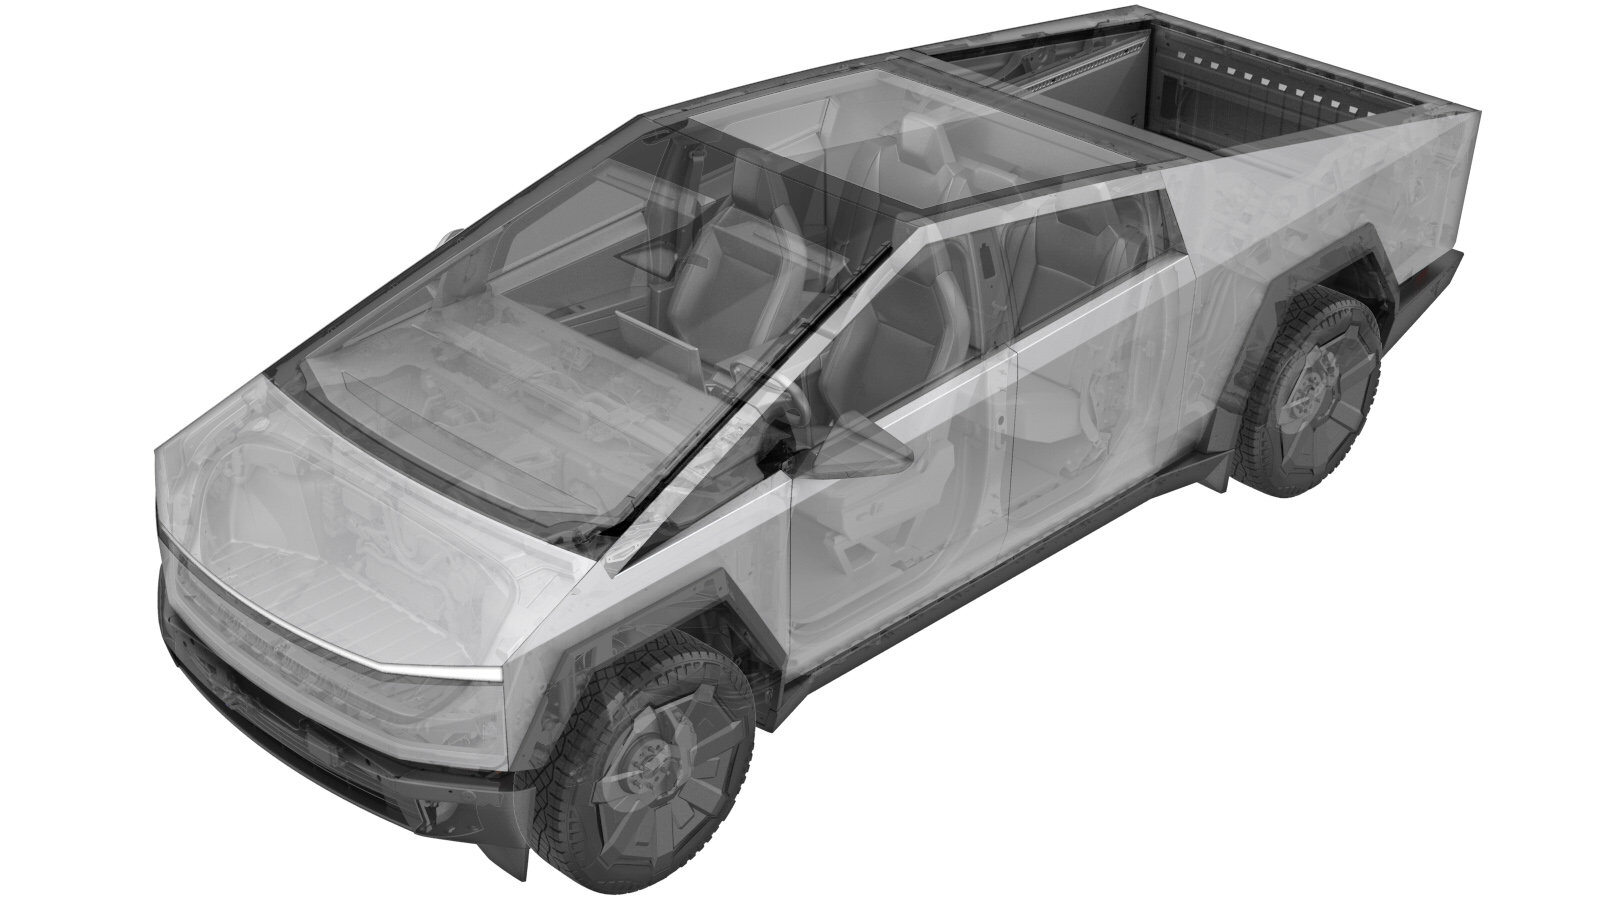
Applique - Wiper (Remove and Install)
 Correction code
1220035121
FRT
0.12
NOTE: Unless
otherwise explicitly stated in the procedure, the above correction code and
FRT reflect all of the work required to perform this procedure, including
the linked procedures. Do
not stack correction codes unless explicitly told to do so.
NOTE: See Flat Rate Times to learn more about FRTs and how
they are created. To provide feedback on FRT values, email ServiceManualFeedback@tesla.com.
NOTE: See Personal Protection
to make sure wearing proper PPE when performing the below procedure.
NOTE: See Ergonomic Precautions for safe and
healthy working practices.
- 2024-07-01: Added instructions to squeeze the inboard clip while applying upward pressure to avoid damage, and step to release top edge with trim tool.
Remove
- Open the LH front door and lower the LH front window.
- Remove the wiper arm and blade assembly. See Wiper Arm and Blade Assembly - Windshield (Remove and Install).
-
Use pliers to squeeze the edges of the inboard clip while applying upward pressure to
the wiper applique, and then release the inboard side of the applique.
CAUTIONBe careful not to apply too much force; the datums (x2) at the top edge of the applique is still engaged..
-
Starting from the inboard side of the applique, use a plastic trim tool to release
the datums (x2) at the top edge of the applique, and then release the outboard clip to
remove the applique from the vehicle.
CAUTIONBe careful while releasing the top edge. Applying too much force may break the applique.
Install
-
Position the wiper applique onto the
vehicle, and then secure the clips (x2) that attach the applique to the vehicle.
NoteReplace any missing or damaged clips.
- Install the wiper arm and blade assembly. See Wiper Arm and Blade Assembly - Windshield (Remove and Install).
- Raise the LH front window and close the LH front door.